


Plastering is one of the simplest and most common ways of leveling walls. Despite the seeming complexity, monotony and duration of work, the plastering of the walls with their own hands is entirely subject to the unprofessional builder. The main thing is to equip yourself with the necessary theoretical knowledge and apply them correctly in practice.
Types of plasters
In the construction there are several classifications of plasters, but we will dwell in detail on the most common of them - by designation.
- Normal - is a kind of semi-finished product, which must be brought to readiness. Used for finishing the premises with further painting, or by wallpapering. This kind, in turn, is divided into simple, improved and high-quality - depending on the accuracy of the execution.
- Decorative - used for interior decoration, as well as for building facades. With its help you can make the surface of a relief, textured, multi-colored - for this there are several types of decorative plaster
- Special - the main function - surface protection. Isolate waterproof, heat-insulating, X-ray, etc.
When choosing a plaster, it is very important to pay attention to what kind of surface is planned to be plastered: a large amount of mortar will be needed to level the brick wall, so it is better to give preference to a cement-sand mixture, while concrete walls and other smoother surfaces need to be plastered gypsum mixture, previously carried out a primer.
Preparation of the wall for plastering
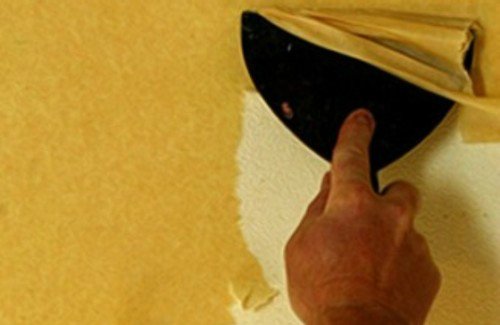
Needless to say, that plastering walls - the work is quite dusty and dirty? Therefore, it is better to take out furniture from the room to avoid getting dirt and building dust. If this is not possible, then you can move everything to the center, covering all the overlap with a plastic film. The floor covering is also better covered with a film, or covered with a layer of sawdust. In order to get rid of the old wallpaper on the wall, you need to thoroughly wet them, and then - clean the walls with a scraper or a metal brush. If there are different cracks, chips should be filled with repair mortar. If the surface is smooth, then an incision is made with an ax.
Preparation of the plaster mixture
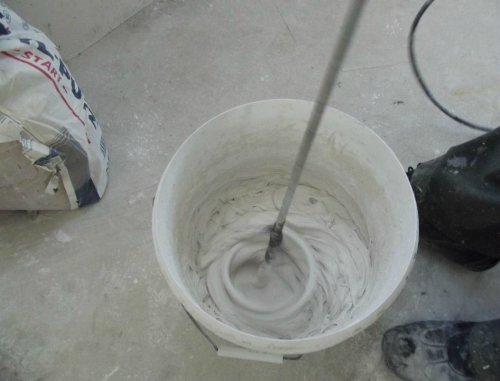
First of all, the packaging is studied, since the recommendations for the preparation, use and proportions of the plaster vary with the manufacturer. In addition, if the proportions are not respected, there is a chance to break the strength of the surface - then all efforts will be in vain. Secondly, when kneading a mortar for plaster walls, add a dry mixture to the container with water, and not vice versa - this will avoid excessive formation of lumps. Mix the mixture either "in the old manner" - manually, or with a construction mixer or electric drill with a special nozzle.
Application of plaster to the wall
For the plastering of the walls with your own hands, you will need the following tools:
- Trowel, trowel - trowel used for work with a brick wall; When decorating living spaces with gypsum plaster, they usually work with two spatulas (larger and smaller).
- Rule - level or trapezoid; There is no fundamental difference, however, the trapezoid has a simpler design.
- Grater - for final finishing of the surface.
- Cord, metal profiles - if you plan to use the method of plastering walls by lighthouses.
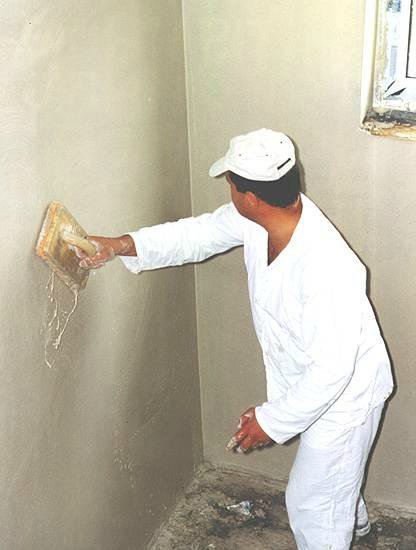
When using cement mortar, the wall is initially wetted with water - this is done to better grasp the plaster with the wall. All work is best done in rubber gloves to prevent cement from getting on the skin. Then with a trowel or spatula a small amount of the mixture is taken from the container and thrown against the wall with a biting motion. From the first time this movement can not work, so it's better to practice a little. After the solution has covered a small area of the wall, you can arm with a grater and start leveling the wall in a circular motion.
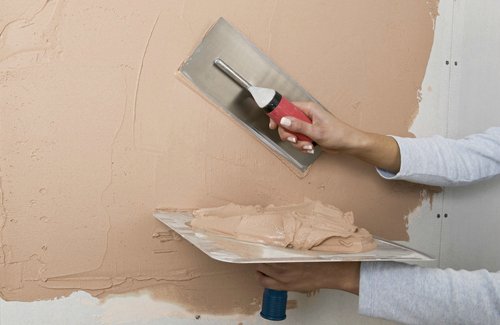
The use of gypsum mortar assumes a slightly different application technique. Use a small spatula to apply the mixture on a small section of the wall, then flatten it with a large spatula.
Movements with a large trowel are best done diagonally - this will ensure the most uniform distribution of plaster on the surface.
Stucco walls by lighthouses
The technology of using beacons in the plastering of walls makes it possible to achieve an ideal flat surface, and also saves considerable time. We retreat from the angle of about 0.1 to 0.3 meters and plaster the vertical line. This line is pressed into the beacon (narrow rake), and immediately set the planned distance from the wall, usually 1-2 mm. The action is repeated from the opposite side of the wall.
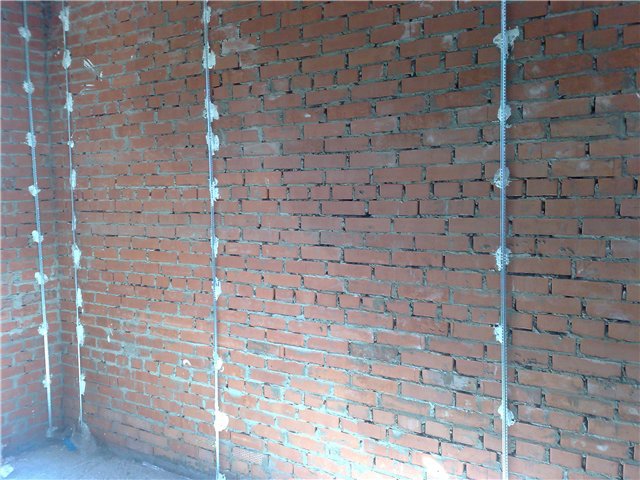
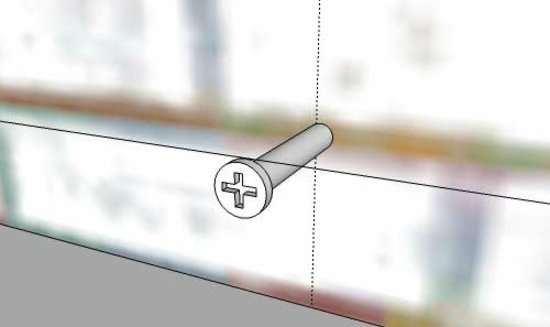
From below we expose the self-tapping screw, stepping back from the left lighthouse a little to the left; on the right side is similar. We make sure that the self-tapping screw is at the same level as the beacon. A cord is tightened between the screws and fixed. In the upper part of the wall the same is done. These cords will help create an even vertical surface.
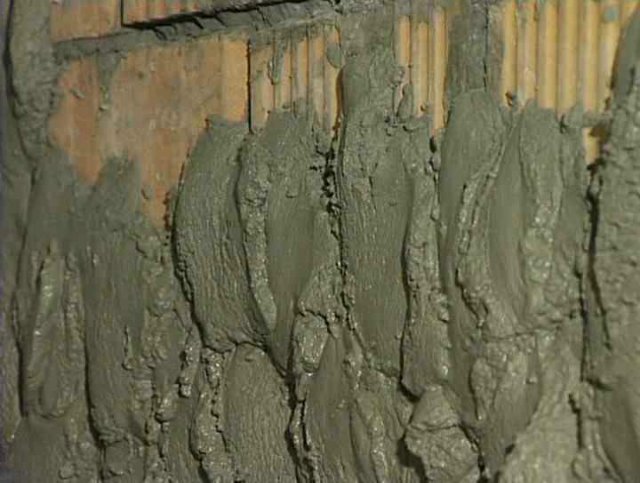
Fill the plaster with a wall section between the beacons. It is important that the solution is applied in a heap. After application, it is necessary to withstand a little time, so that the solution seizes.
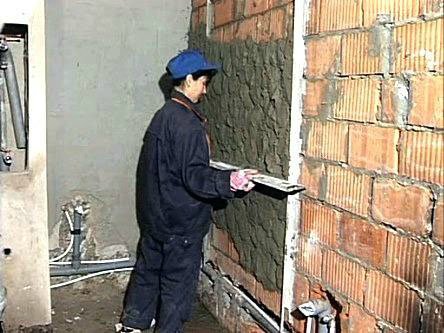
We take the rule, set it to beacons and remove excess mixes, moving along the lighthouses as if on rails. Excess mixture can later be used for grouting - it will be enough to fold it into a bucket and dilute it with water a little.
For clarity, watch the video on the plaster walls.


