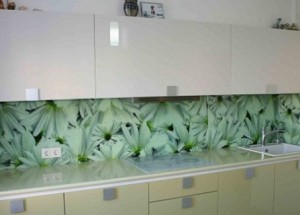
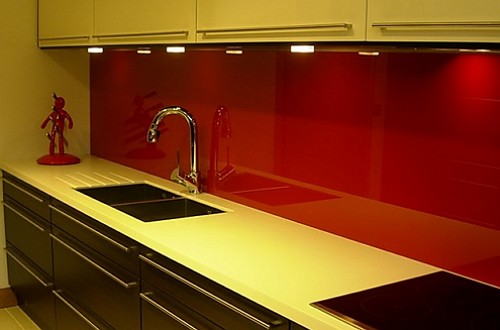
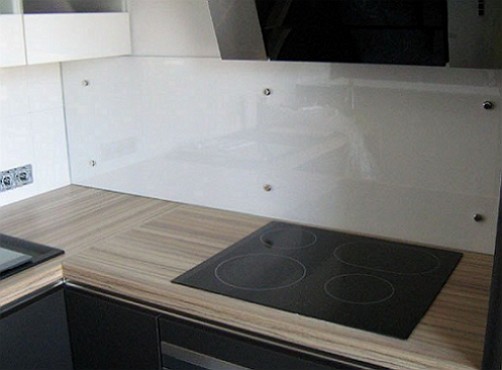
A healthy alternative to the wall tile in the kitchen is a glass apron. Expressive glass canvases with an original pattern inside allow you to avoid most of the problems, because they skinned strong, hygienic and resistant to aggressive environments. Well, tell me, is not this the dream of every mistress?
Content
Glass apron in the kitchen
A stylish design solution for the kitchen is the installation and installation of a glass apron (skinali). For the manufacture of such an apron use the following types of glass:
• Transparent
• matt
• toned.
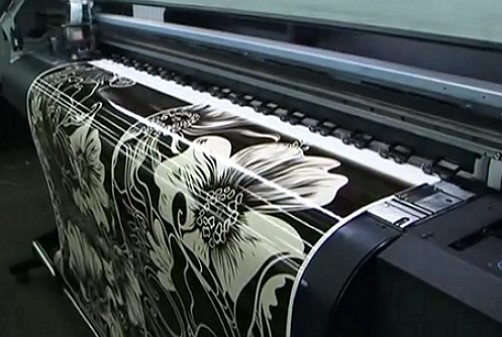
When manufacturing an apron, glass with a thickness of 6 mm is used. For large areas, it is possible to use glass up to 10 mm. The maximum size of glass cans removed can reach a size of 3 meters. Apron in the kitchen can be made from a single solid cloth or several panels. On the underside of the apron, drawings are made using high-quality photo printing.
Glass apron with photo printing
Picture with photoprint on glass panels is reliably protected from access to moisture, dust or any household pollution. The work with glass implies precision of execution and reliable methods of fastening during installation. Therefore, for correct placement of glass panes, preliminary measurements and marking of the walls are necessary.
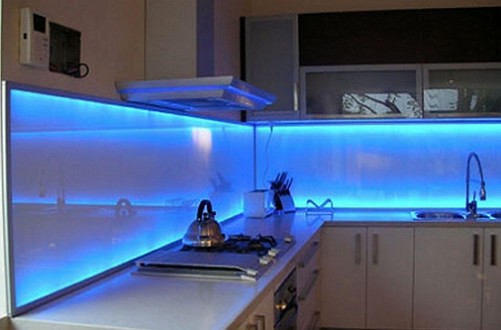
The original option for the kitchen can be a glass apron with a backlight.
To do this, you need to pick up an LED ribbon that gently illuminates the kitchen furniture and apron from the inside, emphasizing the photo printout advantageously.
For the location of the illumination behind the panels, it is recommended to maintain the distance for UV printing to a light source of 70 mm, and for artistic triplexes it is recommended to keep 30 mm.
Features of the drawing with the use of high-quality photo printing and the installation of a glass apron are shown in the video.
http://www.youtube.com/watch?v=Ovyl_UeYUMA
Ways of fixing the glass panels of the apron
Massive and heavy glass canvas skins require special installation and fastening.
These are the types:
• hinged method with using fasteners
• using silicone adhesive
• with Velcro.
The main way of fixing the glass panels to the kitchen wall is the hinged and through fasteners.
Hinged fasteners are fasteners in which a glass panel with a pattern is mounted. The hinged fasteners allow the panels to be fastened sufficiently and to join the corner elements. With the attached attachment method, the fastening elements on the outside are practically not visible. Only small metal plates (0.5x1 cm) will be visible.
In some cases it is possible to install only the upper fastener of the glass pane. The lower part is installed using a transparent silicone sealant. Sealing the joint between the glass pane and the table top is an ideal option.
The fastening is carried out with the help of the demountable fastening fixture. Fixing holes are used for fastening the glass pane. As a rule, these are four fixing heads with a diameter of 2 cm. The fixing elements in this case are noticeable on the surface of the glass pane. However, this type of fastener makes it possible to hide irregularities or wall defects, because the mounted glass pane will be located 4 mm from the wall.
Installation of a glass apron
The process of installing a glass apron for the kitchen will consist of careful preparatory work.
It is necessary to make sure that the working surface of the wall in the places where the glass panes are fastened does not have protruding sharp fragments
The conformity of the dimensions of the ordered panels to the dimensions of the opening and the mounting surface is checked.
The diameter of the hole drilled in the apron should be slightly larger (1-2 mm) than the diameter of the screw for attaching to the wall. The holes on the panels must be located symmetrically.
The permissible distance from the edge is 50 mm. For a total area of less than one square meter, two pairs of fastening elements are necessary. For a large area of the apron another pair of fastening is added.
For the corners of the apron, the verticality of the walls and the angle of 90 degrees are checked, which should ensure a uniform clearance of the angled connection of the glass panes.
The conformity of the number of drilled holes in the glass panels to the number of fasteners is checked.
In the presence of household electrical outlets, switches and other elements, they remove the decorative cover. The sockets of the outlets are extended by the thickness of the glass pane (up to 10 mm).
glass apron installation
It is recommended to install the glass apron after installing kitchen furniture, electric sockets and sanitary equipment. Thus, you exclude the possibility of blows or mechanical damage skinned.Glass pane is applied to the working surface of the wall, and holes are marked. It is recommended to avoid sliding the panel against the wall.
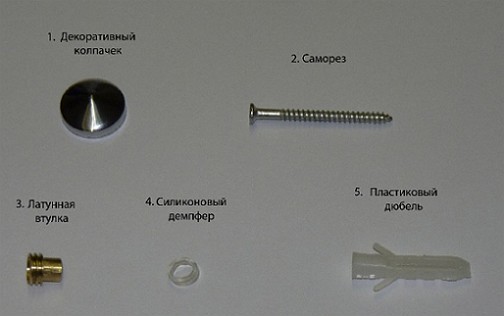
A hole is drilled in the wall equal to the diameter of the plastic dowel to be mounted. The standard fastening element included in the kit is a 6 mm diameter plastic plug.
In the drilled fixing hole in the wall, a plastic dowel is clogged.
A protective film is removed from the panel, the panel is pressed against the wall.
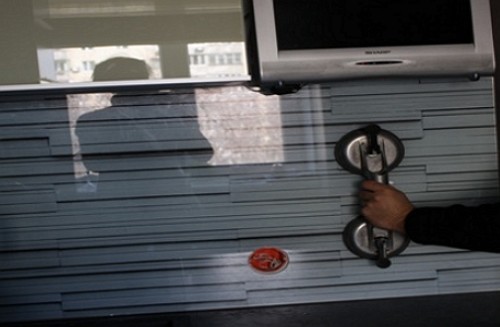
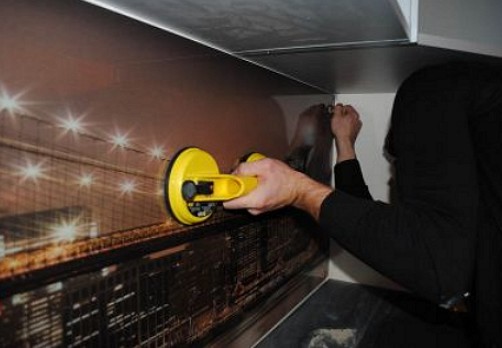
To work with the glass panel, a special device with suckers and comfortable handles is used.
String each glass pane on the fasteners in the wall.
In the mounting hole of the glass panel inserts a silicone damper, which eliminates the contact of the mounting screw with the glass.
Inserts a brass bushing with a thread into which the screw is screwed.
Do not let out of the hands of the panel, on top of the panels are fixed decorative caps for fixing. The tightening of the fasteners should not be carried out rigidly.
Ideal - the glass apron hangs on the fasteners, but is not clamped between the wall and the fasteners.
Installed in place removed sockets or switches.
Another way to fix the apron is to use a polymer high-strength adhesive. In this case, the apron is glued directly to the wall.
You can see the installation here by specialists.
http://www.youtube.com/watch?v=I4IPw-yzNYw


