On the eve of the coming cold weather, total insulation work is justified. But the simple "warm" service from ZhEKov with hastily splashed cracks on the facade of high-rise buildings in many respects does not suit. So can it be done by hand with the warm-water technology of the wet facade?
Content
Principles of creating a wet facade
The technology of facade insulation was enriched by the appearance of a new technique based on traditional plastering. This technology is a wet facade, in which the fastening of the facing layer is carried out using liquid adhesive solutions.
What is attractive technology and what is its relevance? Let's start with the fact that the insulation of the facade during the work is faster and with minimal costs, compared with other types of installation, material costs.
Create an external wet facade for 2-3 days is possible on any working base: brick, concrete, foam concrete or wooden.
Moreover, to create a facade you will need familiar and well-proven construction materials. The technology of insulation includes the following stages of work:
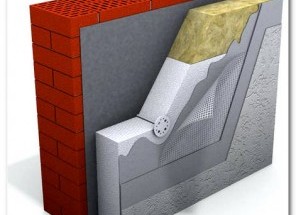
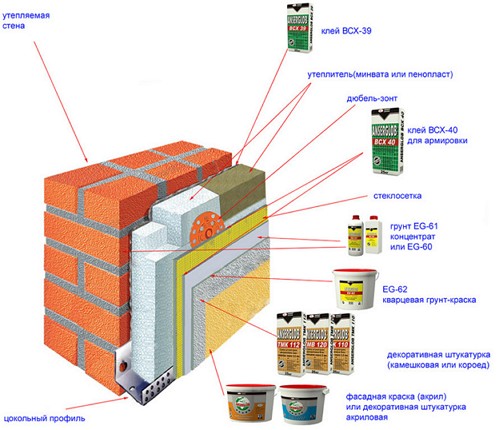
• fixing to the wall of the heater (heat-insulating stage)
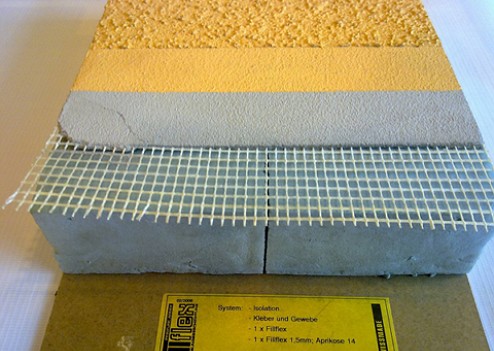
• the organization on the attached insulation of the reinforcing layer
• application of decorative coating.
Of course, the quality of installation and durability determine the right materials for the wet facade.
How to find materials
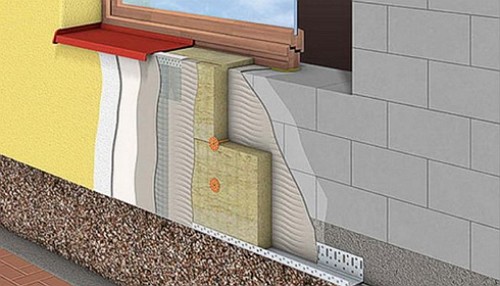
A classic set of materials, confirmed by the practice of mounting, consists of the following materials:
• primer for concrete surfaces
• Adhesive compound for the installation of insulation (ready-made dry mix)
• foam PSBS-25-50 or rigid slabs of mineral fiber (at the rate of 1.05 m2 of insulation per square meter of the facade)
• Trowell dowels (5-8 pieces per square meter)
• reinforcing mesh with a density of 160 g / m2 (at a rate of 1.35 m2 per square meter)
• angular and socle profile
• decorative plaster and paint for finishing.
choose a heater
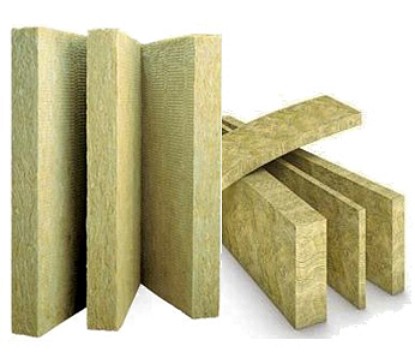
As a heater, preference is given to insulation materials with a low coefficient of conductivity. The most popular are polystyrene foam and mineral wool. Choose a foam with the marking "F", which means that the material is intended for facade work. Recall that in the brand PSBS-25-50 figure 25 means the density of the material, and 50 - the thickness.
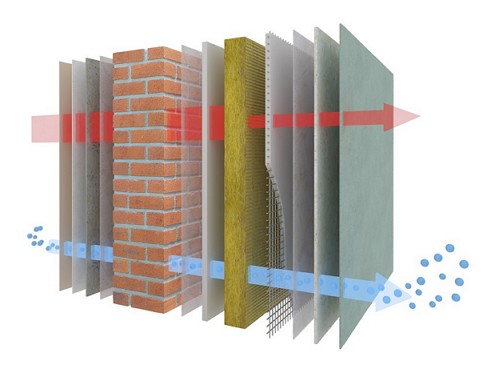
Mineral wool has an excellent steam-passing ability and easily removes water vapor in the plaster layer. The density of the mineral wool reaches 80-160 kg. on m3.
Wet façade mounting technology
substrate preparation and priming
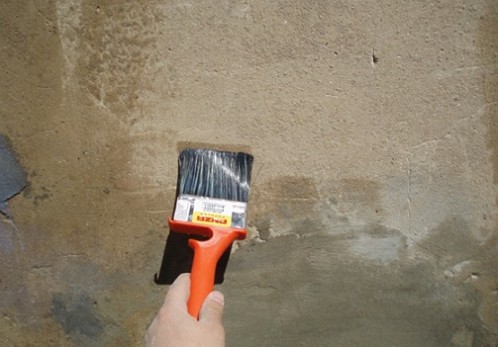
The basis for insulation must be prepared: remove the old paint and plaster from the facade, including window and door openings. Then the surface is primed for 2 sets.
fixing the insulation to the base
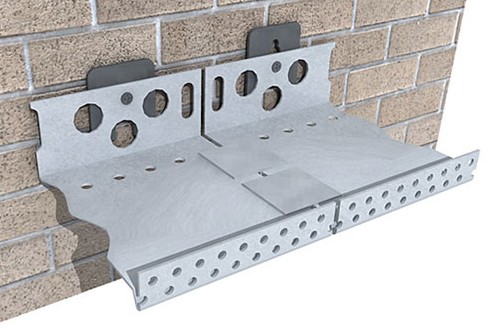
metal profile for fixing heater plates
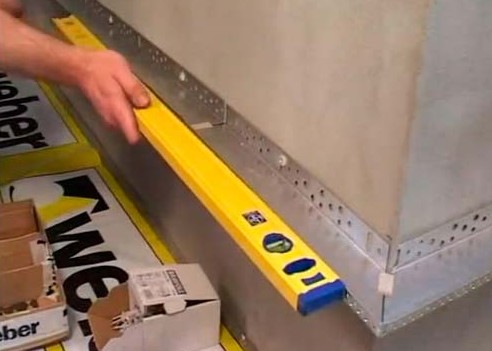
At the first stage, we mount the insulation to the work surface. To do this, install a metal profile, surrounding the facade along the perimeter of the base or walls (if the work is carried out at altitude). Do not neglect the installation of the profile bar, because this design is designed to evenly distribute the load from the thermal insulation boards and to protect the lower row of insulation.
The metal profile is a perforated bar made of aluminum. One side of the bar has holes of a larger diameter, into which it is fastened to the facade. The side of the profile with smaller holes is intended for mounting heat insulation plates. In the future, a plaster layer is formed on this surface. The installation of the profile starts from the angle from the bottom up.
The aluminum bar is positioned at the required height and fixed with dowels with a fastening step of 50 cm. For aligning the profile position, use washers and expansion joints, which will provide the necessary tightness of the abutment. Skew sections are used to couple the two profiles. For the case of a temperature expansion between horizontally positioned strips, it is recommended to leave a gap of 3 mm.
bonding of plates
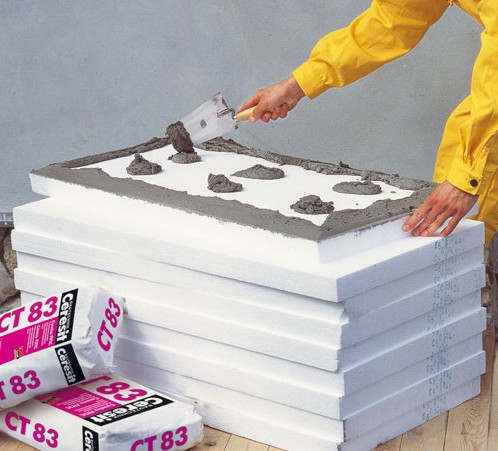
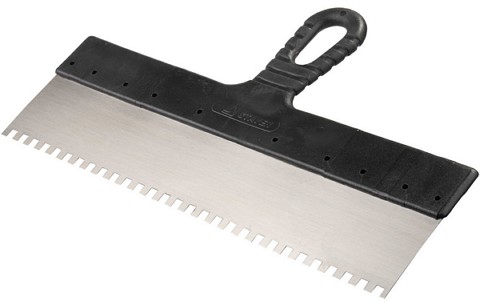
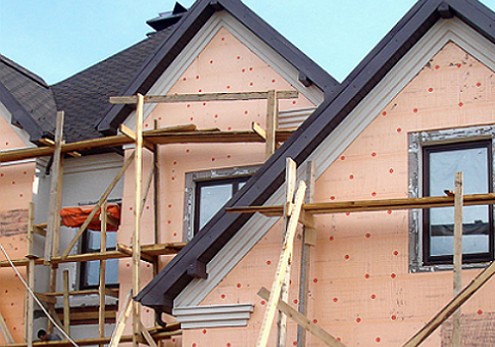
Laying of prepared slabs is carried out by a method of construction, simulating a brick laying. Glutinous composition of polymer-cement or acrylate is applied by a continuous thin strip up to 6 cm and 5-6 points with an interval of up to 10 cm along the surface of the heater plate. To apply a glue solution, it is preferable to use a notched trowel with a tooth height of up to 12 mm.
The adhesive layer must have an even, uniform structure. Excess glued adhesive is removed immediately.
Then the plate is pressed tightly in place. The ends of the first plate must also be glazed with glue for fixing to the edges of the next plates.
Plates begin to glue from the bottom up. Then the laid surface of the heater is left to dry for 2-3 days.
Create a reinforcement layer
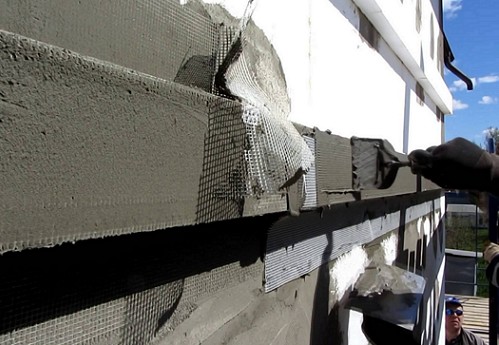
When creating a reinforcing layer, a glass cloth web with a density of 160 kg / m2 is used, for example, BauTex Krepix 160gr 4x4 CHP 160-3600 (1800/1800 N / 5cm). The main function of the grid will be the distribution of the load during thermal expansion or deforming factors, as well as breaking loads, preventing the appearance of cracks in the finish coat.
The mesh is laid by heating the reinforcing layer with full immersion in the adhesive solution.
For additional durability of gluing of plates a special dowel, angular profiles with reinforcing mesh and deformation expansion profiles are used.
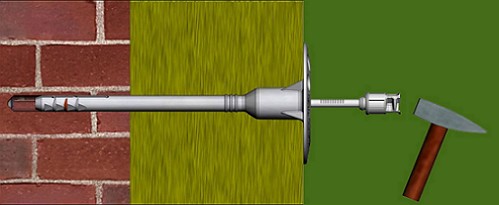
dowel for fixing heater plates
The fixing dowel for the heater plates is a plastic nail and the polypropylene dowel itself, which has a characteristic hat with perforations. The dowel cap excludes damage to the insulating materials, but ensures a reliable fastening of the whole plate. The dowel is mounted by the method of driving the rod into the prepared central hole.
As the dowel moves to the surface, a rasp occurs in its end portion, and the transverse teeth securely anchors the dowel into the concrete base.
Helpful Tips
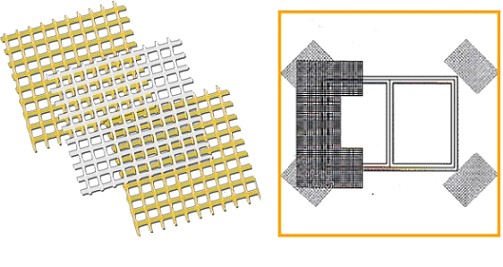
Recall that the laying of fiberglass mesh produced with a minimum overlap of 20 cm from each side of the outer corner. In addition, to strengthen the plates in the area adjacent to the angular profile, use a larger number of dowels per 1 sq.m. (up to 8-10 pieces).
profiles for corners and droppers
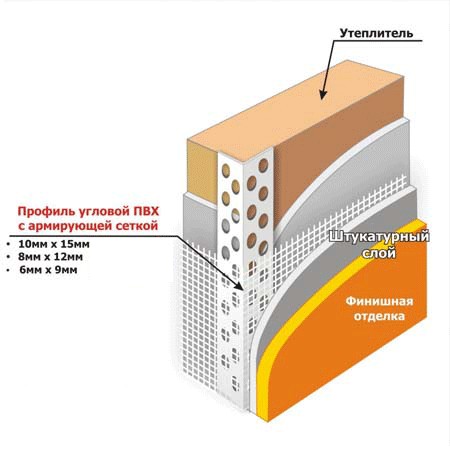
When creating a reinforcing layer, special attention is paid to the outer corners and the "problem" socle, window and arched zones. To do this, use angled PVC profiles with reinforcing mesh, for example 8x12 (2.5 m) "BauKom GmbH" and profiles droppers.
To achieve crack resistance for the corners of window openings lay kerchiefs from the grid, placed at an angle of 45 degrees. On the mounted boards, a glue solution is applied 2-3 mm and the kerchief is put into it. Similarly, reinforced slopes, edges or corners. The angular profile should ideally overlap the angle range.
For the reinforcement of the basement area, expandable deformation V-shape and E-shape profiles are used.
How to make a kerchief laying, shown in this video.
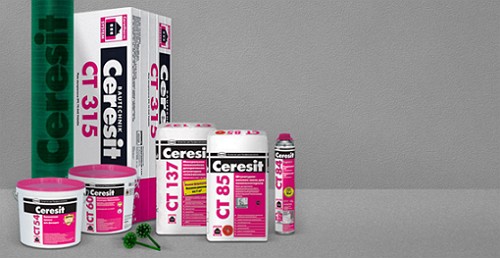
After the reinforcing layer is created, another leveling layer with a thickness of up to 2 mm is applied. It is better to give preference to plaster for porous concrete Ceresit ST 24/25, for which you can use decorative plaster Silicate-silicone CT 174 or paints Silicone ST 48/15 and Silicate ST 54/15 as the finishing finish.
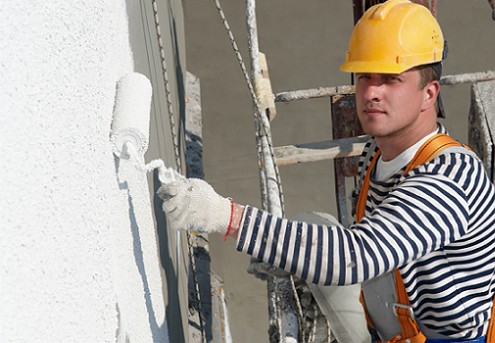
Application of decorative coating
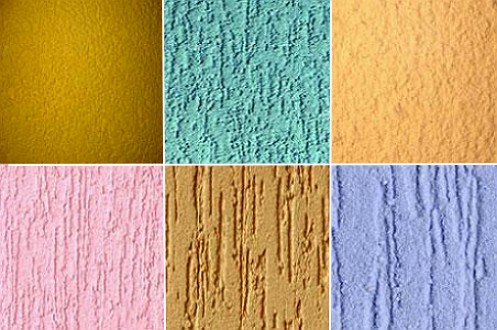
To create a decorative layer using textured plasters (acrylic, mineral and siloxane). The creation of a decorative layer of a wet facade is possible with a thick and thin layer. The most common economical thin (thickness up to 8 mm) layer.
For more information, see the video.


