The pool on your own countryside is not only a favorite and frequently visited place, but also an integral object of landscape design. At the end of the construction of the pool, it is necessary to give the structure and space around it a neat, attractive and finished look. Finishing the frame pool and the surrounding area is not just done with beautiful material, but also with practicality and durability.
Content
Decoration of outdoor pools
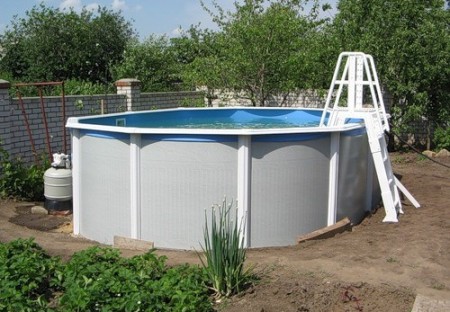
What is good about a private house or townhouse, even economy class townhouses - the availability of land on which the owner can realize any, even a fantastic desire to life. And if you wanted a pool, then you can build a small pool on the site, the dimensions of your pool will, directly, depend on the size of your site. The most economical option is to offer a skeleton pool.
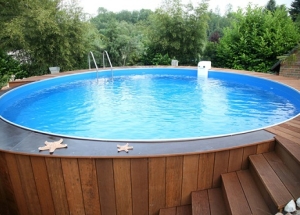
To trim the sides of the frame pool, which is located on the street, can be lined with specially treated natural wood, plastic lining and a terrace board. You can use natural materials for finishing pools (if finances allow), or artificial, which, although they are somewhat cheaper, but differ in good quality and good water resistance. Finishing the bowl of the frame from the outside with the lining is carried out exactly the same as on the other surfaces - first the crate is erected, on which the finishing material is fastened.
It is important to choose the finishing material in such a way that it harmoniously combines with other elements of the interior, which are located next to the pond.
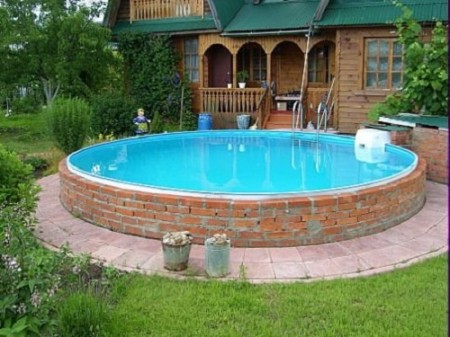
The sides of frame water reservoirs, the design of which provides for the penetration of the bowl into the ground, must be properly trimmed. One of the best options for finishing is the side stone.
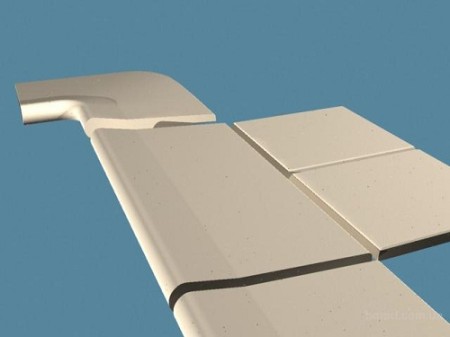
The price of the side stone is quite high, but this finishing material is worth its money - it has an anti-slip surface, an attractive appearance, does not allow overflow of liquid, and in case the water splashes out, its remains do not return to the pond and do not pollute the water. Coping (side stone) has a lot of colors: gray, white, beige, pink, etc., depending on which marble chips were added to its composition.
Decorating the area around the pool
Decoration of the area around the pool should be carried out in accordance with the general style of the landscape design of the site. This is one of the basic rules for choosing finishing materials, both for the pool itself and for the adjacent territory.
beach of pebbles or sand
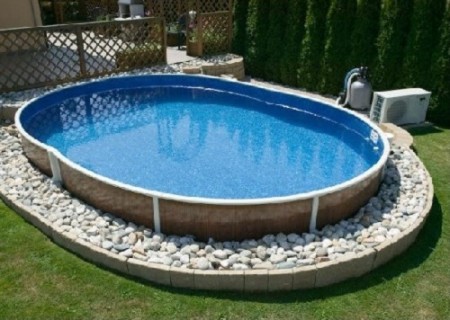
One of the simplest in execution and cheap finishes is to make a small beach around the artificial pond, filling the space near the pool with sand or pebbles. Thus, it is possible to give an artificial reservoir some resemblance to a natural lake or pond. However, this option, for all its simplicity, has a number of significant drawbacks: the sand will be washed out by rain and water, which splashes out of the pool. In addition, wet sand, sticking to the feet of bathers, will pollute the water.
As for pebbles, it is unlikely that walking on pebbles barefoot will give someone pleasure, and eventually pebbles will be trampled into the ground, so the pebbles will periodically pour.
In most cases, pool owners prefer more expensive finishes, for example:
finishing the sides of the pool with ceramic granite, stone or ceramic tiles
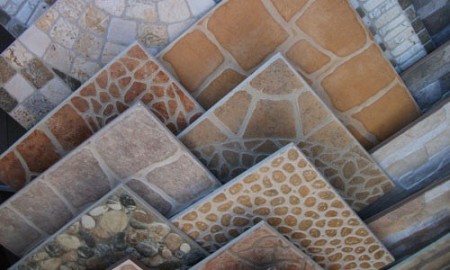
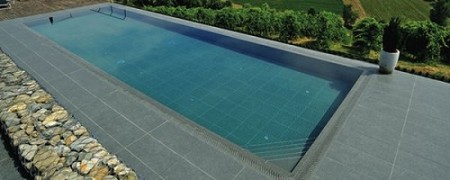
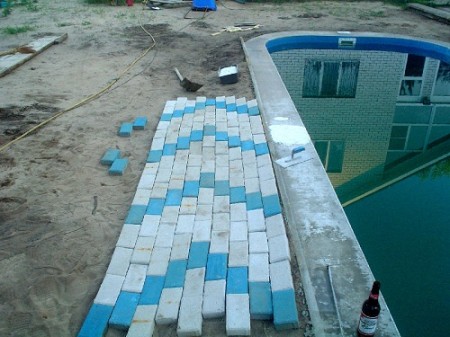
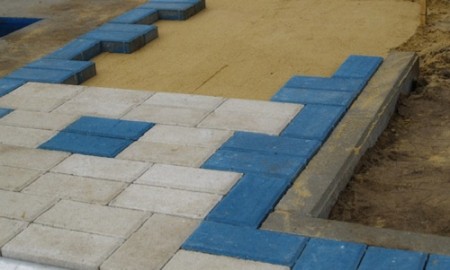
A path made of ceramic granite, natural stone or tiles is a comfortable and rather beautiful variant of finishing the territory adjacent to the pool. Such a coating is easy to keep clean, walking along it is pleasant and convenient. However, if you have chosen ceramic tiles, consider factors such as: increased strength, moisture resistance and the presence of an anti-slip coating or incisions. When laying such a tile specialists use a water-resistant two-component adhesive, which has good adhesion. Of the advantages of ceramic tiles, it is necessary to note a large number of colors and shades, as well as design options.
Ceramic tiles can heat up quite well under direct sunlight, so it is better to use it if the pool is inside the room, in a pavilion or in the shade.
Several important rules for laying ceramic granite:
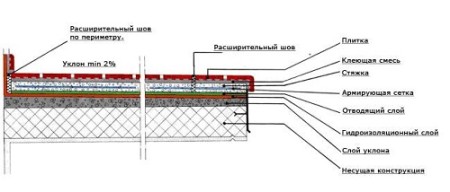
The base and the screed under the ceramic granite must have a slight slope for the drainage of the water. If water penetrates through the seams, then in winter it can freeze, if it freezes, tile. When laying porcelain stoneware near the pool, it is necessary to make expansion joints. The depth of the seam should be greater than the thickness of the tile, that is, to be buried in the screed. Expansion joints are made by a square approximately 2х3 meters along the entire perimeter. After the end of laying, they are filled with special plastic compounds to compensate for tile vibrations.
After the screed is ready, it is necessary to wait about a month before continuing to work. This is the time necessary to "ripen" and shrink tiles. It can be significantly reduced using fast-hardening additives, but they can be used only by consulting with specialists. When the screed is ready, glue is applied uniformly, not allowing bubbles to form, and tiles are laid.
The seam between the tiles should not be more than 13 mm. It is filled with an epoxy composite, a polyurethane compound, or a cement grout. In our case, the tile will be located near the pool, in the zone of intensive movement and high humidity, so it is better to use a polyurethane compound.
The cost of laying one square meter of tile depends on the thickness of the material, the need for its polishing or rectification. If the tile is laid by all the rules, it will last several decades, so do not save on the materials and services of specialists.
decoration
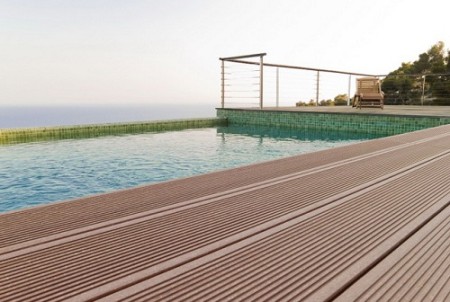
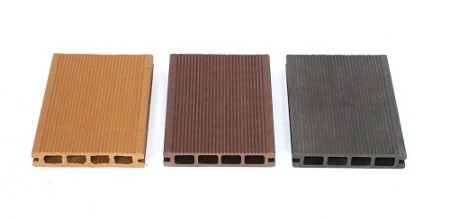
Decking, or a terrace board - a practical and durable material. It is not prone to destructive effects of fungi, damage to insects and putrefactive bacteria. The terrace board is made of polypropylene and sawdust, it is ecological and does not pose any danger to humans.
The concept of decking includes not only a terrace or natural board, but also a garden parquet. These materials are well suited for outdoor use, resistant to mechanical stress, biological and atmospheric influences, they do not become slippery when exposed to moisture. Clear such a surface from contamination can be, simply by pouring it with water from a garden hose using detergents.
Ceramic decking is very popular recently.
It is a decorative material that looks very much like a garden board and a terrace board. By its design, it is similar to wood-polymer products. It is a beautiful and durable finishing material. Lay the ceramic decking on special adjustable structures. The set includes floorboards, curbs and draining parts. In the cold season, the diving cover does not need installation.
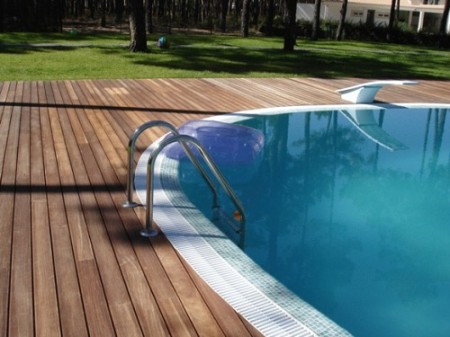
To decorate the area around the pool, use is also massarandubu - a board from exotic Brazilian cherries.
This is a natural, very durable material, which in density exceeds the oak, is highly resistant to fungi and putrefactive bacteria. This material is very beautiful, it does not heat up under the influence of sunlight, but the coating in the cold season should be dismantled and stored at room temperature.
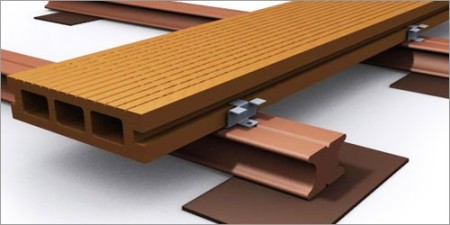
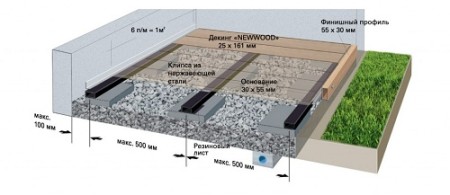
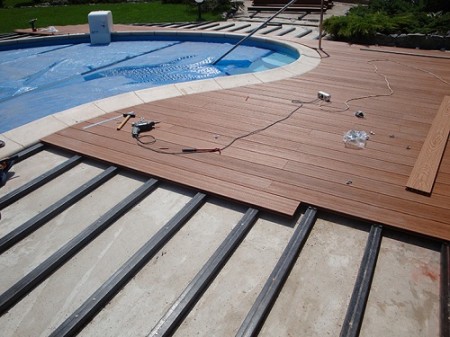
During the laying, the terrace board is fixed on wooden support lags. It is necessary to place pieces of ceramic tile or other solid material of the desired thickness under the logs.
The logs are laid in steps of approximately 35-50 centimeters. The pitch depends on the length of the board - the shorter it is, the smaller the distance between the lags. When laying the terrace board near the pool, it is necessary to leave a small distance between the surface of the ground and the logs for water drainage. For this, lumps and pieces of ceramic tiles are laid.
The terrace board is attached to the lags using metal clips. After the board is fixed, the mounting clips are inserted into the groove. The next board is inserted into the clip in a groove, and thus the entire deck is mounted. At the final stage of the installation work on the perimeter of the deck, stubs are installed, hiding the grooves of the extreme boards.
It should be noted that the decoration of pools with wood, especially exotic - pleasure is very expensive, and not everyone can afford it.
finishing with rubber tiles
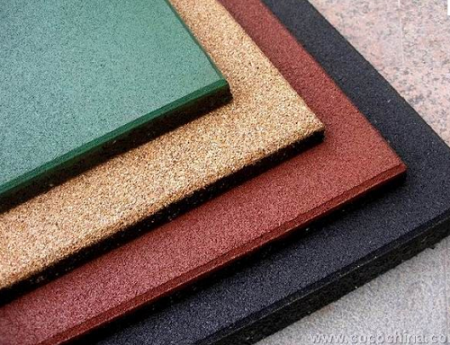
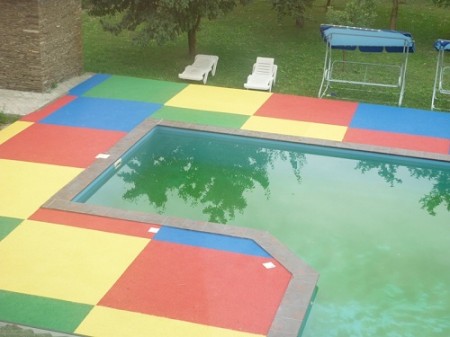
Quite a good option - rubber tiles do not absorb moisture, it is not slippery, it serves a long time. It is not hard to pack, it is ecological, there is a wide range of colors and shades. The surface of the rubber tile is easy to clean from dirt, dismantle the material for the winter is not necessary.
To trim around the pool, the rubber tiles should be at least 30 mm thick. Before laying the tiles, a base is prepared in the form of a three-layer "pillow". The top layer of the soil is removed, roots, debris and weeds are removed. The base is carefully rammed, then a layer of crushed stone 10-20 cm thick is poured in. Next, a cement-sand mixture is prepared in a ratio of 3: 1. A layer of a mixture about 7 centimeters thick is applied to rubble. Rubber tile can be placed on a sandy foundation, but near the pool, the cement base will be more reliable.
The work on laying rubber tiles is divided into several stages:
- First, pull the cord around the perimeter.
- Next lay the tile, joining the parts with special bushings.
- After stacking every third row, you need to check the accuracy of the work and, if necessary, fix the tile with a rubber or wooden hammer.
- The space between the tiles and curbs is compacted with pieces of tiles.
Rubber tiles are cut by a Bulgarian. In this case, diamond-coated discs are used. In the absence of power tools, the rubber tile can be cut with a sharp knife.
The finished coating is rammed with a vibration plate and thoroughly sprinkled with dry sand. When sand is swept out, it covers small crevices between the tiles. In the process of laying the rubber tiles do not need to make a slope for the drainage of water - it will itself be absorbed into the ground.
green area, lawn around the pool
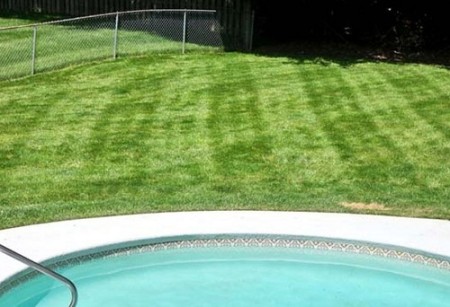
A green lawn around an artificial pond is one of the most accessible, natural and simple variants of decorating a territory, it is not difficult to implement it independently. It is easiest to use a layer of turf neatly removed before digging a pit or installing a pool. If the turf did not survive, you can buy a roll lawn, or sow the lawn yourself.
Beautiful and well-groomed lawn around the pool pleases the eye, it looks natural in any landscape, dense grass prevents the appearance of dirt, and it keeps cool even in hot weather. On the grass it is useful to walk, and sunbathing on the lawn is much more pleasant than on a cover made of artificial material.


