


Among the spectacular design solutions for the design of the ceiling surface, a special niche is occupied by the lath ceilings. The visual attractiveness and elegance of such designs, practicality and reliability, multifunctionality and the possibility of creating an additional light design explain the attractiveness and eccentricity of the ceilings. The beauty of the installed ceiling coating depends not only on the quality and originality of the finishing materials, but also on the correct and competent installation of the rack ceiling.
Content
Roof ceilings in the interior of the room
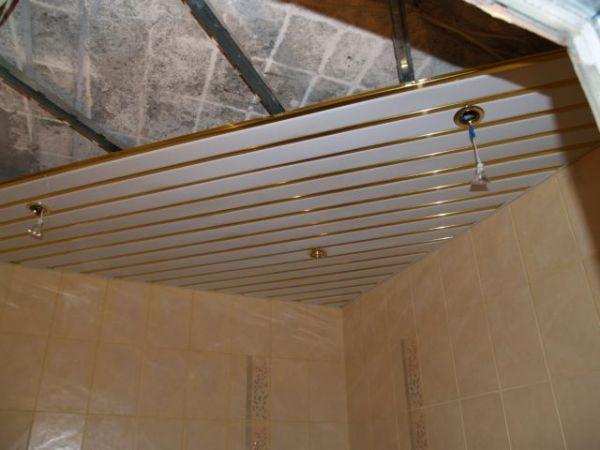
Spectacular lath ceilings are becoming more popular today, because the ceiling space, decorated with strong and original racks, makes the room interesting and exclusive. The rack ceiling perfectly fits into the interior of a residential and office space, as well as rooms with a high level of humidity.
Among the numerous advantages of lath ceilings can be noted:
- aesthetic and attractive appearance;
- exceptional reliability and durability;
- high degree of fire and moisture resistance;
- the possibility of installing recessed luminaires and concealing communications in the inter-ceiling space;
- easy installation and easy maintenance;
- durability;
- installation in residential and office premises with high ceilings - the height of the finished ceiling structure reaches 7 cm.
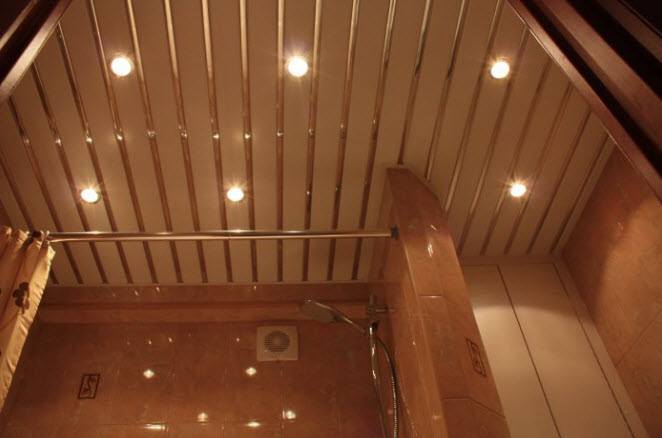
Due to the unique ability of the rack ceiling to reflect the light flux, the natural illumination in the room is significantly increased. To create a durable and aesthetic design, the suspension system and panels must be of exceptional quality, and for installation it is better to invite a professional. But if your budget does not allow you to use the services of a master or you have the experience of installing any ceiling system, then you can try to install the ceiling ceiling yourself, while observing the main rule - do not allow the formation of dents on the rails. You can install such a ceiling covering in a room, in a bathroom, a corridor and a kitchen - in any room it will look presentable and spectacular.
When buying lath ceilings, you should pay attention to the presence of a transparent film, in which the panels are packed. It protects the slats from damages of various kinds during transportation. The absence of a film indicates a poor-quality product or a counterfeit. Inspect the straps - they should not be dented or scratched.
Equipment
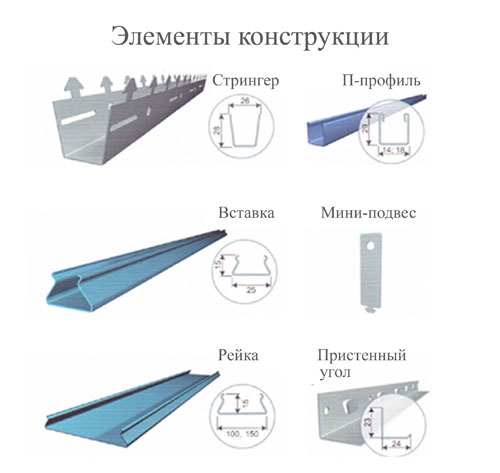
The following elements are included in the kit for fixing the rack ceiling:
- reiki. When buying, pay attention to the thickness of the rails (panels), on which the strength of the future design depends;
- tires (stringers, combs, traverses) - toothed rails of aluminum or steel. Their length reaches 4 meters, and the thickness - 0,5-1 mm.
- suspension adjustable;
- plinths, performing decorative function;
- installation instructions.
Mounting methods for the rack ceiling
Installation of the rack ceiling can be done in three ways:
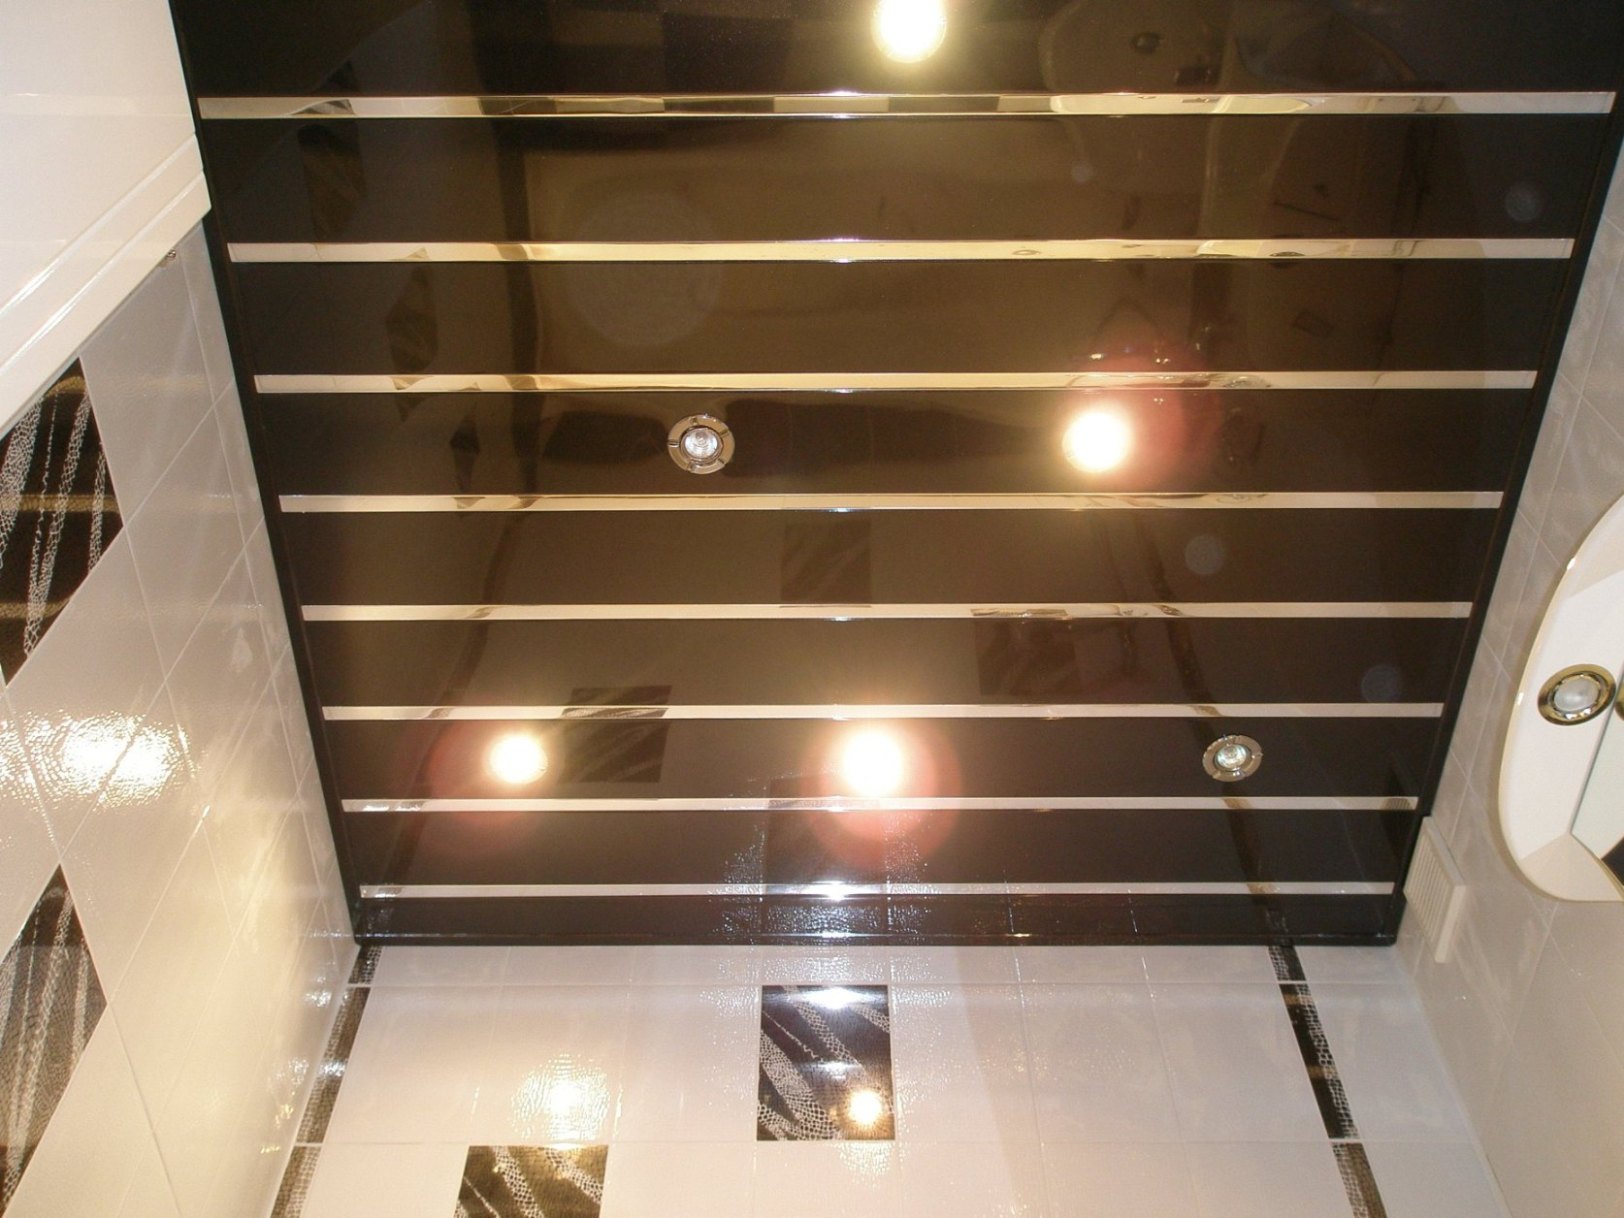
- Open. Provides for the presence of special gaps up to 15mm wide, in which decorative inserts of contrasting hues are attached, giving the finished design an effective look;
- Closed. Formed small gaps in the form of grooves are carefully sealed with the material of the basic shade. Such ceiling systems are installed in high halls and halls, where the ceiling height is more than 5 meters, which makes the gaps invisible;
- It is gapless. The panels are mounted to butt joint, avoiding the formation of gaps.
Regardless of the type of ceiling structure, the mounting technology is identical and is carried out in a certain sequence.
How to Make a Roof Ceiling: The Milestones
The installation technique assumes the following stages:
Markup
For ceiling marking, the maximum dimensions do not exceed the following distances:
- from the surface of the wall to the profile - 0,4 m;
- from the surface of the wall to the first fixing of the bearing profile - 0.3 m;
- between stringer (profile) - 1.2 m;
- between fasteners - 1,2 m.
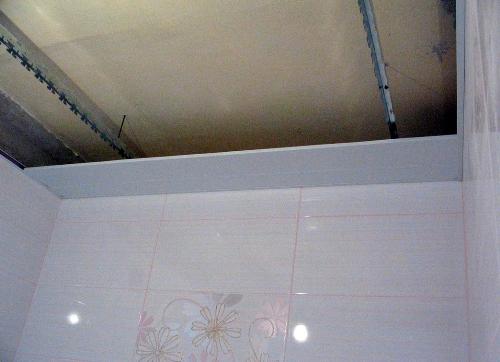
Fastening of a corner profile along the perimeter
Installation of the rack ceiling begins with a thorough check of the presence and condition of all components. Then a walled corner is fixed, which determines the height and level of the ceiling structure, the joint between the slats and the wall is closed. The length of the angular profile is 3 m, the size of the shelves reaches 19x24 mm. Traditionally, the color of the corner is chosen according to the color of the slats.
After removal of the protective film, the corner is fixed by means of screws and dowels along the perimeter of the ceiling surface at a previously marked level. Drilling step - no more than 600 mm. If the surface to which the corner will be fastened is subject to shrinkage, then the tolerance must be taken into account to prevent deformation of the frame.
Installation of hangers
The technology of fastening hangers provides for the use of metal anchors whose diameter is at least 13 mm. To install a suspension in the supporting structure, you will drill a hole 40 mm deep and 6 mm in diameter. Then in the eye of the suspension rod, you need to insert the anchor and hammer into the hole until it is completely locked. While holding the clamp, made of spring steel, in a compressed state, the rod should be carefully put on the suspension and secure it.
Mounting stringer (bearing profile)
Before fixing the stringer you need to determine the direction of the installation of the rails. By all the rules, the stringer is mounted to the ceiling parallel to each other and at the same time perpendicular to the slats using suspensions. Before installing the load-bearing profile, make sure that the ceiling is horizontal and, if necessary, set the profile by level. Height is regulated by moving special springs on the spokes. Thanks to the use of adjustable hangers, you can lower the rack structure by 13 cm from the surface of the main ceiling.
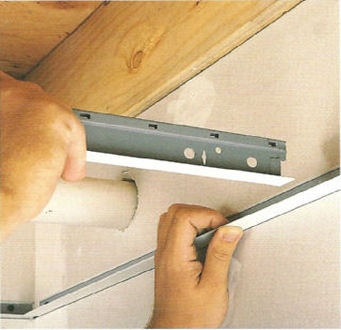
Fastening the first panel
After removing the protective film, the slats should be attached to the supporting profiles made of galvanized steel. Special tongues, carved into the profile, allow the rack to be fixed securely by snapping. To do this, the ceiling panel, with a small click, locks into the stringer. In case of contamination, the panel is wiped with a damp cloth.
Attention! The rack ceiling will look more harmoniously in space if its fixing is made along the falling light streams (from the door to the room).
Cutting Rakes
Cutting panels is done after careful measurements. Armed with scissors for metal, you need to carefully trim to the desired size.
Fastening of the remaining panels
The rail should be inserted into the end profiles and positioned diagonally to parallel, end stringers. Then the panel is straightened and fastened at its seat. Installation of all other panels, except for the last one, is done similarly.
Installation of the last panel
To install the last panel, the edge should be pushed as far as it will go into the end profile. At the same time, the rod is folded down and installed in the end profile at the opposite wall surface.

Install the ceiling carefully and without haste, because the panels are easily formed dents. Due to the design features of the rack ceilings, individual damaged strips are easily removed and replaced. More details with the installation of rack ceilings can be found in the video on youtube.


