Innovative technologies of sanitary equipment do not cease to amaze and amaze the impressionable consumer. Like a powerful and rapid water jet from the hydrant, washing everything in its path, the technology of manufacturing sanitary equipment has presented the world with a unique invention - a concealed mixer.
Content
How to choose a plumbing system
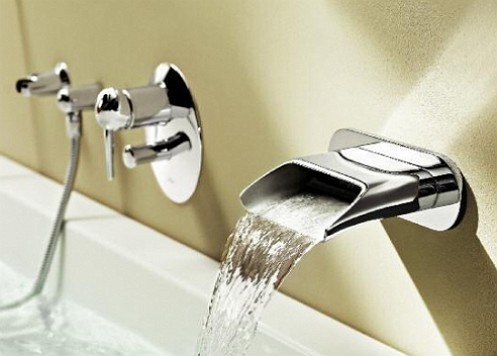
Plumbing systems of concealed installation are now gaining incredible popularity and turn the usual equipment into a creative bathroom addition.
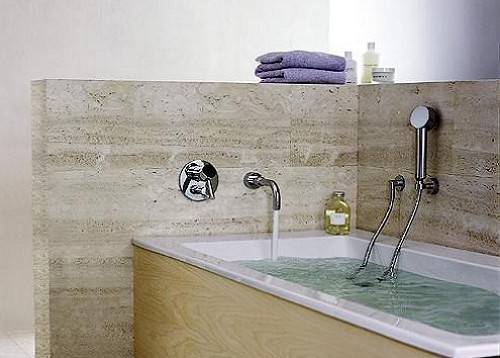
When installing flush-mounted mixers all engineering communications are hidden and do not spoil the interior with external functional and decorative elements. Thanks to the versatility of flush mounting systems, suspended sanitary ware, shower systems and faucets for washbasins, bathtubs or showers are installed. In this case, flush-mounted systems provide:
• leakproof installation
• reliable operation
• absence of interference in the operability of the systems.
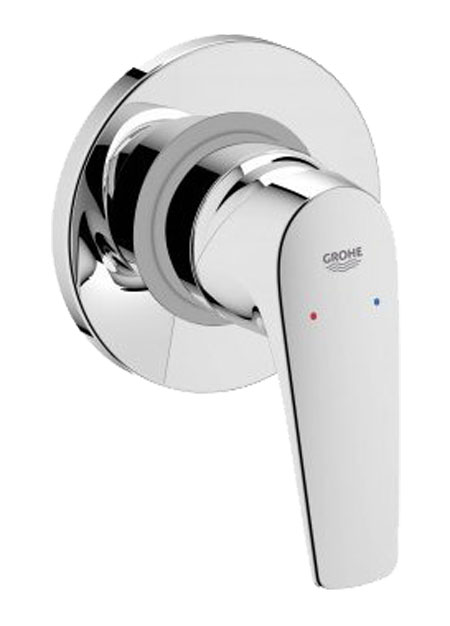
The world of plumbing systems of the latent type is replete with stunning models, such as the grohe mixer, grohe, hansgrohe. What are the advantages of flush mounting systems in addition to the stunning design, of course? Let's talk at once, it is the versatility and functionality of embedded technology.
Composite elements of the flush mounted mixer
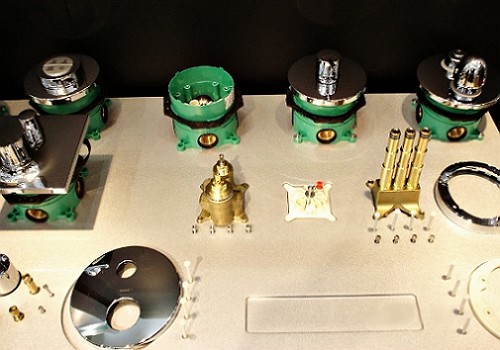
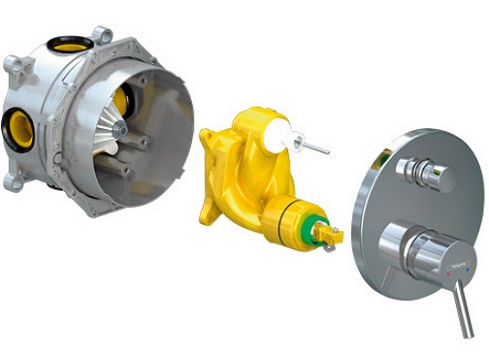
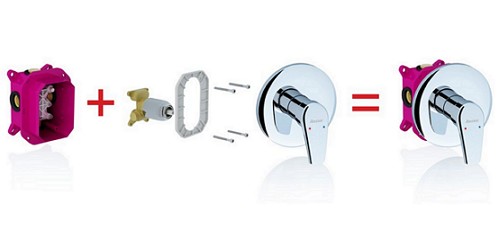
The flush-mounted mixers consist of the main parts:
• Ibox Universal
• Mixer or thermostat
• an external panel with a control lever.
The main function of the mounting box is to ensure the attachment of the mixer construction to the work surface.
The mixer or thermostat is located in the functional part.
The decorative outer panel is equipped with a control lever, which allows mixing of the water flow and its direction.
Therefore, choosing a flush-mounted mixer in the bathroom of the apartment, it is necessary to clearly represent its purpose: for a bath, a sink or a shower.
What is the universal built-in part for a mixer designed for a shower or a bath is clearly shown in the video.
How does the mixer start?
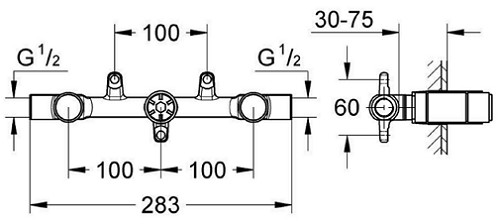
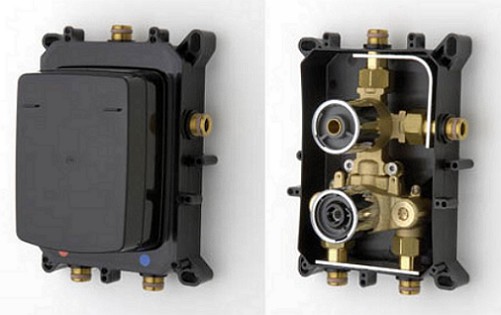
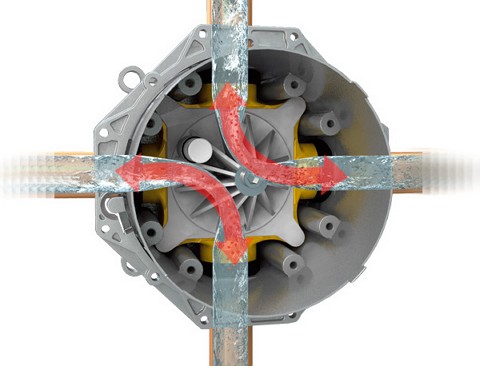
In order to simplify the installation of built-in mixers and choose a model, the manufacturers of sanitary fittings have developed universal concealed systems (iBox Universal). A single standard of connecting dimensions and fasteners is compatible with any, we emphasize - any mixers of a certain brand and brand.
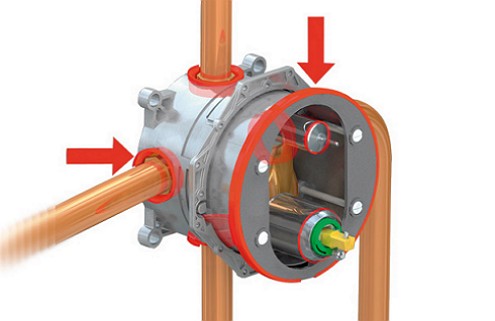
It is not difficult to guess that the main part, namely Hansgrohe iBox Universal is located inside the wall, where the mixer is installed. The versatility of the installation box is that in one element the four basic parts of the traditional mixer are replaced. Using the system, mount:
• Single-lever faucets or thermostats
• The standard connection diameter is 3/4 inches
• Possibility of using the piping through the adapter.
The main condition that ensures reliable operation is the fixed attachment of the installation box to the wall. The recommended installation depth is 80 mm, in some cases, extension studs are used. Such decorative elements extenders, installed between the mounting panel and the wall of the room, cover the protruding part of the mounting box. The configuration of the installation box can be round or square and depends on the shape of the mixer.
Concealed sink mixer
The concealed sink mixer for the sink is of the greatest interest due to its compatibility with other mixers intended for baths or showers. Mixers for the sink are equipped with one or three holes, as well as a mounting kit and plumbing. The choice of piping can be tough, in which brass tubes are used, chrome plated and flexible, using flexible hoses.
Qualitative feed from manufacturers of companies Grohe and Hansgrohe does not cause trouble during installation and installation, as well as subsequent operation of the mixer. Models of concealed mixers are provided with a drainage device in the form of an elegant and easy-to-operate mechanism. Using his work, you can open and close the drain hole in the bowl with a small lever on the body of the mixer. Some models are equipped with a pull-out shower and a spout for the care of the bowl of the shell.
Installing the universal ibox allows you to equip the bathrooms with a concealed bathtub or shower mixer, as well as a bidet.
The hygienic concealed mixer is similar in its characteristics to the mixer for the washbasin. Installation is carried out directly on the edge of the plumbing fixture and is equipped with one or three holes. The hygienic mixer includes an aerator, the design of which includes a ball joint. This allows you to change the direction of the water jet and makes the plumbing as comfortable as possible.
Stages of installation and installation of the mixer of the latent type by own hands
Before starting the installation work, it is necessary to study the manufacturer's recommendations for the installation. Such recommendations help to correctly connect the parts and components of the mixer, excluding the possibility of incorrect connection.
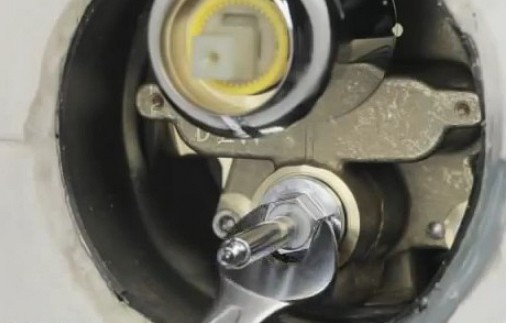
When assembling directly, it must be remembered that the connection of ibox parts is done using a vice of a 3/4 "thread.
Therefore, the installation box is designed for the size of common plumbing systems and pipelines.
The installation part of the outer box consists of the elements:
• the actual block
• Fastening bolts or studs
• Socket carrier
• sleeve for control knobs and handles.
The outer part of the box is installed after the end of the process of laying the tile. The plastic edge of the outer part should technologically protrude above the ceramic tile by 2 mm.
Then, a flushing unit is installed to ensure the direction of the flushing of the pipes. The next stage is the installation of the waterproofing structure, which is included in the delivery of the mixer.
This is a waterproofing cuff or gasket. After the installation of the waterproofing, the efficiency of the mixer is checked in order to prevent leaks.
The final point is to install the mixer knobs.
How to install a flush mounted mixer will tell you the video.


