The modern "warm floor" system is an inexpensive, safe and efficient enough system that provides comfortable temperature conditions in an apartment or a private house. The use of a traditional water heating system carries a number of disadvantages, one of which is the inability to heat the floor surface to a predetermined level. So, the air stream heated by the radiator moves upward, leaving the floor surface cold. Tired of suffering discomfort from the icy floors and fighting colds? Installation of the "warm floor" system will help you to ensure a high-quality heating of the floor and the room to a specified temperature level with minimal energy costs.
Content
The device of a warm floor of an electric
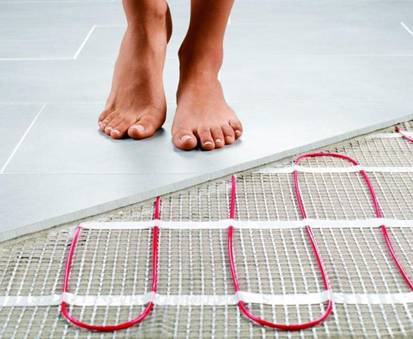
The system of "warm floors" electric is a high-tech product for effective floor heating in premises of any purpose. The cable or film acts as a heating element.
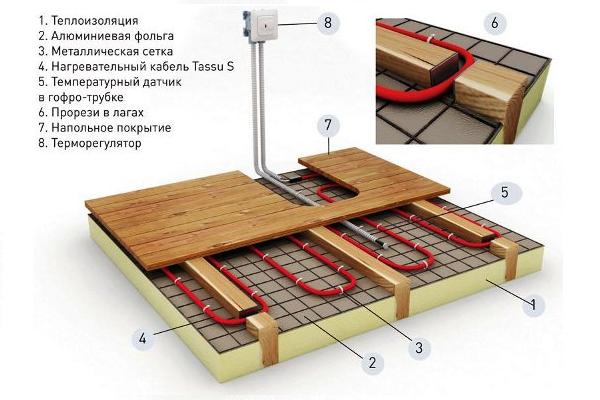
The heating system includes:
- a heating element;
- thermal insulation;
- temperature sensor;
- special thermostat.
Since excess of the set temperature level, however, as well as its unreachability, are undesirable, in electric heating systems, thermostats are actively used that perform automatic control and regulation of the functioning of the system "warm floors". The task of the simplest devices is to maintain the floor surface temperature at a given level, but the more advanced modifications of the thermostats equipped with modern software allow you to adjust the heated floors simultaneously in several rooms in a given mode, taking into account the time of day, days of the week and temperature.
To install an electric floor under the tiles, you do not need any labor-consuming installation of the pipeline, or work to connect to the heat supply system, you only need to lay a thin electrical cable on the floor surface and connect it to the existing electrical network.
We choose the electric warm floor by the type of cable
The heating cable underlying the "warm floors" system can be resistive and self-regulating.
Resistive cable
As the main heating element of this cable is a vein with increased resistance, passing through which the current is converted into thermal energy. To protect against electric shock, the heating core is insulated and covered with a braid of metal, which performs the function of grounding. In addition, it creates a shielding protection from the generated electromagnetic fields. All layers are covered with external insulation.
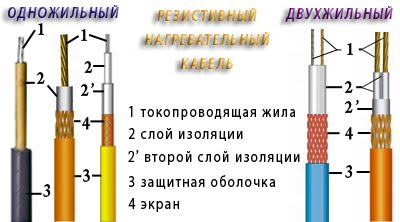
Distinguish between solid and two-wire.
Warm floors on the basis of a single-core electrical cable are the simplest technical solution, the installation of which consists in laying the cable on the floor provided that the cable is connected from the two ends to the working electrical network.
The only drawback of a single-core system is the formation of a magnetic field, which can only be slightly "smoothed" using a braid.
The two-wire cable is additionally equipped with a conductive core located between the heating wires. Since the motion of the current is carried out in different directions, the electromagnetic fields arising in the wires cancel each other out. When laying a resistive electrical cable, it is necessary to carefully lay it in the screed to avoid overheating and failure.
Self-regulating electrical cable does not have the above disadvantages, since the polymer matrix acts as a heating element. At the moment of overheating of one section, the current decreases, which means that the temperature decreases. In all other sections, the system operates in the preset mode.

Despite its high cost, warm floors made of self-regulating cable are very popular and in demand, as they are economical and have a long operational period.
Installation of a warm electric floor with your own hands
Consider the technology of installing an electric underfloor heating floor.
We choose the styling scheme
The design of the warm floor and the preparatory work should be carried out during the repair or during the filling of the rough floor. In terms of location, the location of the thermostat, sensor and electrical cable, as well as the zone of connection of the heating cable to the network, is schematically indicated.
If the room is equipped with plumbing or furniture, the space can be bypassed, saving the cable and reducing electricity consumption.

We install a layer of heat-insulating material
The presence of a heat-insulating substrate will allow you not to heat the lower floors. As studies show, the use of such additional layers will provide up to 90 - 95% heat transfer.
To create a heat-reflecting coating, it is sufficient to lay a dense aluminum foil on the heat-insulating layer.
Apply markup
On the floor with the help of adhesive tape transfer the layout of plumbing and furniture. Remain the remaining space for further electrical wiring. Correctly executed markings will save you from damaging the heating system when installing plumbing or furniture.
We lay the heating cable
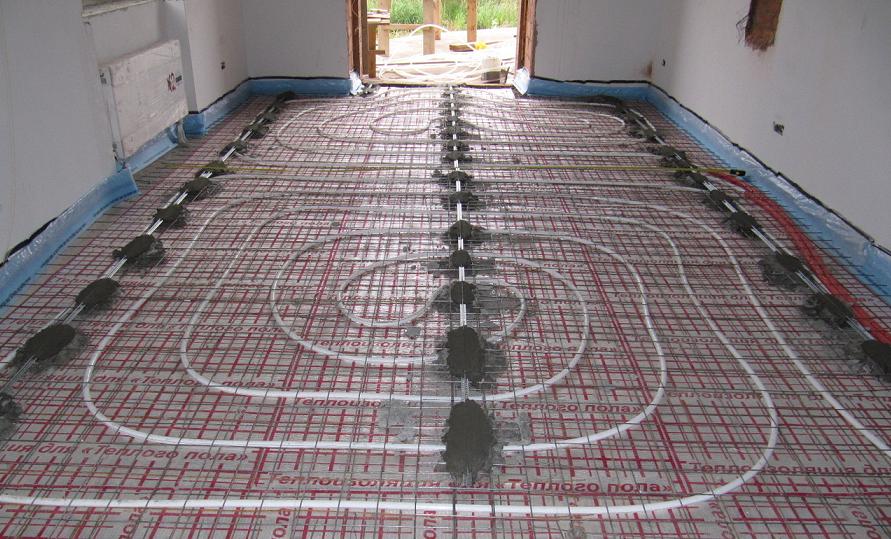
Laying the electric cable - the most critical stage of the arrangement of warm floors - produced by two methods: using a mounting tape or metal mesh.
Tape Mounting - this is a very flexible material with special fasteners for the electric cable. The application of the grid will provide additional rigidity, protect the heating cable from drowning and will give increased strength to the screed.
Fastening of an electric cable on a grid from metal is made with the help of plastic clamps.
Attention! Before installing the cable, ensure its integrity and resistance of all components. Stow evenly, observing the necessary gap between the rows. Crosstalk installation is not allowed!
Mount thermostat
Installation of the thermostat is performed at a convenient height for you - 80 -100 cm from the floor. Only strict adherence to all rules of the arrangement of the system guarantees a long-term uninterrupted operation of the device.
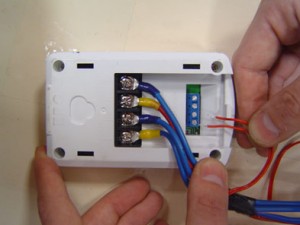
When installing the thermostat with a floor sensor, hide the latter in the corrugated tube, which will facilitate the procedure of replacing or dismounting the sensor. When grouting the floor with cement mortar, check the location of the corrugated tube - it should not be immersed in the screed.
We fill the floor
After re-testing the electrical cable for integrity and having the specified resistance, you can proceed to pouring the floor. The thickness of the screed - 3-5 cm. Avoid the formation of voids.
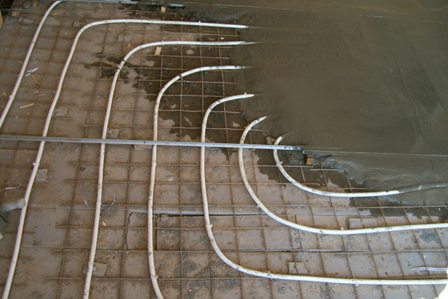
After hardening, the screed is covered with a floor covering - tiles, laminate or linoleum.
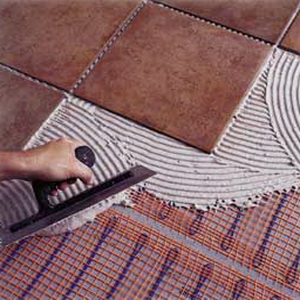
With care, approach the issue of finishing a parquet or laminate board, comparing the possibility of heating these materials with the temperature of the heating system.
How to make installation of electric warm floors in detail will show a video on youtube.


