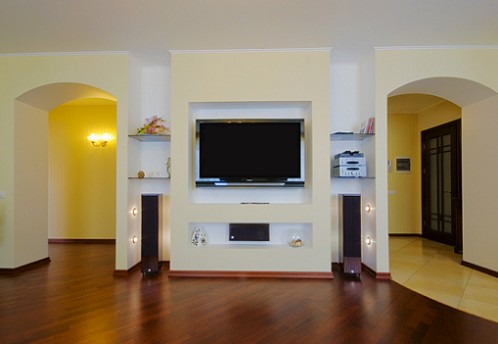
Practicality of drywall is confirmed by time. Starting with a simple plasterboard box, the creative thought and hard-working hands of the craftsmen learned to make niches, install slopes and original shaped interior arches.
Content
If you ask any professional master: "What kind of building material does he prefer to work with?", Then the answer will be one. This is drywall (GKL). What is the secret of the building material drywall? Drywall easily allows you to create any shape and design: niches, slopes, boxes. True, even simple geometric forms of slopes from gypsum board require certain skills when working.
How to install slopes from plasterboard
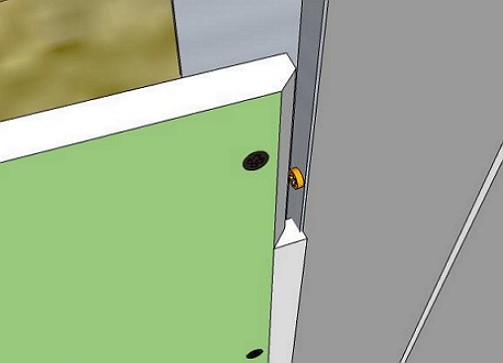
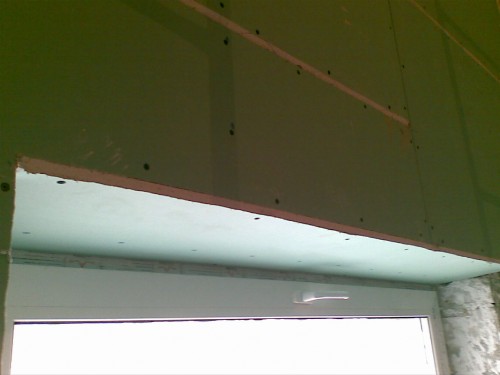
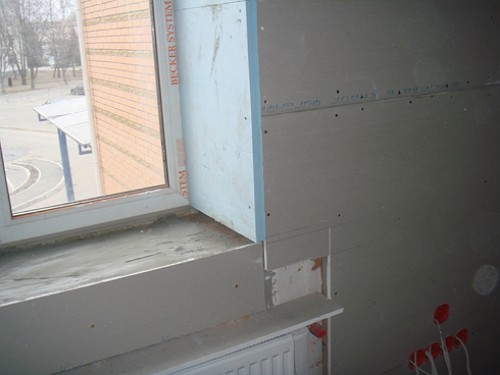
Installation of slopes is recommended to begin with the installation of the upper part. The starting profile, cut with scissors, is set according to the size of the upper part of the window. The profile is fixed to the frame along the outer edge with the help of "fleas" at a distance of 15 cm. From the drywall sheet, cut the top slope. On the back side of the cut slope make a facet 5 mm. Putting a slope to the window frame, note the location of the fasteners.
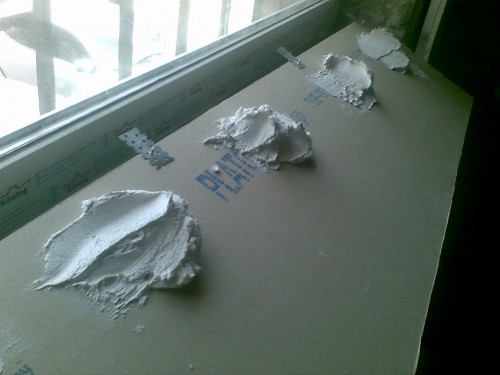
Cut in the slope of the notch in the attachment points. Thus, a complete approach of the slope from the gypsum board to the depth of the profile will be made, excluding gaps. We make marks on the back side of the slope to control the depth of the entrance. For fixing gypsum cardboard, gypsum glue "Rotband" or "Perlix" is used. Preparation of the working mixture is carried out according to the instructions on the container. The finished working mixture is applied from the back side with a spatula. Then gently set the top slope in the profile and set it in place.
For more dense contiguity, we lightly tamp the end. Control of entry is made on the labels on the back side. We lay out a slope on the level and fix it using temporary supports. Gripping of the gypsum mixture takes place during the day. After the final setting of the gypsum mixture, the temporary supports are retracted, and the upper part of the slope is adjusted to the level.
Installation of lateral slopes is carried out on the same principle. After applying the gypsum mixture and installing side slopes, it is necessary to wait time for complete setting of the mixture.
Then at the bottom of the installed side slopes from the end we insert the starting profile. The final installation of the slopes is completed by framing with perforated corners and subsequent putty.
The most demanded are niches and boxes of plasterboard.
How to make and install a box
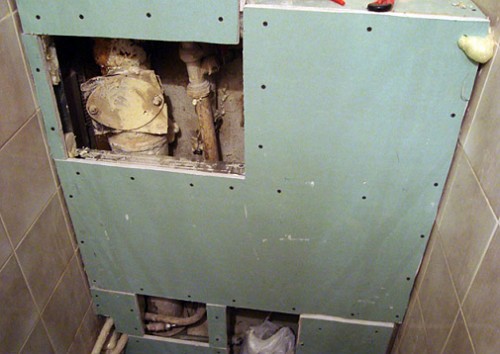
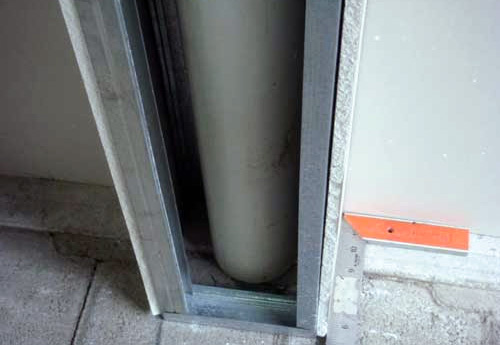
An amazing invention - the box allows you to gently hide undesirable elements of communication in the process or after the repair.
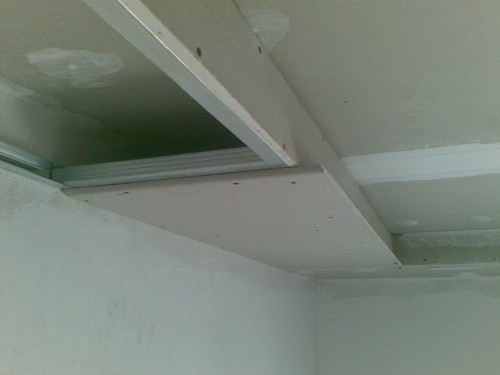
In the ceiling panel you can hide the wires of electrical wiring in the rooms, rusty sewer pipes, and even some wall or pillar defects.
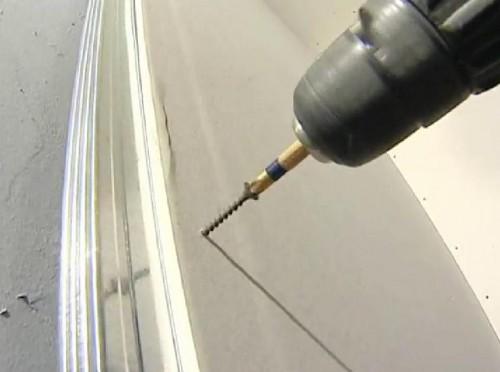
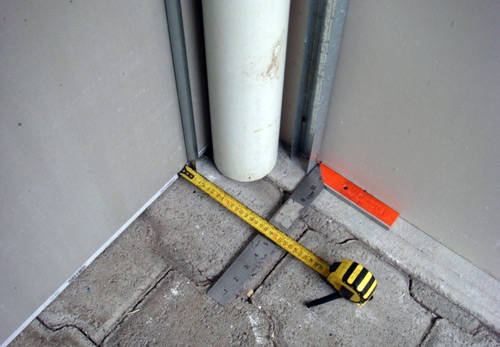
It's easy to make a gypsum cardboard box. The frame for the box is made of wooden blocks measuring 40 x 40 mm. or a metal profile of 50 x 50 mm. In the same way, you need the UD profile and the profile for the frame itself - CD. Fasten the elements of the carcass preferably with dowels, clogging Euroshirts and self-tapping screws "fleas".
On the floor or wall, where the construction of the box is planned, the layout of its location is made. Then the fastening elements of the frame are made, beginning with the location near the wall. The first two sides of the box are formed, then the external faces are set by means of jumpers.
The next stage is the installation of prepared parts from plasterboard in the traditional way. Fixing the details of the box is made to the main frames of the box frame at a distance of 15-20 cm. Then the corners of the box are formed at the junction points. It can be a metal or plastic corner.
Such a box, manufactured independently will serve for a long time.
In addition to the box you can make simple niches.
The most accessible variant of making a niche under the bathroom with their own hands from plasterboard is presented in the video.
How to make an arch of plasterboard
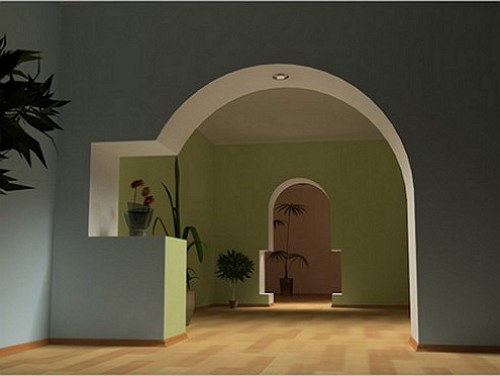
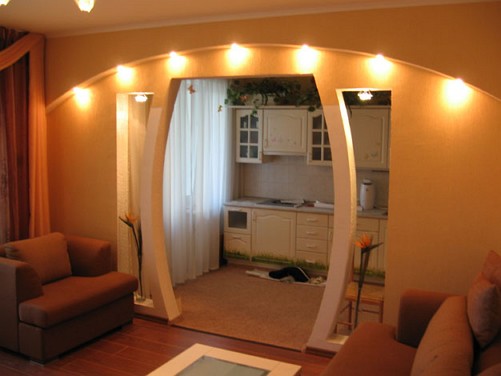
Having stopped at the vintage style of the arch, which most accurately emphasizes the interior of the room or kitchen, it is necessary to make preliminary calculations of the installation.
For example, the interior kitchen arch will look good when the distance between the floor and the lintel at the standard width of the door will not be less than 2.5 m. So, we are developing the design of the future arch: the height of the installation and the diameter of the arch ceiling. For convenience of realization of the conceived it is possible to make a template of an arch from a usual cardboard.
Now you will see and know where it will be necessary to lower or raise the plasterboard for further installation. The next stage is the installation of a metal profile. To create arch structures, the most preferable is the metal profile "P". Such a profile has the necessary rigidity for the manufacture of the arch profile of any configuration.
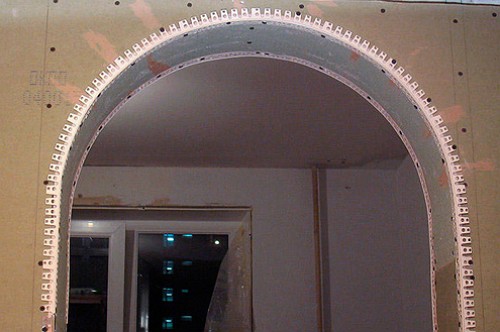
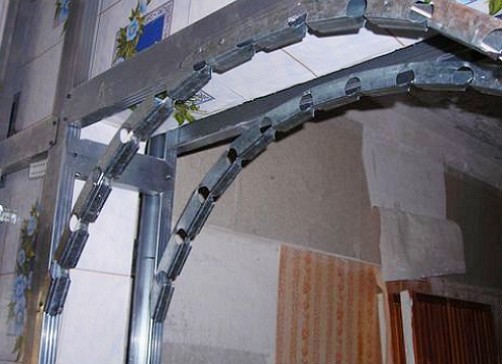
The installation of straight sections of the metal profile does not cause any difficulty. But the arched part needs special installation and fastening. For fastening it is better to use a punch for work on metal or scissors. We calculate the necessary length of the profile according to the dimensions of the arch. We cut off the profile and cut the cut section in 1 cm increments. Such incisions allow a slight bending and shaping.
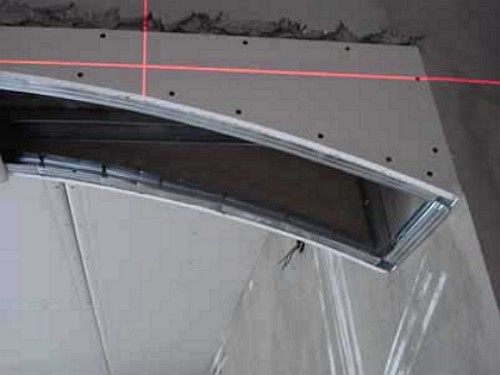
This is the finished skeleton of the upper part of the arch. For the preparation of installation in the archway, it is recommended to use a ceiling gypsum board. Compared with the wall GCR, from a smaller thickness and better bends. There are enough ways of nondestructive flexing of drywall, but these methods are based on wetting the sheet with water and violating the integrity of the gypsum layer. When installing a strip of gypsum board, it must be remembered that the gypsum side should be at the bottom of the arch, and the notches - from above.
Therefore, it is necessary to work accurately and quickly.
Something like this, as shown in this video.
Certainly, that for manufacturing of niches, arches, slopes or a box it is possible to use other materials, such as plastic, plywood or chipboard. However, the most convenient for work remains gypsum cardboard, because it is so accessible for processing and does not limit further in the method of decoration or decoration.


