


Installation of suspended ceilings in the kitchen will be a simple but very necessary task. After a rack ceiling in the kitchen - this is the best option for ceiling finishing. Indeed, what can be more practical than the suspended ceiling from the racks - it is installed simply, looks beautiful, in the care most uncomfortable of all, and on a pocket to everyone. So, let's talk about the rack ceiling more, because it really is worth it.
Content
What is a rack suspended ceiling
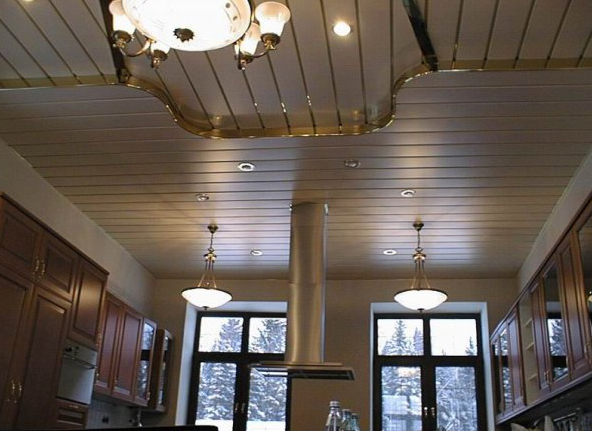
Suspended rack ceiling in the kitchen is a simple (but reliable) design, consisting of a profile (to which the ceiling is attached), corners and ceiling racking panels (aluminum or plastic). Reiki are thin thin dostochki, but not wooden, and aluminum or plastic. They are easily installed on the profile mounted to the surface of the concrete kitchen ceiling (or to the walls). Suspended ceiling ceiling is a modern type of finish for the ceiling in the kitchen, which perfectly conceals all the shortcomings and unevenness of the concrete ceiling (without preliminary leveling of the surface), and allows you to easily and unnecessarily make all necessary communications between the suspended and ordinary ceilings. Such a rack suspended kitchen ceiling is very easy to clean - it can be easily and simply washed with a regular sponge with any detergent. And you can periodically, as far as contamination, remove it (simply removing the rails from the profile) and soak in any washing solution, and then wash. When you change the design of the kitchen, it also easily changes to a new one (of a different color). If it is damaged, even serious, you can simply replace the broken rackpole panel with another one. Do not change the whole ceiling. Agree, this is really very convenient and practical! In fact, this is the best option for the kitchen. For example, you can decorate the ceiling with Christmas balls, especially since the method of fixing is very simple. Showing wit, using thin wire. the kitchen can be turned into a fairy tale.
Thus, we see that the advantages of a rack suspended ceiling are obvious. Let's take a closer look at its species and choose the most suitable for ourselves.
Roof ceiling in the kitchen - types and features
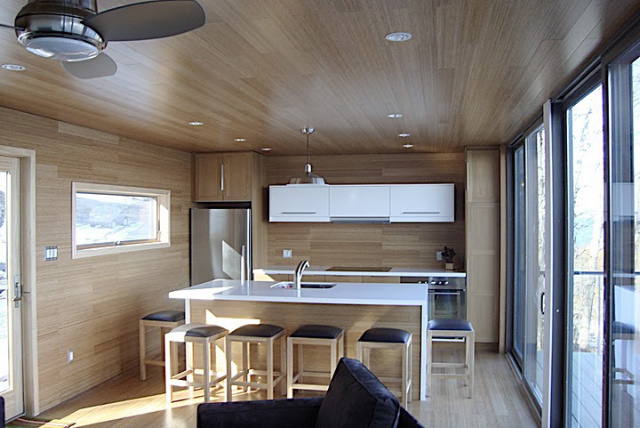
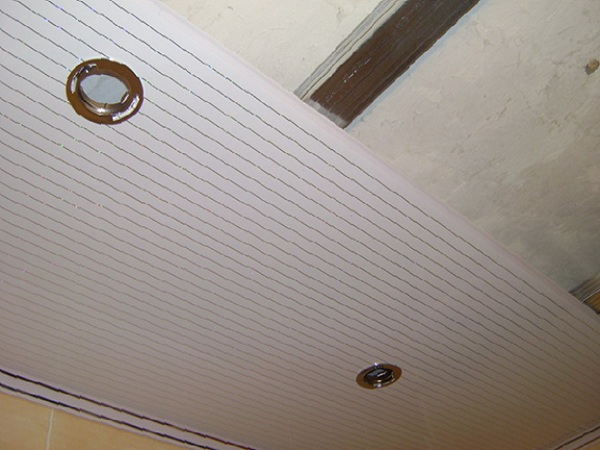
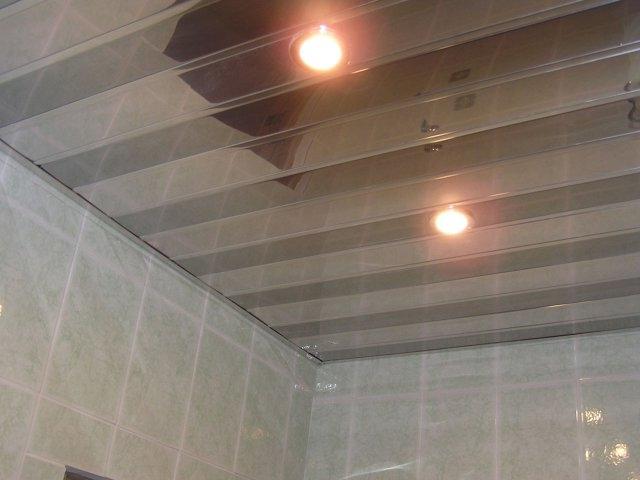
Aluminum lath ceiling for the kitchen - completely environmentally friendly, because for its production aluminum food is used. Reiki manufacturer makes a different size and even color (not necessarily the color of aluminum). There are two options for installing aluminum lath ceilings - homogeneous suspended ceilings (with a flat continuous single-colored surface) and heterogeneous (colored, with alternating colors and textures). Uniform aluminum ceiling is installed more simply heterogeneous - all racks of the same size and color are laid on the profile with a continuous cloth and the effect of a seamless ceiling is obtained. A heterogeneous aluminum lath ceiling requires more time for installation, but it looks more interesting. When installing such a ceiling, the slats alternate with each other, and a kind of colored "zebra" turns out. In any case, it is not a problem to choose a false ceiling for your kitchen interior.

Of the advantages of aluminum suspended ceiling rack for the kitchen can be called that it is not afraid of moisture and temperature difference, and also that it is very durable and lightweight. Nevertheless, in spite of the small weight of the suspended aluminum ceiling, we advise you to use hangers for the width of the room in which the ceiling is installed, more than one and a half meters. Otherwise, the middle of such a ceiling will subsequently sag and will damage the appearance of the kitchen.
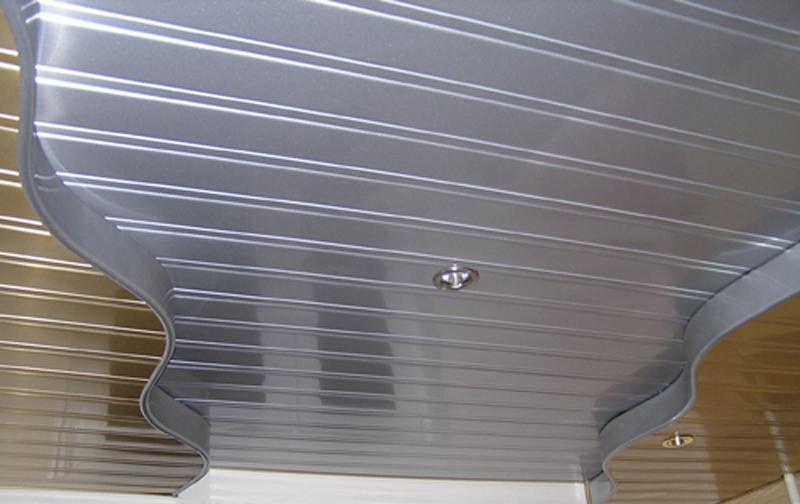
Also, the rack suspended ceilings are of two types: closed and open. Open assembled in a continuous ceiling cloth with interlacing lath panels of inserts. Closed same rack suspended ceilings are installed joint in the joint.
In form, there are Italian and German suspended ceilings. German have a straight form, Italian - rounded. Thus, the German are suitable for open ceilings, and the Italian ones are closed.
Reiki for suspended ceilings are not wider than 30 cm. And, if you install them along, then visually we extend the room of the kitchen, and if across - then we expand.
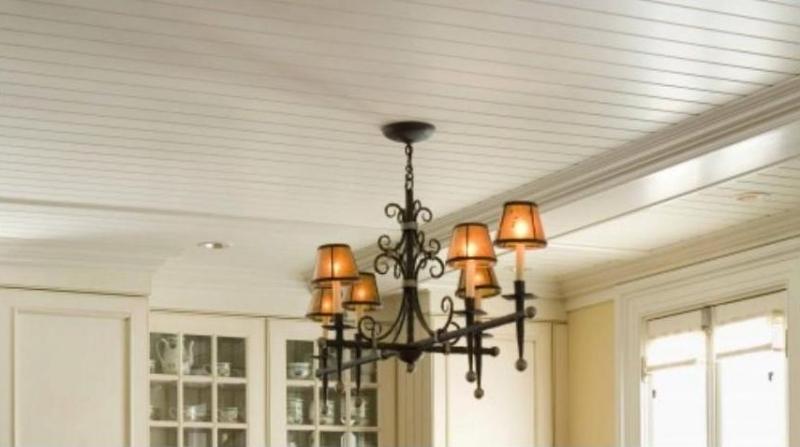
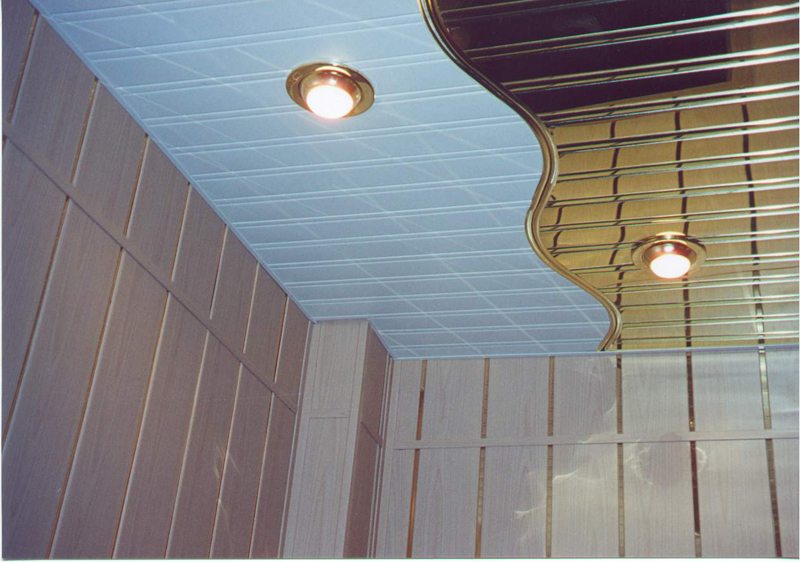
On the suspended ceiling rack in the kitchen, it is possible to install hanging point light-emitting diode fixtures, chandeliers, etc. However, the holes for them in the rack panels should be done in advance, even before the installation process begins.
So, if we decided what kind of suspended ceiling ceiling in the kitchen we want to install, let's move on to the process of its installation. You will be convinced that making such a ceiling with your own hands is not easy, but very simple!
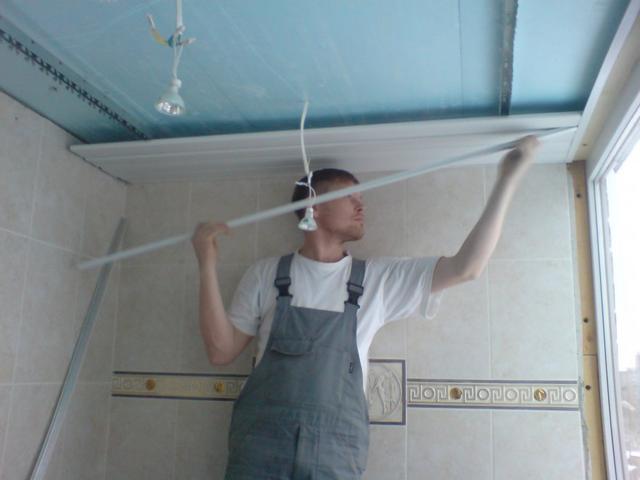
Installation of suspended ceilings in the kitchen with their own hands
In order to install the lath ceiling exactly, do not crank from the very beginning of the process, so you must first try to accurately expose the very first corner, and only then begin to attach the fixture.
When installing a suspended ceiling rack it is better not to rely on your eye, but use a small level.
So, to begin with we measure from above the concrete ceiling in the kitchen the distance on which our suspended suspended ceiling will be located, about 12 centimeters. And then from this point in all directions with the help of a level and a marker, we put the marks, on which we will orientate in the future when installing the profile.
Now measure the corners of the desired length and cut them along the length of the wall.
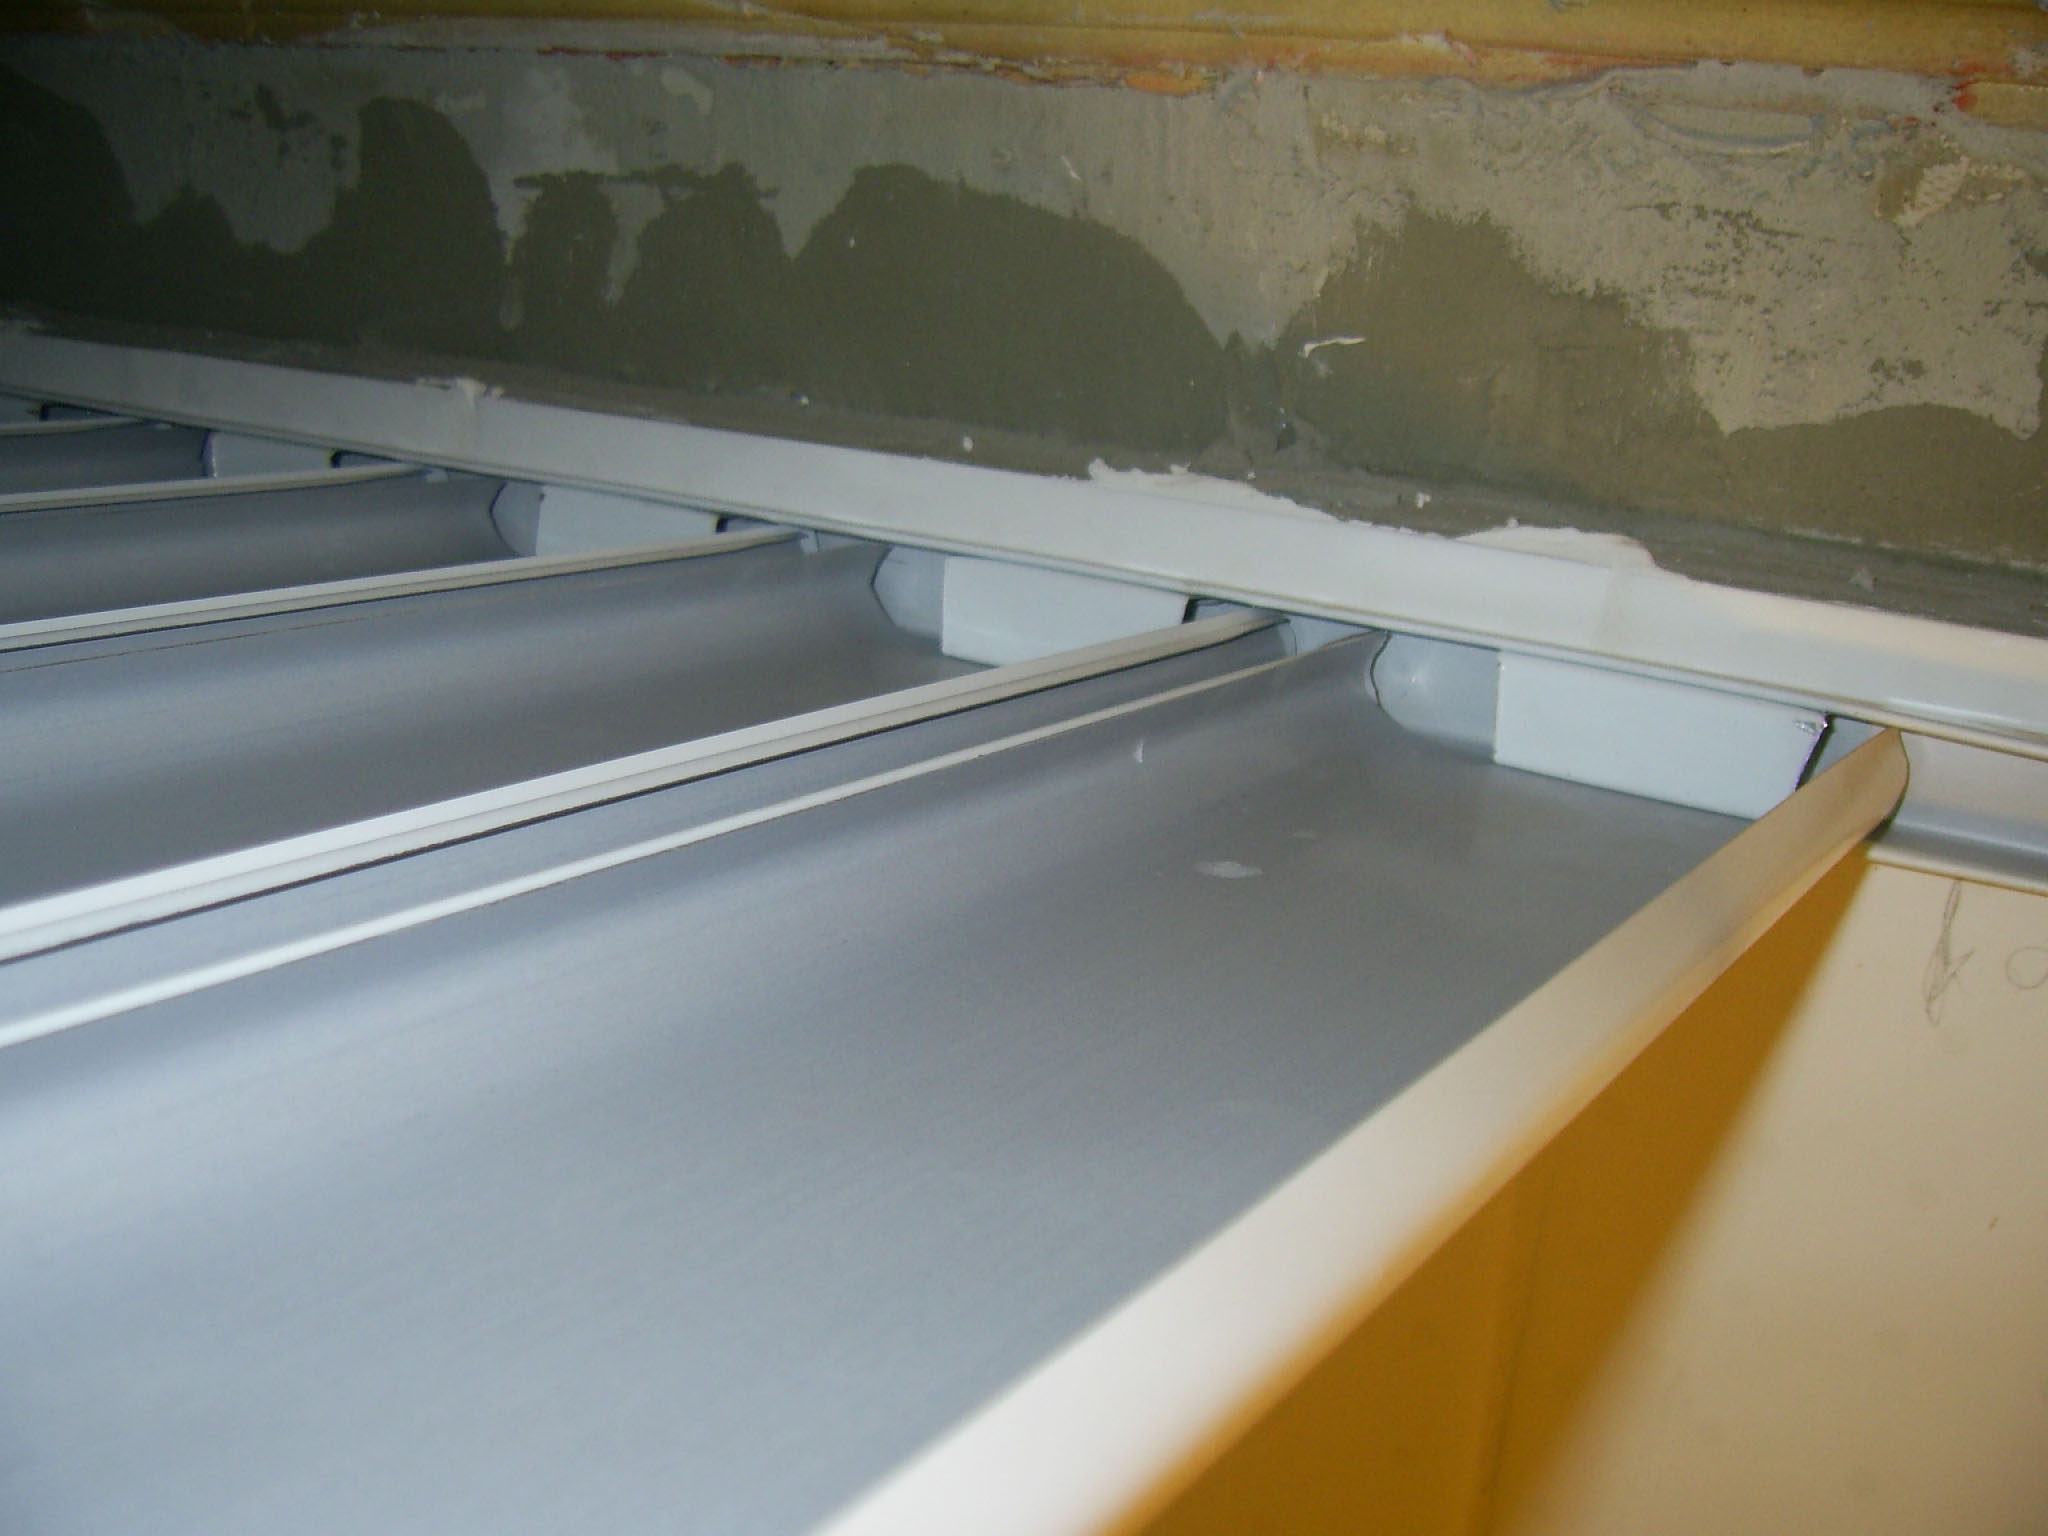
Apply one profile corner to the wall, the upper end to the points we have planned and attach it to the wall, about a half meter apart. On the inner corners they are fastened to the joint in the joint, and already on the outer corners of the kitchen - in relation to each other at an angle of 45 degrees. Rack-mounted suspended ceiling is attached to the stove with special metal hangers - 120 cm from each other across the walls of the kitchen.
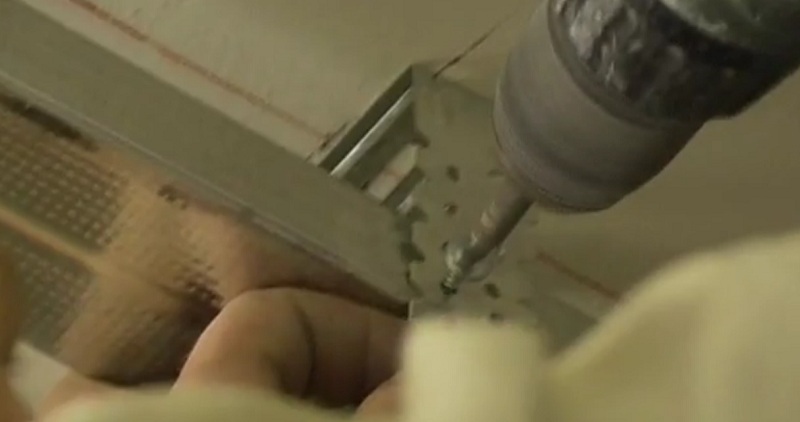
Then we take a good drill with a perforator and drill the ceiling. We need to drill 6 mm holes in width and in depth about 4-5 cm. Now that the holes have been drilled and everything is ready for installation, we attach the rods at the same distance from the surface of the concrete ceiling of the kitchen. Then, with an interval of about a little more than a meter, attach the tires (carriers) on which there are hanging holes, leaving approximately one centimeter of empty space between the profile corner and the support bar.
When installing panels, make sure that their length is suitable. So, they should not touch the walls, but they should be half a centimeter from them.
Then fixing the previously measured profile to the walls, we put ceiling slats in it and here - our ceiling is ready! Reiki we insert into the profile corner diagonally, and then, in order for them to enter it, we open and then snap back our profile with the help of special devices - the locks that are on the carrier bus.
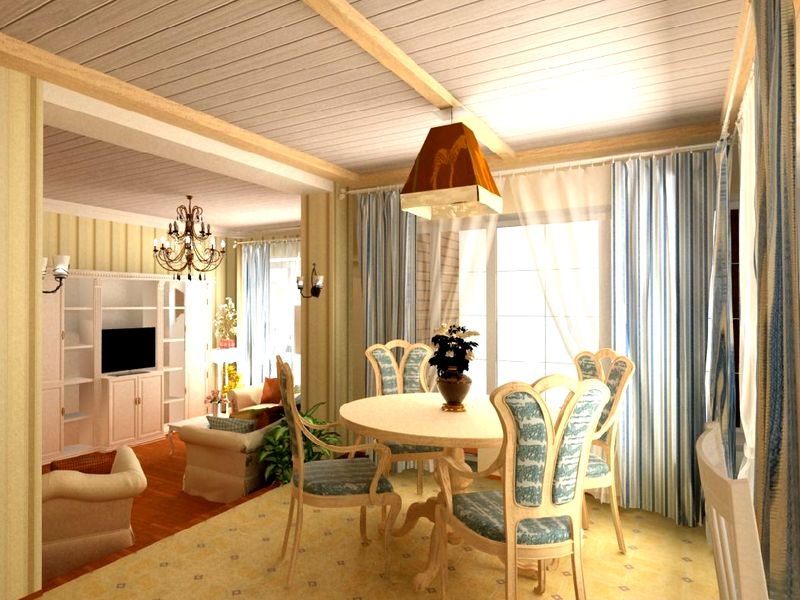
And now, our kitchen is transformed and has a presentable appearance. You can forget about the repair for many years, because the lifetime of the suspended ceiling 25 years!
So, in conclusion of the article, we offer to watch a small video on how to properly install the rack suspended ceiling in the kitchen with your own hands.


