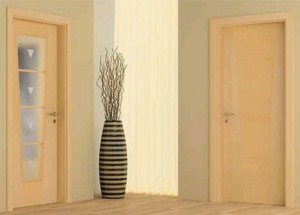
So, it's time, and it was decided to install interior doors. This is a very important stage in the repair process, because properly installed and stable functioning doors not only create an atmosphere of comfort and security in the house, complementing its interior, but also coping with its main function - to divide space into residential areas. Also, when choosing interior doors, it is important to consider their style. It is desirable that it corresponds to the interior design of the whole house. Today, the market for building materials offers a huge selection of interior doors. This, and become habitual, single-leaf doors, and bivalve, and sliding doors of various types. In this article, we will gradually describe the installation of interior doors with our own hands.
Recommendations for installing interior doors
Installation of interior doors is performed at the final stage of repair and finishing works, after the finishing of the walls, floor and ceiling was done. Therefore, from those who install the door, you need extreme accuracy, it is best to do this work not alone, but with a partner. Next, we will describe in detail how to install the interior door with your own hands. By adhering to the recommendations given here, you can easily do it yourself without reference to specialized construction organizations.
Preparing the doorway
At the initial stage of the work we prepare the doorway to install the interior door. Adhering to the correct saying "Measure seven times, cut once", first measure the walls along the vertical, as well as the width and height of the doorway.
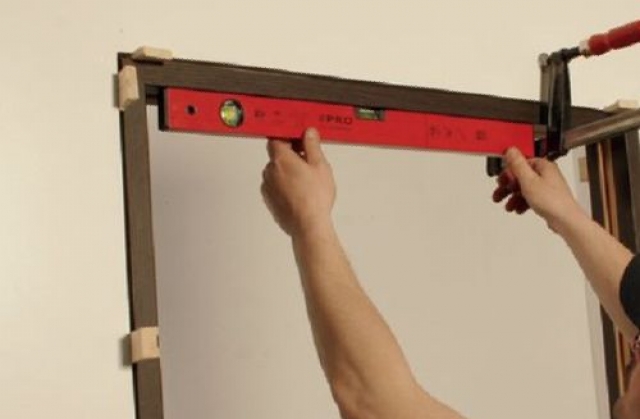
The height and width of the door opening must be measured taking into account the gap (10 -15 mm) between the door frame and the wall. Calculations are made in this way: if the height of the door is 2 m, the width is 90 cm, and the thickness of the door frame is 2.5 cm, the width of the entire door block will be 955 mm (900 mm + 25 mm + 25 mm + 5 mm required on the door gap), and the height of the door block is 2038 mm (2000 mm + 25 mm + 3 mm of the door gap from above + 10 mm from the bottom). We round off and get the dimensions of the door block 2040 mm * 960 mm. The ideal dimensions of the door opening in our case are: width 980 - 990 mm and height: 2050 - 2055 mm.
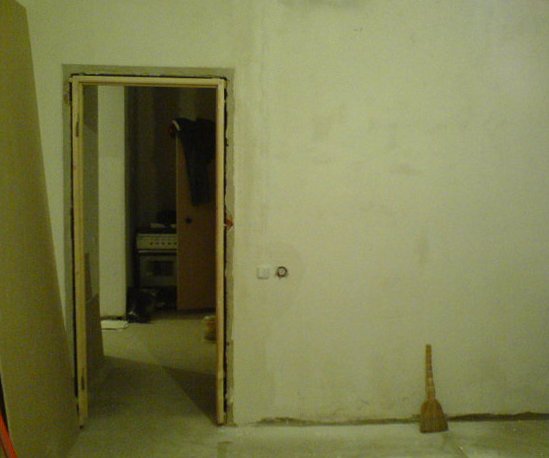
If the doorway is larger than necessary, then the interior door will sit in it too freely, so we reduce the size of the opening with sawn timber of the appropriate size.
Assembling the door frame
The next step is to assemble the door frame. First, we make the marking of fastening the door hinges on the door leaf, retreating from the lower and upper edges to a distance of 200 mm. We will outline the contour of a loop of rectangular shape with the help of a square and a sharpened knife. Then use a sharp chisel to make a groove under the door hinge to the required depth. If you use a router, it will help accurately and quickly make a groove of the size and depth we need. Screw holes for screws.
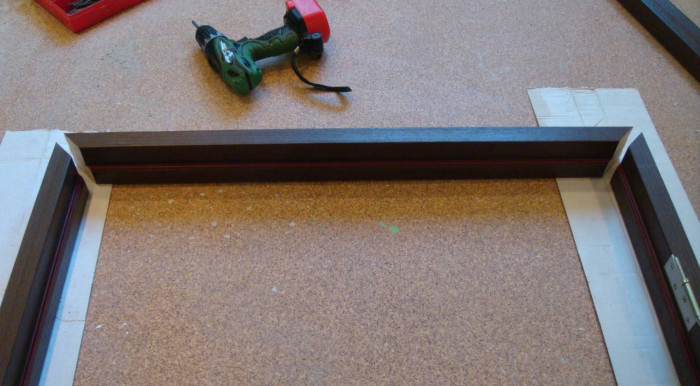
We proceed to collect the door frame. Cut the upper ends of the racks at an angle of 450. On the hinge stand we place the position of the lower and upper door hinges and cut out the grooves in the door frame for them in the same way as we did earlier in the door leaf.
Installation of door hinges
At the next stage we make the installation of door hinges, paying special attention to the accuracy of the distance A and B. So if the door frame is equipped with a sealer, then A = B. If not, then A will be larger than B by 1.5 mm. This is necessary in order to accurately install our door (so that the door leaf does not reach the vestibule).
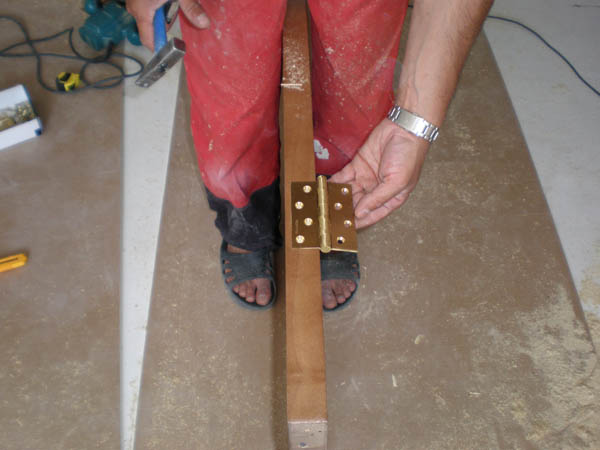
Distance from the edge of the loop to the edge of the door leaf. Cut the ends of the crossbar at an angle of 450 so that during the assembly between the vertical pillars the distance is 5 mm larger than the width of the door leaf. From the bottom of the door to the floor is a gap of 10 mm.
On the hinged box down, note the distance from the lower slot of the loop, equal to 200 mm + 10 mm. Check the floor, using the level, before we begin to cut the door frame.
To do this, apply a level between the points of location of the door frame racks and check also for the entire opening radius of the interior door. Rarely there is absolutely equal sex, so those changes in its level that we detected, we correct, cutting the struts to the desired length. All the components of the box of our interior doors we collect using screws, thus preparing the door unit for installation.
Installing the door frame
The next step is to install the frame of the door frame in the previously prepared opening. To install the door unit in the doorway, we need wood screws. To install the interior door to use large anchors, as in the case of installing an entrance door, it is impractical. You just need to secure the door frame in three places on the screws. If only the door frame is very large non-standard sizes, then you may need to use additional fasteners, which in any case, we hide under the reciprocal lath of the lock and under the door hinges.
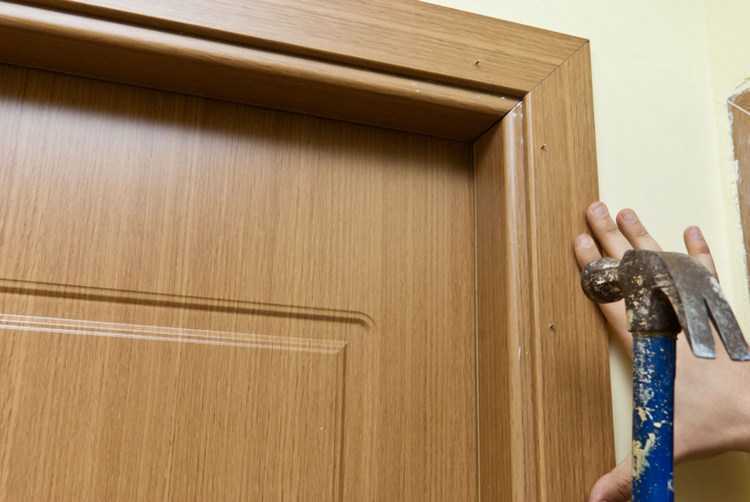
Now we put ready, in full collection, the box of the installed interior door in the opening, vertically setting the loop post, which we attach in advance prepared screws for woodworking. We hang and fix the door leaf in the doorway. We fix the lock stand. On the door leaf, we make the same gap between the vertical posts and the crossbar, and between the pad and the door we make a gap of 3 to 4 mm. As you know, in houses of modern construction it is rare to find wooden walls, so before fixing the racks of interior doors, you need to prepare mortgages for the screws. We install wooden spacers between the posts of the door frame and the wall approximately 4 pieces on both sides. Formed between the box and the wall, an empty gap is abundantly filled with mounting foam, ensuring that it does not fall on the door unit itself or on its parts. It is important to use only a special mounting foam for installing interior doors and take into account that later it will expand approximately five times.
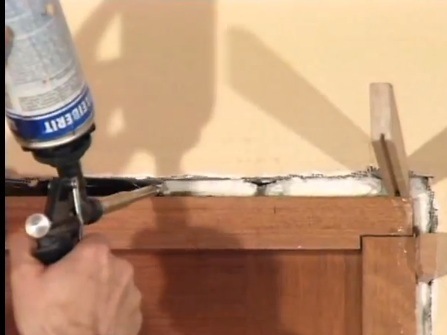
Please note that while the foam dries, you can not perform any actions (approximately four hours, and if possible, a day).
Types of handles for interior doors

It remains to choose the fittings in the style of our door, namely the handle. We advise you to pay attention to three types of handles for interior doors:
- pressure,
- noobs
- stationary.
You yourself need to decide which design will be your best option, based on the design, ergonomics and functionality of these or other door handles. So, let us dwell on each of the types listed above. Push-up handles (fillets) are usually a lever (one part of the handle, external) that activates the lock mechanism (with a latch or tongue) installed inside the door leaf (this is another part of the handle, internal). The design of the pressure handles is presented in two versions - both with a single piece and with a separate patch.

The installation of the pressure handles is rather difficult - at the end of the interior door a groove of rectangular shape is made to a depth of up to 100 mm. But sometimes this kind of door handles is just necessary, because their advantage is that the interior door with their help can always be locked with a key.
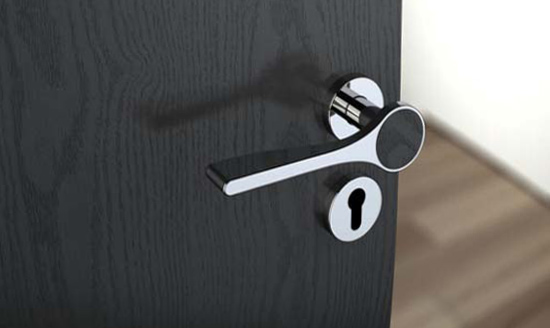
Next, consider such a popular and fashionable kind of door handles, like the noobs. Their prevalence, they received, no doubt, not without reason. One of them is their simple installation, during which two holes are drilled - the first under the handle and the second - under the snap mechanism.
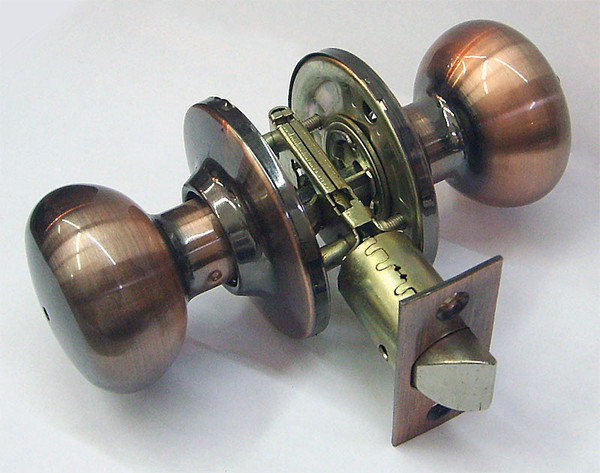
The shape of such handles is usually spherical or conical, but you can sometimes see the lever. By their design they represent an opening mechanism consisting of two parts - an external (handle with a mechanism) and an internal (latch mechanism). Knobs-noobs are equipped with a special lock, which allows you to close the door with a single one, and come with a lock that closes the key. This is an ideal solution for opening and closing interior doors.
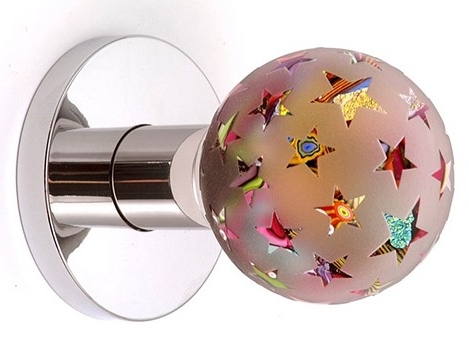
And, finally, the third kind of pens are stationary. These are the most simple, usual to us from childhood ordinary handles, without any kind of locking mechanism. Nevertheless, due to their simplicity, they, still, are popular and not deprived of the attention of designers. Stationary handles are also somewhat complicated design. For example, such a handle can have both a roller and a ball latch in the form of a tab in the form of a ball or roller.
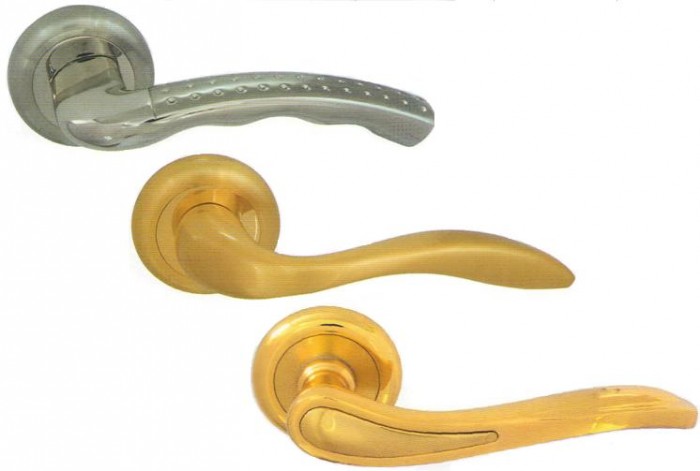
The choice, as in any other case, remains only for you.


