Shatrovye roofs on houses attract attention from afar. The laconic form and apparent simplicity of the roof captivates, so the emerging desire to make a similar roof is natural. That for the construction it is necessary to provide and how to erect the roof.
Content
Tent or hip roof
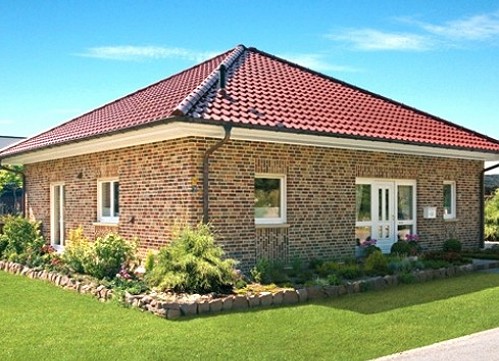
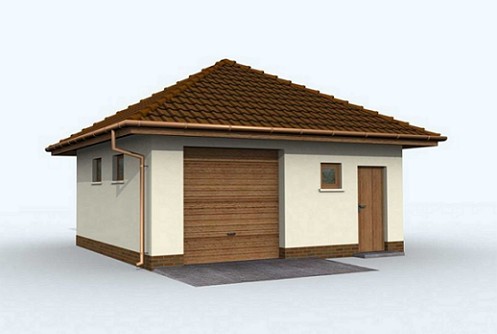
The most economical option for the roof of a private house, in terms of saving materials for construction, is the hipped roof. The roof slopes are made in the form of isosceles triangles, forming a common vertex, the base of the roof is a square.
The roof in the form of a tent is a kind of a gable roof.
By the way, the other name of the hipped roof is the hip roof. The base of the hip roof is also a rectangle, the two side faces are triangular, and the other two represent a trapezoid.
The perfect symmetry of the skates and the roof truss system requires precise calculation and coordination of actions when building it independently. In order to make such a roof, it is necessary to study the features of its construction.
Tent roof constructions
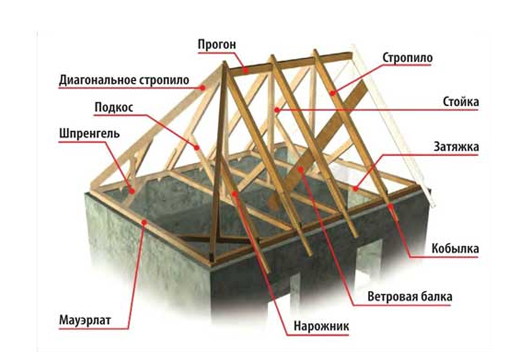
The main elements of the roof truss system in the form of a tent are:
• diagonal rafters located at the corners of the roof frame
• Mauerlat support beam, supporting the ends of the rafters
• shortened rafters or nazhdniki attached to oksnymi rafters
• Support struts
• additional supports (runs, crossbars and legs), creating additional rigidity of the roof.
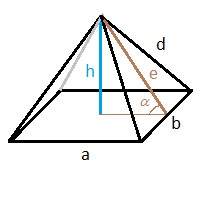
Nevertheless, the complex arrangement of elements of the tent roof and rafters create a demanded sustainable system, which is used in the construction of country houses. Naturally, the construction of a hipped roof requires a calculation, the formulas of which are based on trivial methods of calculating triangles.
Calculating the hipped roof
The purpose of calculating the hipped roof is to find the volume of materials necessary for its erection (roofing, under-roofing material),
crate and truss devices based on specified parameters. In addition to volumetric parameters, the slope angle is calculated and the dynamic strength of the entire system is calculated.
Of course, the number of parameters is quite large and complex, so it is recommended to use an online calculator.
As a result of the calculation, the following data will be received:
• angles of inclination of the rafters of the side
• total surface area of the roof (including overhangs)
• lengths of diagonal, side and foot rafters
• recommended rafter section
• number of required rafters for the system device
• volumes of timber for rafters (m3)
• the number of rows of the crate.
The data obtained is sufficient for the construction of the hipped roof with their own hands.
Raising the tent roof
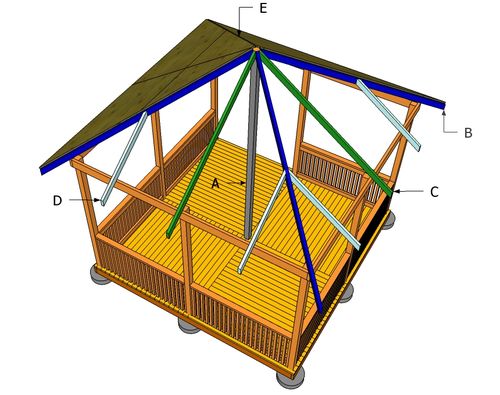
It is recommended to start the construction of the hipped roof with small architectural forms, for example, the roof of an open gazebo or a garage. An excellent opportunity to learn the technology of erecting the roof and the subsequent improvement of the acquired skills in work!
carcass
The frame of the tent roof has a classically simple structure and consists of 4 diagonal rafters and 8 struts (2 scaffolds per rafter).
Installation of the roof begins with the construction of the frame. It must be remembered that for wooden houses the frame will rest on the upper crowns, for brick houses and foam-concrete houses on the Mauerlat.
installation of mauerlat and support bars
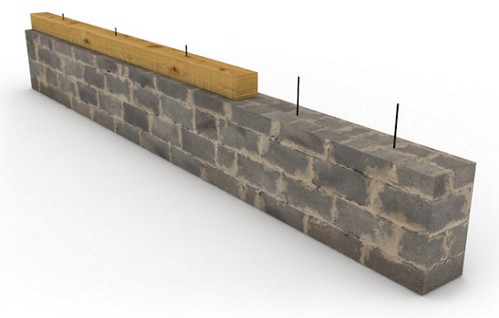
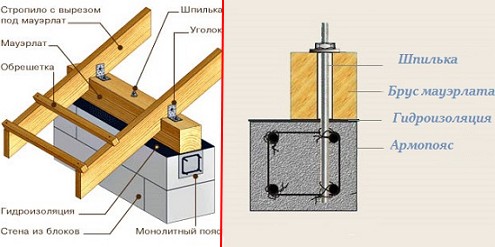
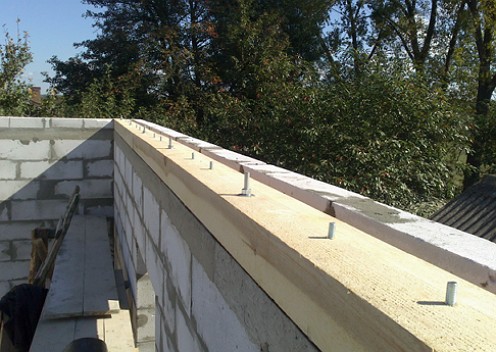
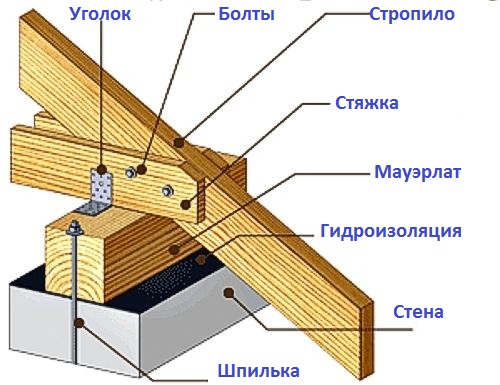
To fix the Mauerlat, it is recommended to install the embedded elements and armo-belt. To create the Mauerlat, wooden beams are used, fixed along the perimeter between each other by a direct lock.
There are ways to fasten the Mauerlat:
• using steel wire
• using construction studs
• using anchor bolts.
Mounting Mauerlata with the use of wire is made by laying pieces of steel wire at a distance of 20-30 mm. After the masonry has dried, the wire is wrapped around the beam and fastened to its ends.
The construction studs for fixing are L-shaped and the maximum depth of immersion in the concrete cushion is up to 450 mm. To install the Mauerlat studs, mark out and drill the holes for installation. Then the studs are installed in place and tightened with a nut.
Helpful Tips
Regardless of the chosen method of fastening the Mauerlat when installing the fasteners, it is necessary to take into account the presence of a waterproofing layer. The waterproofing material is pierced before the studs are inserted. After pouring with concrete, it is necessary to clean the thread of the studs before the concrete is frozen.
Mounting the Mauerlat with anchor bolts is made directly into the armopoias before pouring. To mark the holes for the anchor bolts, prepare the board and mark the place of installation on it. Then the board is applied to the edge of the Mauerlat and drilled holes according to the markings. Prepared Mauerlat put on the bolts, put the washer and tighten the nut.
installation of rafters
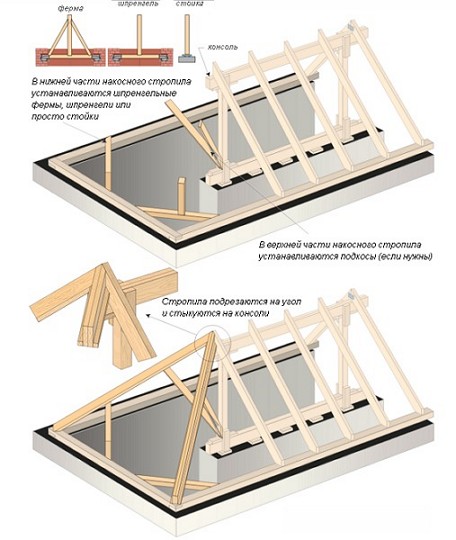
Aligning the Mauerlatt around the perimeter, you can proceed to the installation of the rafters - diagonal rafters, which are located on the diagonals of the hipped roof. For reference: the main load of the rafter system of the hipped roof falls exactly on the diagonal rafters. Diagonal beams have a considerable length and, correspondingly, weight.
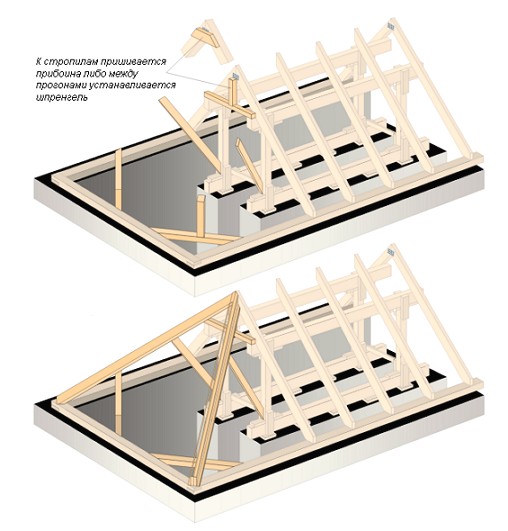
The installation of the diagonal rafters is carried out according to the calculated spacer or unrestricted scheme, according to which the rafter leg of the diagonal beam can rest against the mauerlat or beam. The angle of inclination of the diagonal rafters can be up to 23 °. The second pair of diagonal rafters is installed in a similar way. After installing long diagonal rafters, two short struts are attached to them.
When working, it may be necessary to stitch the upper plastic rafter, which must be placed on the edge at an angle. Plast, located in the valley, is tied with a groove. This makes it easier to lay a crate.
Helpful Tips
According to the selected project, all accompanying operations when erecting the hipped roof - the erection of the roofing, the device of the valley, the framing of pipes and openings are made during the installation of the roofing system. Strict adherence to the technology of erection will ensure a good result.
Choice of fasteners for the construction of a hipped roof
The choice of fasteners for the erection of the roof must be given special attention.
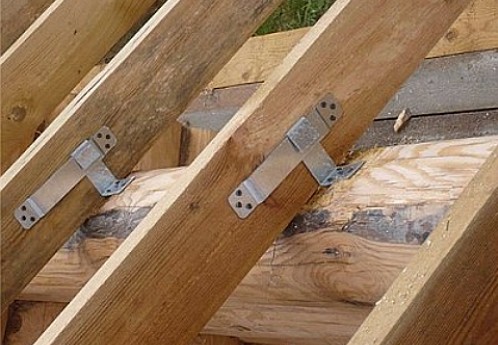
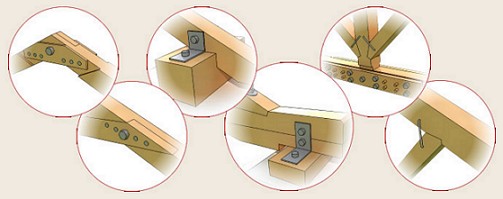
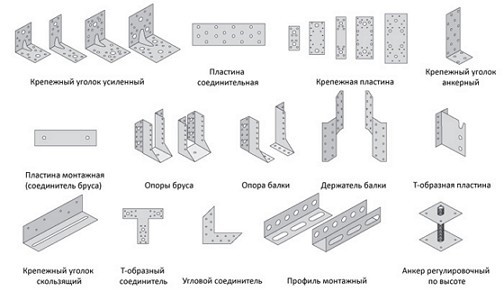
To connect the elements of the rafter system the following metal fasteners will be used:
• perforated nail and nail plates
• Staples, clamps, screws and nails
• corners steel perforated
• skids and sliders for fastening rafters.
In addition, wooden products may be required:
• nageli and plates
• triangles bars
• overlays when creating a stud joint.
Fasteners are recommended to choose the improved quality, because the rafter system and the hipped roof should have increased strength.


