


Rubber tiles are new, beginning to gain popularity with the consumer finishing material. Its main advantage is the possibility of using both indoors and for the arrangement of outdoor areas, adjacent areas and pedestrian areas. In the landscape design of a private house, rubber tiles are used for site improvement, playgrounds, car parking, garden and driveways. The main feature of this tile is the simplicity of performing laying works for which special skills and special tools are not required. The article provides detailed information on how to lay the rubber tiles with your own hands, gives advice on the selection of material.
Content
Rubber tiles - universal coating
Rubber coatings: mats, paving stones, rolls, tiles, are made from rubber crumb, obtained as a result of processing any waste rubber-technical industry. Most often, old tires and tires are used for this production. As a result, quality and reliable products are obtained, since high-quality natural or synthetic rubber is used directly for the production of automobile tires. The tiles are made of rubber crumb 90%, and the remaining 10% is polyurethane glue and coloring pigment.
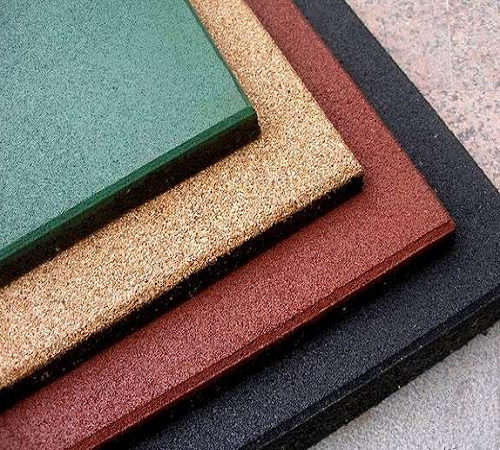
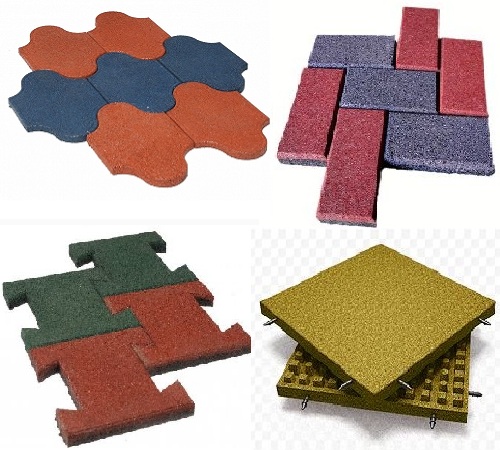
Rubber tiles are produced in a variety of colors and geometric shapes. By the way of production, the rubber tile can be single-layer and two-layer. In two-layer tiles, the bottom layer is made of crumb black, and the top layer is colored. The variety of patterns, textures, shapes, sizes and colors of rubber tiles allows the user to choose the type of coating, based on his own taste and design plans.
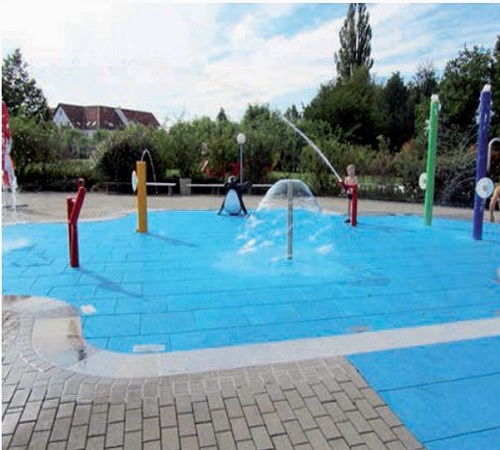
A special advantage of rubber coatings is their environmental friendliness - they are not toxic and do not emit harmful substances into the environment. That is why such material is used for arranging playgrounds, play areas, gyms and swimming pools.
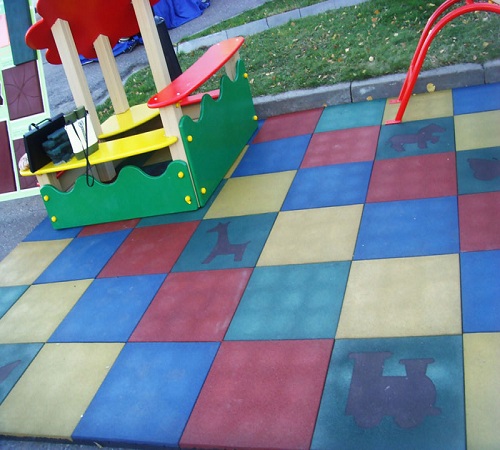
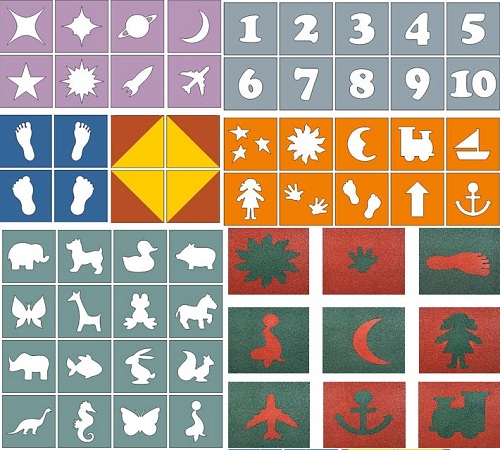
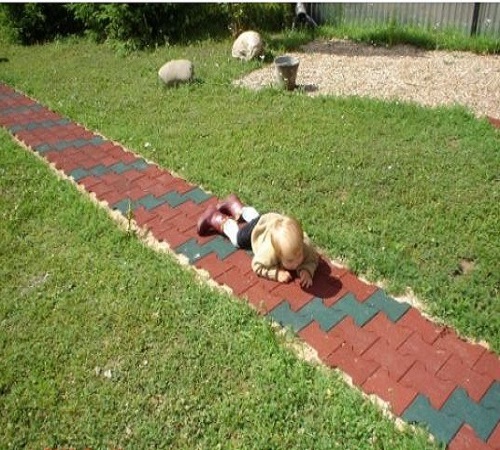
Tiles for high-risk areas are called trauma-safe. For children's playgrounds, manufacturers produce rubber tiles with bright patterns.
Attention! Do not confuse the tile with conventional rubber modules, which are mainly used in technical rooms. They resemble rubber mats and do not differ in the variety of colors, shapes and textures.
what is the advantage of rubber paving slabs
- Strength and durability. The lifetime of the tiles in the street conditions for more than 15 years - it does not crumble, does not break down and can not be deformed under considerable loads.
- Excellent grip surface with shoes. That's why rubber tiles are put on sports, children's playgrounds and treadmills.
- It absorbs water well. Ideal for the design of the coastal zone of pools, with the risk of slipping is absolutely excluded - the slab is not slippery.
- Resistance to low and high temperatures, as well as their sharp differences. Therefore, the use of such a finishing material is relevant in our climate zone.
- Easy to clean. The tile is easy to clean with a water jet from the hose.
- Traffic safety. Rubber tiles are soft material that is safe when suddenly falling.
- Easy repair and replacement of damaged areas of the coating if necessary.
- Barrier for weeds. Between the elements of the laid tiles there are practically no gaps, therefore, weeds do not germinate through it and insects do not settle in the junctions.
The only drawback of rubber tiles is its price. Depending on the models, the cost per square meter can not be inferior to other types of tile or natural stone.
The right choice of rubber tiles
Before choosing a rubber tile for a dacha, you should familiarize yourself with its types and determine which one is most suitable for each specific case. It should be noted that there are two ways of laying:
- Laying on a solid foundation. For fixing apply glue and mastics.
- Laying on the ground.
To strengthen the adhesion of tile elements, bushings are used which enter into the end grooves, or the tile has a fastening protruding from the ends like a puzzle.
So, rubber paving slabs, which are laid on a solid base, can be used:
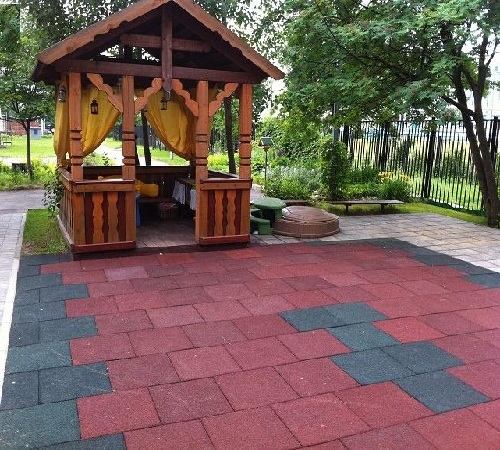
- For garden paths and open areas in the suburban area, the most suitable is a coating of tile elements with a size of 50x50 cm and a thickness of 1 cm. Such a tile is laid on a solid foundation with polyurethane glue or a special mastic.
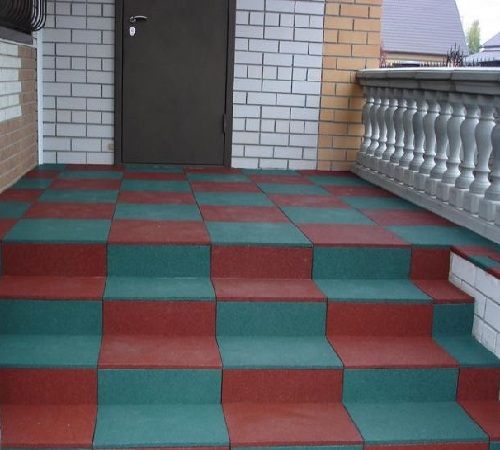
- To improve the coastal zone of pools, terraces, areas in front of the house is designed rubber tiles from 1.5 to 2 cm thick. Such models are softer and more wear-resistant. Also put on a solid base and fixed with glue.
For laying on the ground, rubber tiles with a thickness of more than 3 cm should be bought. Such a rubber tile well tolerates long dynamic loads.
This soft coating with excellent shock absorption, sound and vibration isolation properties. It is perfect for sports and children's playgrounds, access roads, recreation areas, as well as garden and hiking paths.
All work is easy to do by oneself, as the technology of laying rubber tiles is quite simple and can be performed without the help of specialists. From the tools you need:
- knife, hacksaw for flooring, or jigsaw;
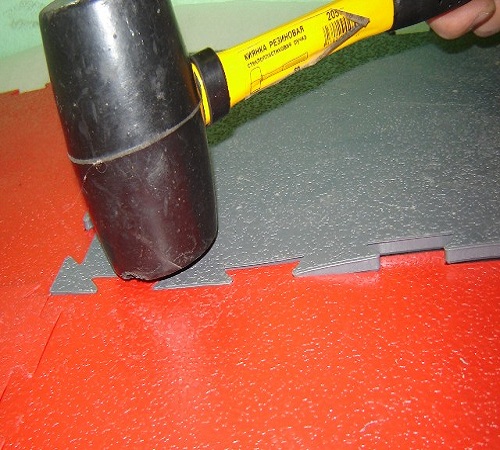
- rubber hammer, spatula (when laid on a hard surface).
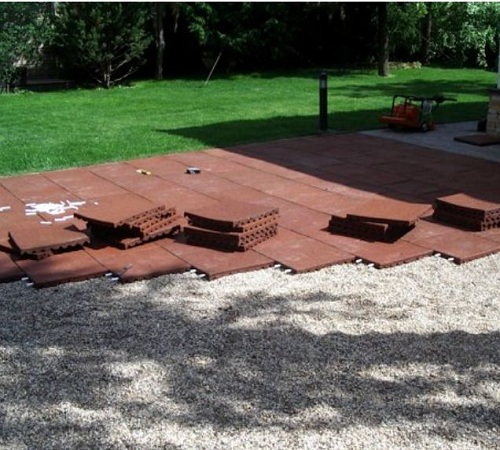
Laying rubber tiles on the ground (soft base)
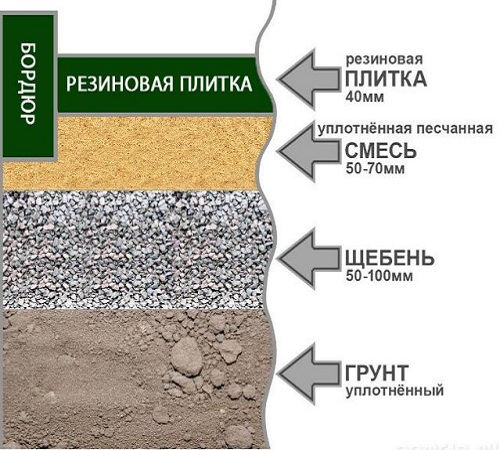
Tiles 30, 40, 50, 80 mm thick can be laid on the ground. The large thickness makes it possible to fix the tile well and carefully on a soft base, but it must be carefully prepared. When laying the rubber tiles on the ground, it is recommended to install a curb, which will give the strength of the entire structure. From an aesthetic point of view, this is also a winning option. At the preparatory stage, a three-layer "pillow" is created for the tile. These are three layers: soil, crushed stone and cement-sand mixture.
In principle, the laying of rubber tiles can be performed on sand, without the addition of cement, but the option with its addition is more reliable.
Stages of foundation preparation:
- Remove the top layer of the soil. Clear the place of weeds, roots, stones, then carefully ground the bottom.
- Fill the compacted base with rubble (layer 8-10 cm).
- On a layer of crushed stone put a mixed cement-sand mixture, in a ratio of 1: 3. This layer will serve as the basis for the tiles.
Attention! The outflow of moisture from the rubber tiles laid on the ground, occurs naturally, so the slope of the base does not need to be done. If a cement-sand mixture is not used for the installation of tiles, then it is necessary to choose a tile, the elements of which are fastened together with special bushings (pins) - the system "spike-groove".
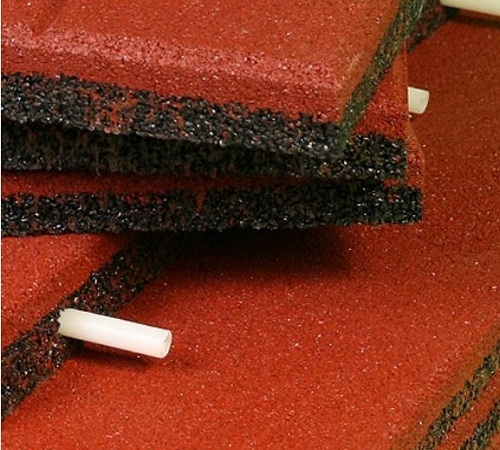
To the elements do not disperse, they are fixed with curbs, also made of rubber chips. The bushings are supplied complete with tiles, such jointing does not allow the tile to be displaced during long-term operation.
Laying rubber tiles on a solid foundation
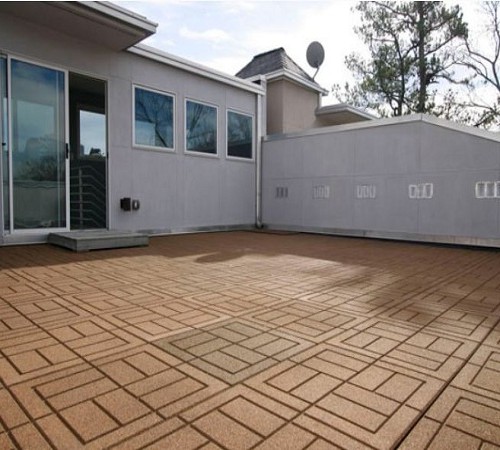
The solid foundation for the tile can be any: asphalt, concrete or wood. For example, soft rubber tiles can cover an asphalted playground and thereby reduce its trauma, or refine old wooden flooring on the terrace. In this case, the base under the tile should be smooth and clean. To ensure that water does not seep under the cover, for its removal it is necessary to make small slopes and gutters.
The concrete base (concrete screed) should not crumble, have large cracks, chips and potholes. It is necessary to remove all debris and dust. Before laying the tiles, the concrete screed should always be covered with a primer to improve the adhesion of concrete to the tile. Asphalt base, as well as concrete, should be even, without potholes and deformations. Since this is an asphalt coating, it is necessary to check and eliminate signs of softening from the effects of high temperatures. Priming the asphalt base is mandatory.
How to lay a rubber tile on asphalt
- For better adhesion of rubber paving slabs with asphalt, impregnation from a mixture of acetone (turpentine) and polyurethane glue 1: 1 is used as a primer. The consumption of such a mixture is 250-300 g per square meter. Drying time about an hour.
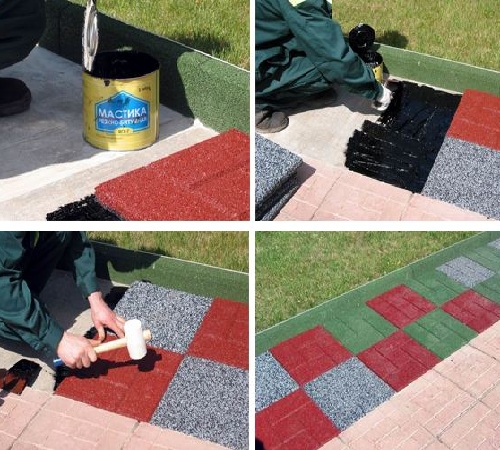
- A cord extends around the perimeter of the laying area. The accuracy of the tile is checked every three rows, with an allowable error of not more than 1 cm. The rubber hammer is designed to correct the location of individual elements during laying.
- On the prepared surface the spatula is applied with glue or rubber-bitumen mastic and is leveled with a roller or spatula.
- The tiles are applied alternately, tightly joined, pressed and leveled. The maximum distance to the base and to the nearest tiles should be ensured. Be sure to make sure that the glue does not come out to the surface.
- The free edges of the platform are filled with cut pieces of plates. Install curbs (optional).
- After all the plates have been laid, the pad is sealed with a vibration plate. Then the surface of the coating is covered with pure fine-grained sand, which clogs the seams. The sand needs to be swept out.
On average, 4-5 m² of tiles require 1 kg of glue. Its approximate drying at a temperature above + 10 ° C, about a day. This period depends on the weather conditions. Once the glue or mastic solidifies, the coating will be ready for use.
In conclusion, it should be noted that rubber paving tiles, the laying of which is not very difficult, is an excellent universal trauma-safe coating that has good parameters and performance characteristics.


