Before installing the mixer in the bathroom with your own hands, you need to take into account a number of points that concern both the choice of its model and the features of the installation. The price classification is also very diverse. On sale it is possible to see both usual mixers calculated on the mass consumer, and elite, in cost in some hundreds dollars. In order to choose the right mixer for the bathroom, you need to decide on what we will choose it from. That is, in the beginning it is necessary to find out which mixers are, and then it becomes clear what kind of us is needed.
Content
Mixer selection by design type
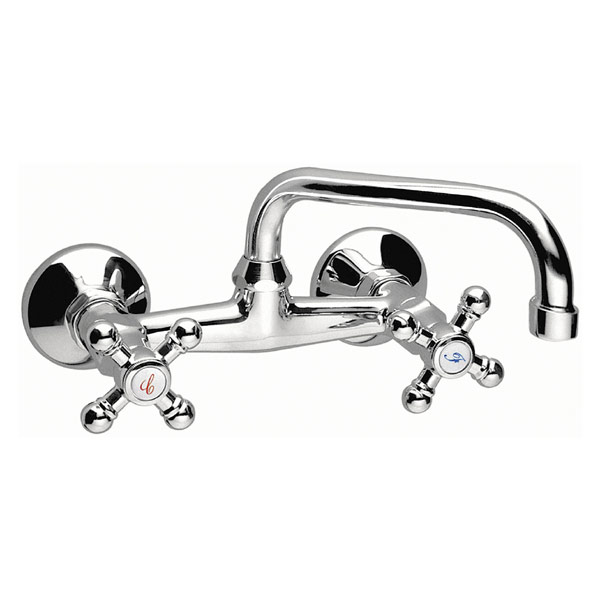
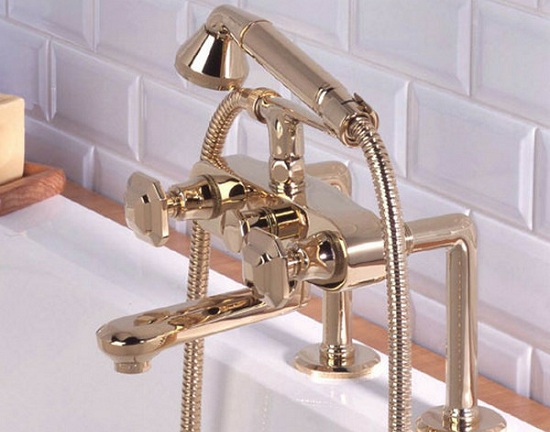
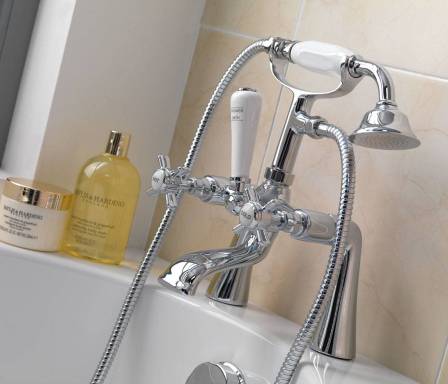
two-ventilated mixers
By type of construction, bathroom faucets are two-ventilated and single-lever, as well as thermostatic.
Everyone is familiar and familiar from the very childhood of a two-valve mixer with a long spout and shower turning into the sink and into the tub.
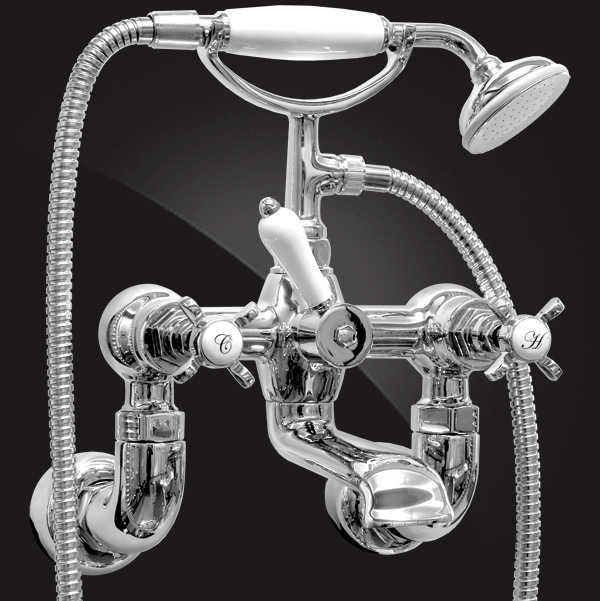
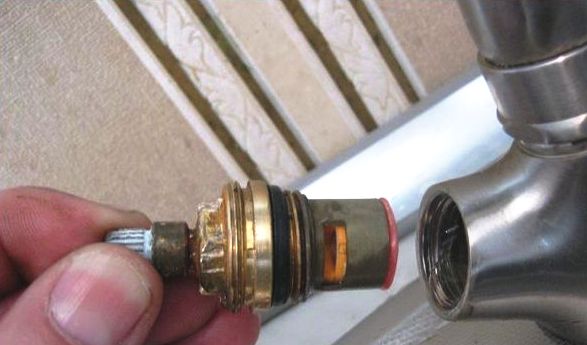
Their advantage is in the cost, and the disadvantage is in the quickly failing rubber gaskets installed in the two turning crane-boxes.
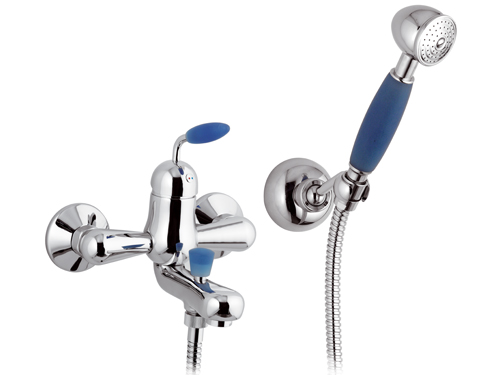
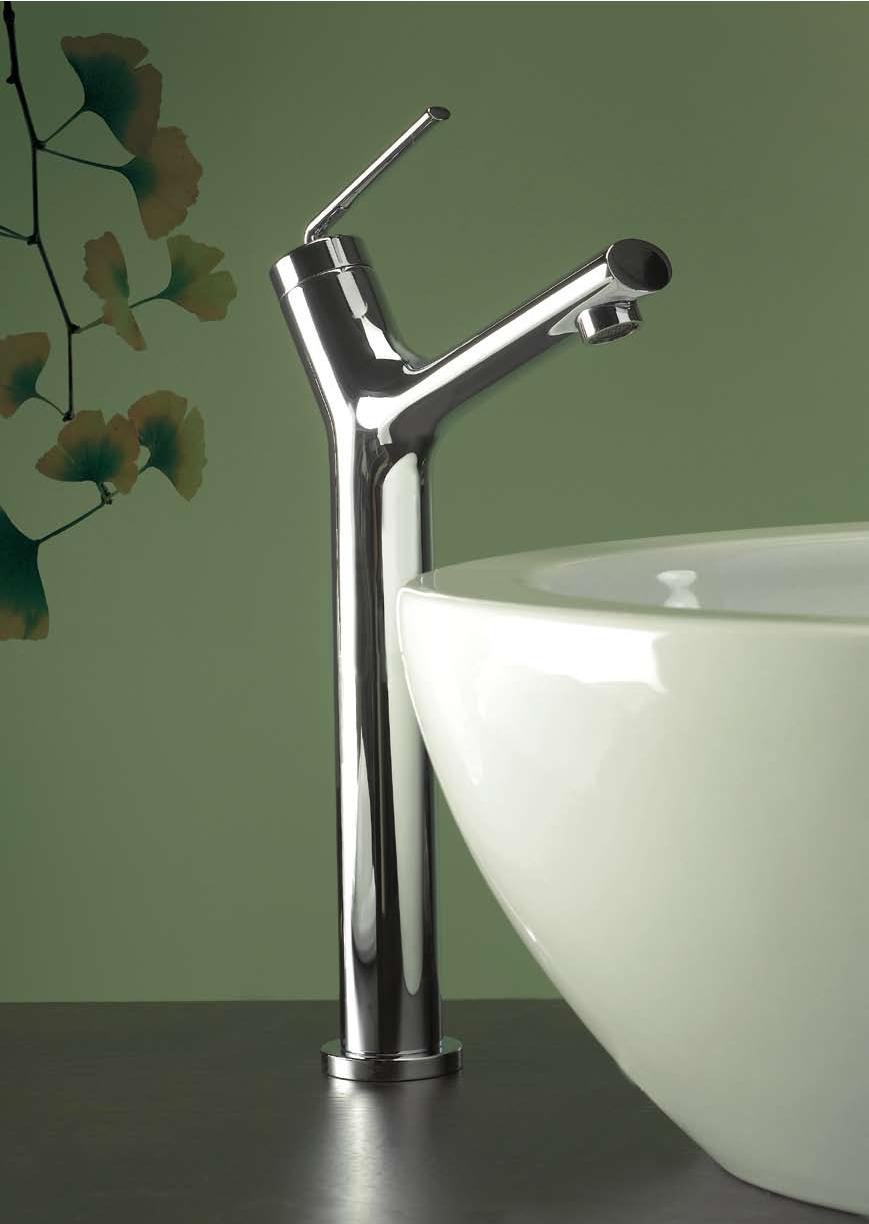
single-lever mixers
Single-lever faucets - this is generally a more modern option. And the force of the head, and the temperature of the water in such mixers is regulated by only one lever. Undoubtedly, it is very simple, convenient and hygienic.
In a single-lever mixer there is no need for regular replacement of rubber gaskets, as for a two-valve, but there is a cartridge (ball or ceramic), due to which the service life of the mixer increases on average by 10-15 years. At a price, single-lever mixers are slightly more expensive than two-valve mixers, but they also last longer, and in use they are much more convenient and quicker. So, with one hand you can instantly open and close the water, move it to the right and left to adjust its temperature, and up and down - pressure. If you chose to use a single lever mixer, we advise you not to save it, but to buy it at a price that is slightly higher than the minimum, as in the cheapest models the quality of the cartridges is poor, and replacing them is very problematic - it's easier to buy a new mixer. In more expensive models, the cartridges are of high quality and durable.
thermostatic mixers

In thermostatic mixers, there is generally no need to rotate the valves (two-valve mixers) or to regulate the temperature of the water by moving the lever (single-lever mixers), since the required temperature is set immediately and only once, then it is stored until it is reinstalled. Built-in safety system prevents the risk of scalding with boiling water or cold water. Since water is supplied to the user immediately in a warm state, it is meant to equip the thermostatic mixer with a special mixing element that is controlled by a cartridge containing a wax or consisting of a whole set of bimetallic plates.
Mixer selection by installation method
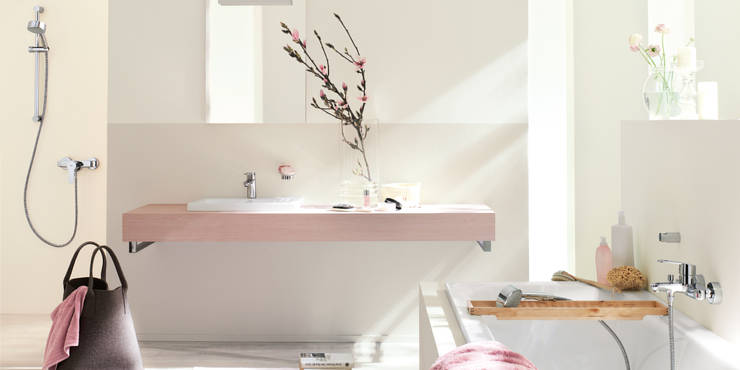
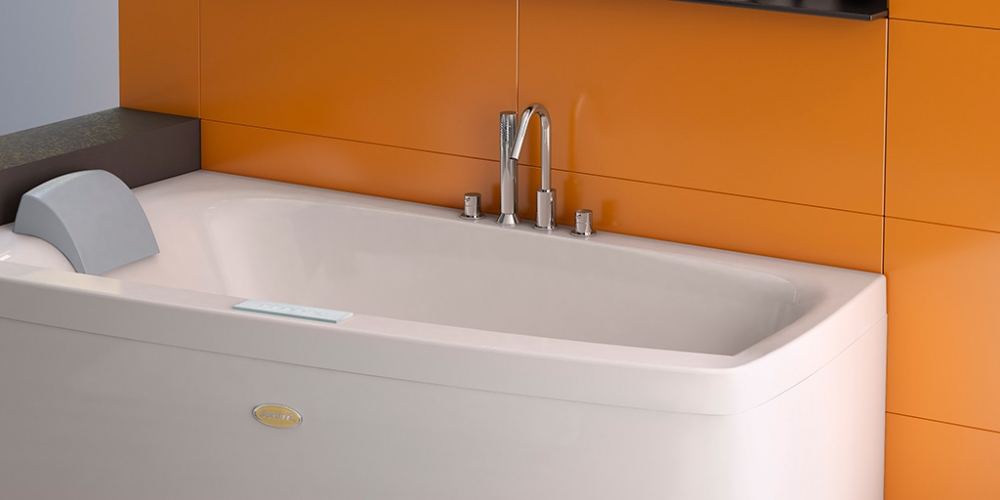
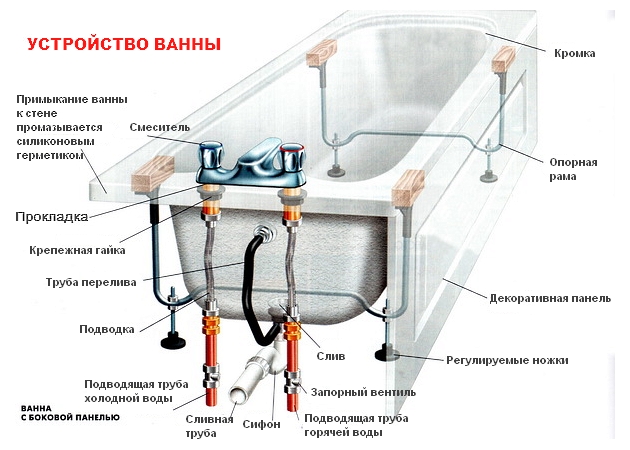
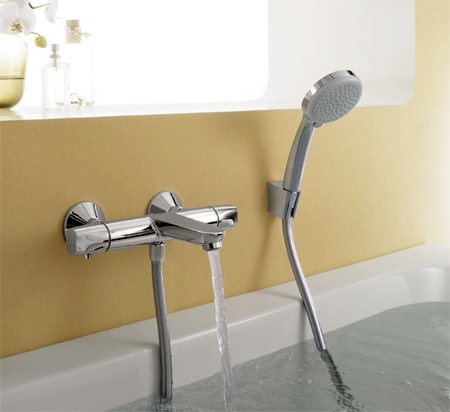
By the way of installation, the bathroom faucets are divided into those that are mounted directly on the wall and on the built-in ones that are located on the side of the bath or in the wall, and there are also mixers located on a separate rack or on a shelf.
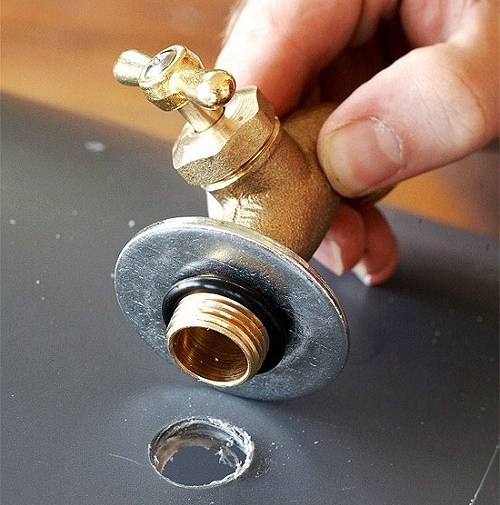
But how to choose a bathroom faucet by type of installation? With built-in mixers in the side, everything is simple. Most often they are already sold mounted in it. But this is the case with expensive baths, mostly hydromassage. You can buy a regular, "empty" bath and independently mount a mixer into its board, having made the appropriate diameter of the hole where necessary (considering the location of water pipes).
There are also faucets on a stand-alone rack, these are usually installed in the large bathrooms of expensive houses, near the chic "old-fashioned" baths on the legs. Such a mixer is itself a work of art.
In modern variants it is a kit sold together, made in a single color and stylistic solution. The rack with the mixer located on it is usually installed in the immediate vicinity of the bath. This type of installation should be provided immediately, at the initial design level of the house, as water should be fed to the rack with a mixer from under the floor.
Before you decide to install a mixer on the shelf, you need to decide whether you really need it, because it's just a design refinement, a decorative move that requires huge cash costs. After all, the cost of the mixers, specially designed for installation on the shelf, and their installation will cost you at least twice as much as when choosing a standard installation.
As a rule, cascade mixers are placed on the shelf.
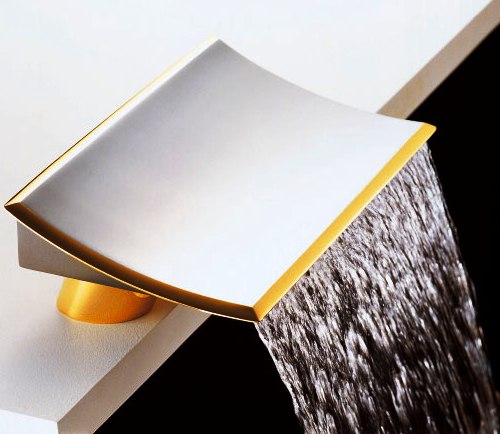
The shelf itself may not be a shelf in the usual sense, but a kind of niche or podium around the bath, or a shelf lined with stone or tiles.
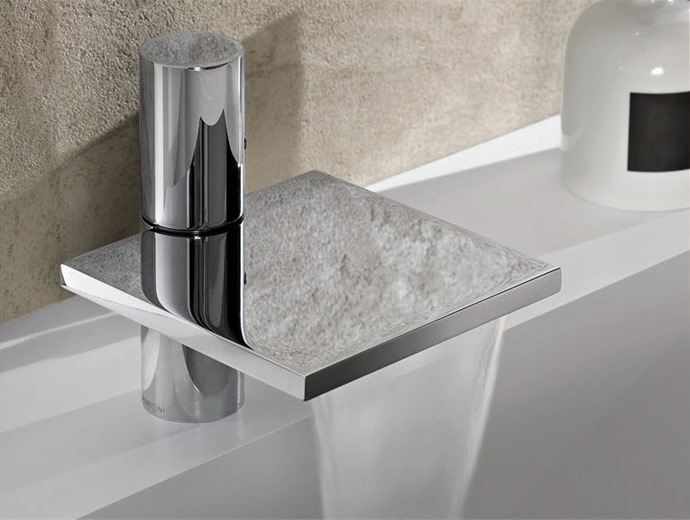
The material from which the most durable and quality stainless mixers are made is brass, which is usually coated with a chrome plated coating.
Installing the mixer in the bathroom with your own hands
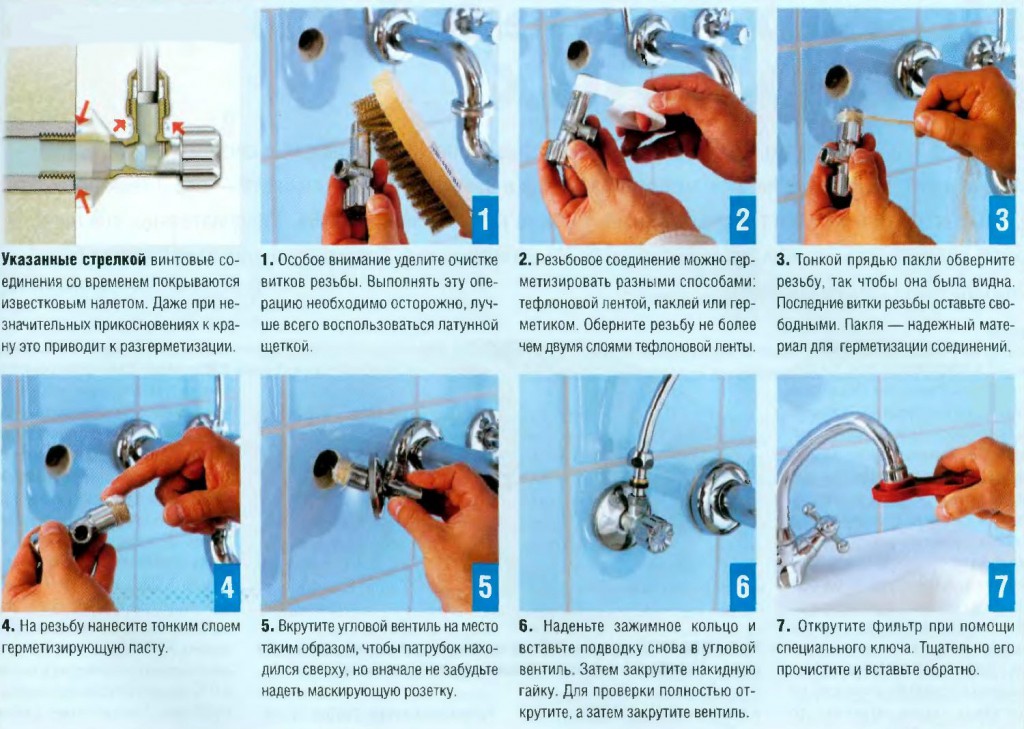
Installation of the mixer in the bathroom is made after the walls are laid and brought to the installation site of the pipe mixer, that is, the water supply system is ready for operation. All finishing works should be completed by this moment. We will need the following tools and accessories: mixer, wrench, punch, sealing material and fasteners.
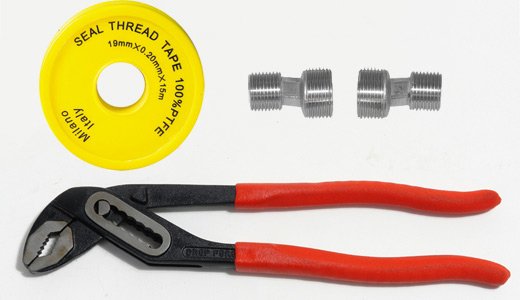
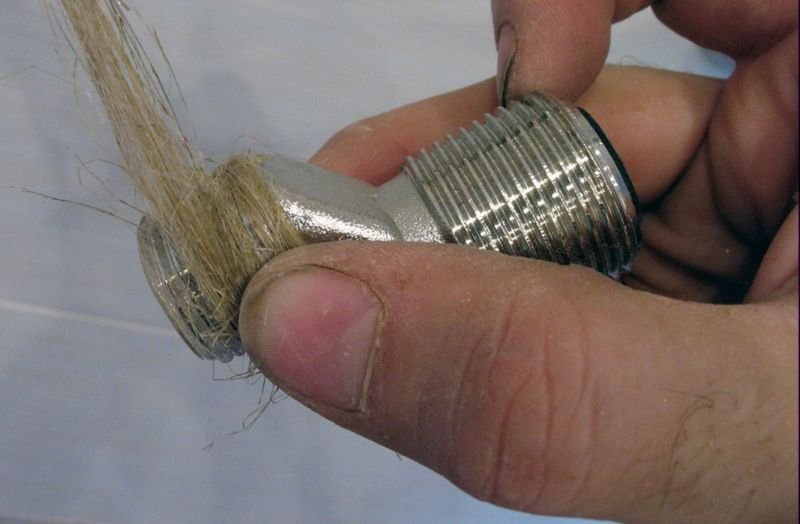
Before starting work, it is necessary to cut off the water pipe and dismantle the old mixer (if it is available), and also check the entire structure and especially the pipes for integrity. Then, with the help of a swivel wrench, screw the branch pipes to the pipe outlets, and to them, using sealing material, eccentrics, on which it is necessary to put decorative cover plates so that they completely overlap the pipe junctions to the wall. The pipes themselves should be located strictly horizontally, this is checked using a small building level.
Then they are carefully set to them by the method of screwing with the adjustable wrench and the mixer itself.
An important detail with regard to nakidnyh nuts is the moment that they need to be twisted gradually and in turn, in order, if possible, to prevent the possible skewing of the entire structure (which is absolutely unacceptable). Check whether the installation is carried out smoothly or not, possibly with the help of a building level. Then the spout and shower hose are screwed to the mixer.
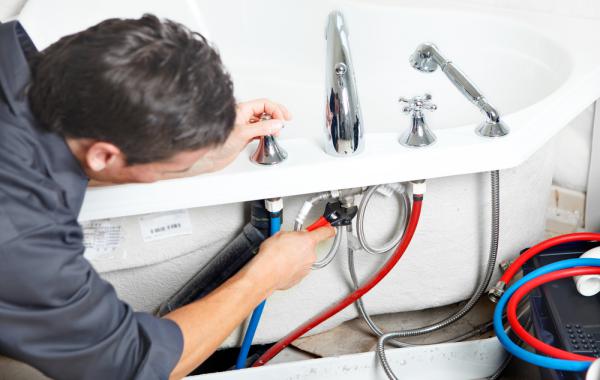
Now we open the water supply, thus checking the quality and reliability of the mixer installation, as well as the tightness of all the connections made by us in the process of work.
All details of the installation can be read in detail in the instructions accompanying the mixer.
Also we are happy to provide you with a detailed video, where you can visually see all the nuances of its installation.
With proper care and proper installation, a quality bathroom faucet will serve you for many years.