


If the ceiling of your living room will decorate the stretch fabric, then you need to think about fixing the chandelier in advance, because after installation it will be extremely difficult to install a ceiling light. This is because the film itself, stretched to the ceiling surface can not be used as a reliable basis for fixing the lighting fixture, in addition, any violation of the integrity of the canvas, even the most insignificant, can become a serious cause of its rupture. Which chandeliers will suit you and how to make a reliable attachment without damaging the tension cover? Let's talk about this in the article.
Content
Chandeliers for stretch ceilings
Stretch ceiling structures, thanks to a surprisingly beautiful appearance, a variety of textural and color solutions, excellent performance and convenient maintenance, the ability to incredibly transform the interior and give a special mood, are very popular and in demand. However, often in the process of installing it, the performer has difficulties with installing the ceiling chandelier, because the canvas is very fragile and can tear, and not every lamp is to be attached to such a cover.
To create high-quality and effective lighting in a room with stretch ceilings, you can use lamps that have the following parameters:
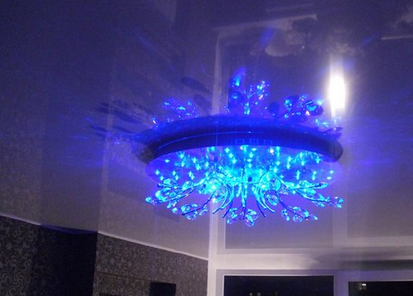
- a chandelier of a plate type must not have a metal base, since in the process of work the case of the device is significantly heated, which is unacceptable in the presence of stretch ceilings, regardless of the fabrication material: fabric or PVC;
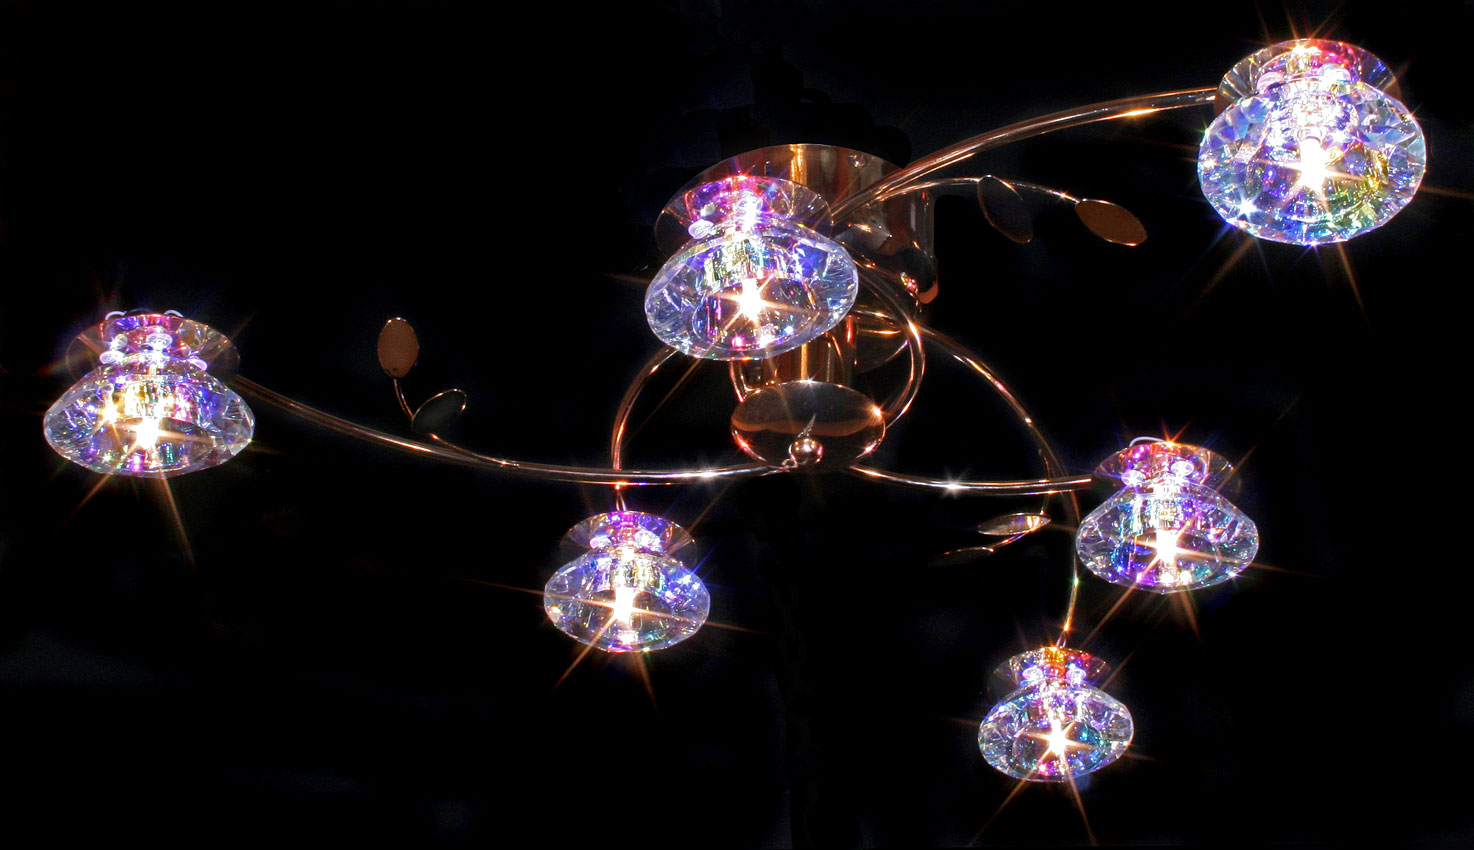
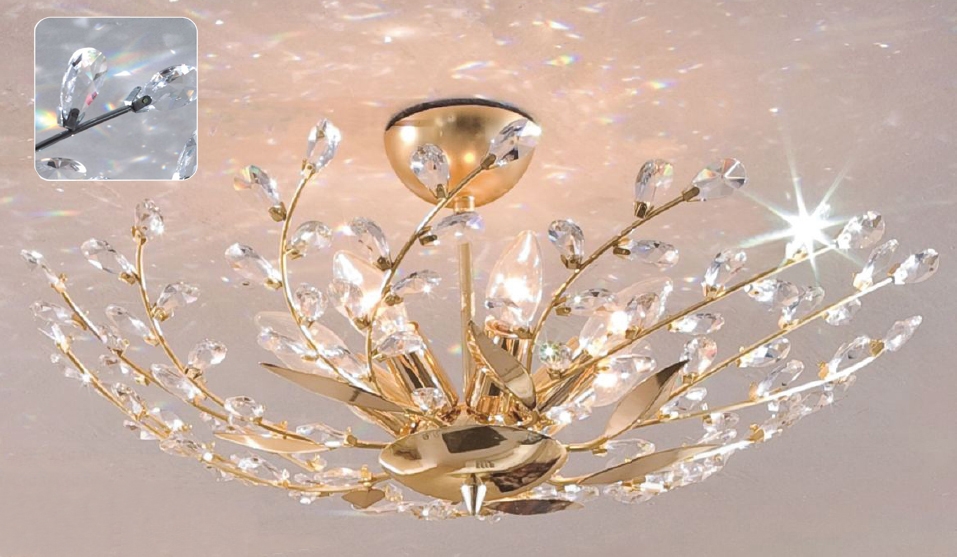
- to avoid the formation of dark spots on the stretched film, the chandelier should be chosen only with the plafonds pointing downwards or to the sides;
- in the lamp you can screw in energy-saving lamps;
- the design of the ceiling chandelier should be simple, and the technology of assembly is available to each performer.
Types of chandelier fastenings
Features and fragility of stretch ceiling design involves the use of the following types of chandelier fixing.
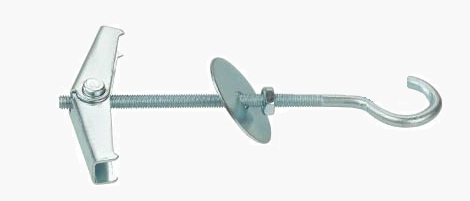
Mounting hook. It is considered the most reliable and time-tested type of fastening. There are many varieties of it, among them:
- anchor hook;
- hook with a fixing through type through the floor overlap;
- device with fastening for installation in the cavities of the concrete channel of overlappings;
- securely welded to the plate hook and fixed to the ceiling surface.
Mounting strap. Designed for small chandeliers, the bar is included in the lighting kit and is equipped with special fixing pins or side holes with thread and screw clamps.
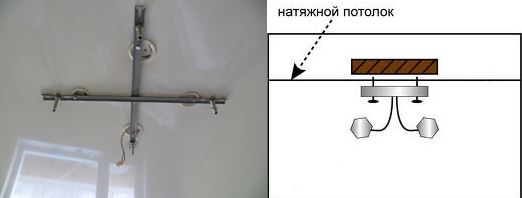
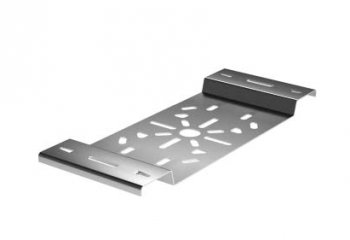
Cross-head mounting strip. Included in the complete set of the luminaire, it is intended for fastening of medium-sized chandeliers, having the form of a circle or an oval, a square or a rectangle.
I-beam mounting plate. Allows you to install large and heavy chandeliers.
Stage of preparation
Preliminary work on installing the chandelier on the suspended ceiling provides for the installation of the fastener on the base ceiling.
hook
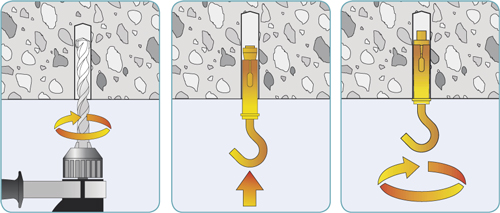
Method 1
To fix the anchor hook, you have to drill a hole in the concrete base, the size of which will correspond to the diameter of the anchor. Then it is necessary to hammer an anchor in the received aperture and carefully to twist a nut or a hook. The diameter of the anchor depends on the luminaire, and can vary between 6 - 14 mm.
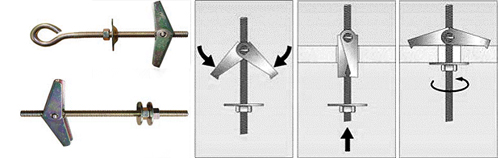
Method 2
If you are at the stage of building a house and have already planned the placement of lighting and other appliances, then you can use another method. In the area of the proposed placement of the chandelier, a through hole is made, 2 steel plates are square-shaped and a hole is drilled in their central part, the size of which is equal to the diameter of the shank of the hook;
Then put the first plate on the ceiling, and put the second on the floor surface of the upper floor. Using a fastening device with a solid thread, one nut is screwed up to the stop (it securely fixes the bottom plate), and the other is wound onto the shank, while simultaneously squeezing both plates to the base of the ceiling.
Method 3
The fixing rod is installed in a hole prepared in the channel of a diameter of no more than 30-50 mm. You can make a hook from a wire rod 6-8 mm, making a ring 14-16 mm on one side, and a hook on the other. And, finally, the hook is inserted into the hole by a ring and is passed through the mortgage rod.
Method 4
This option is similar to the previous one, with the only difference - you only need one plate, a fastener with a solid thread and a shank and 2 nuts.
According to the installation technology, holes are drilled on the plate diagonally up to a diameter of 8 mm. The first nut is screwed to the end of the thread, the plate is inserted and pressed against the stop by the second nut. Then the remainder of the shank is cut off. If you make a hole in the base of the ceiling to hide the nut, the plate will lie as close as possible to the ceiling.
Having marked a zone for its fastening, use special anchor pins in diameter of 6 mm. This design is quite applicable for mounting luminaires on the surface of wood.
mounting plate
Mounting plates differ in standard dimensions and the same characteristics. In the side part there are screw terminals of the luminaire, and on the main surface there are mounting holes. Plank is mounted on a wooden beam, the height of which is 5-10 mm inferior to the height of the stretch ceiling.
cross plate
Reliable fastening of such a bar is possible when using a bearing platform made of plywood with a thickness of 10-12 mm. A hole with a diameter of 50 mm is cut in the middle for the cable outlet. To fix the structure to the base ceiling, you should use a plate of the appropriate length, fixed to the plate on the self-tapping screws. Directly the platform to the ceiling is attached to the anchor dowels for concrete.
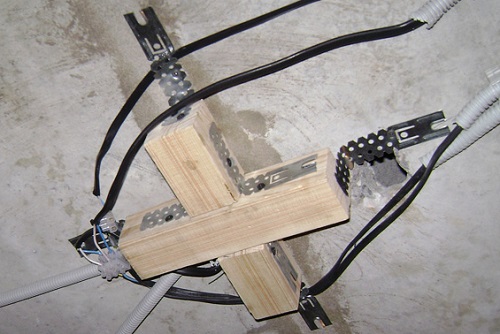
h-bar
The method of fastening is similar to the previous version, the difference is only in the technology of fastening to the base of the platform.
Attention! As a base ceiling, do not use plasterboard, because it is not designed for such high loads. First, dismantle the old overhead cover and only after doing the installation of the fastener. It should be remembered that it is necessary to mount all the embedded elements (hook design, fixing beam and platform for the mounting plates) before the installation of the tensioning cloth.
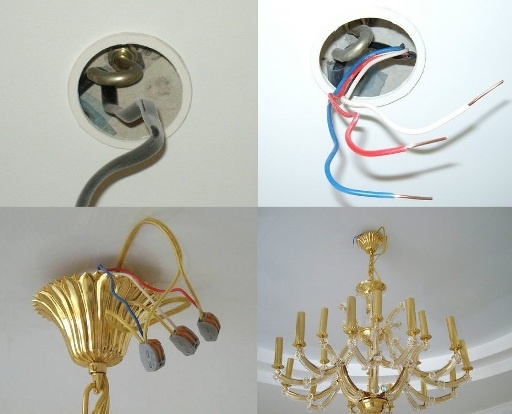
Mounting the chandelier in the stretch ceiling
So, after you made the installation of the stretch ceiling and let it cool down, it's time to start installing the ceiling chandelier. Each lighting device has its own specific features of editing, so consider the common, characteristic for all moments. So, let's start fixing the chandelier to the stretch ceiling.
There are several options for attaching the chandelier:
- Hook. In the area of fixing the luminaire, the adhesive is glued to the web with the help of glue. The hole is cut by the inner diameter of the thermo-ring, the cable is pulled out. Attention! The outer diameter of the used thermo-ring should not exceed the diameter of the glass on the lamp;
- Planck. The method of fastening the chandelier is similar to the previous version. However, there is one important difference - the inner diameter of the thermocouple is much larger. Otherwise, you can not fix the bar through the hole and at the base;
- Cross-shaped and I-beams. The thermo ring is glued to the cable outlet and to the bracket to the platform. The plate is carefully attached to the base.
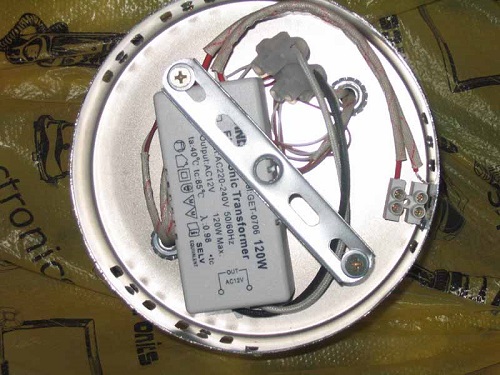
Connecting the chandelier to the network
Successfully completing the installation of fasteners, you can engage in connecting the chandelier to the electrical network. If you have all the electrical work done in your house, have all the wiring and lead out the ends of the electrical wires, then to connect the chandelier you should do the following:
- on the switchboard turn off the circuit breaker;
- make sure that there is no voltage on the veins of the electrical cable coming from the ceiling;
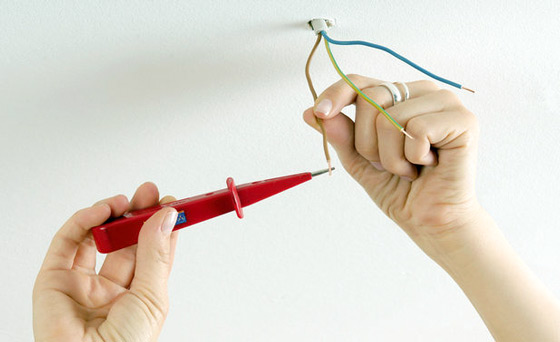
- gently clean and connect the electrical wires from the luminaire and the network;
- install the chandelier to the ceiling surface;
- turn on the chandelier and check its operation.
We hope that our recommendations will be useful to both specialists and those who decided to make the installation of the chandelier with their own hands. How to install a chandelier in a stretch ceiling you can see in the video on youtube.


