The stylish and attractive attic window requires correct and correct installation. For these purposes, the brand manufacturers of windows in the delivery package kindly offer step-by-step instructions for installation. However, the installation and installation of the attic window with their own hands require special knowledge and skills.
Content
Somewhere there, under the roof
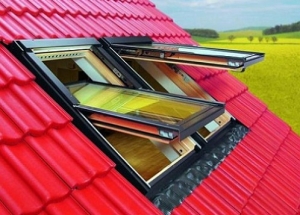
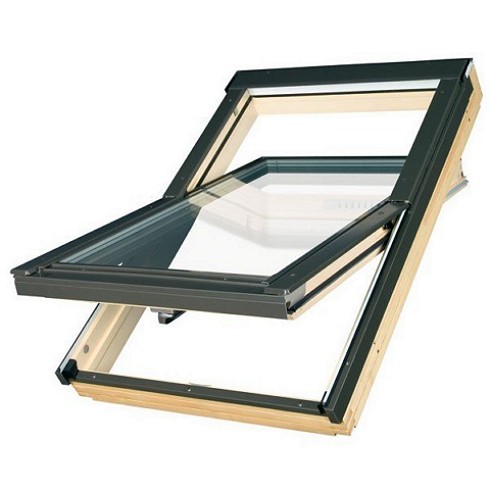
The window of a special design and device, designed for placement in mansard rooms, is a mansard window. Unlike modern plastic windows, the leaf, and on the mansard window it is only one, rotates on the friction loops.
The special design of the friction loops allows you to rotate the sash of the window around the axis of rotation to a full angle and fix the sash. This feature of the fastening loops was to the liking of the owners of the attic rooms, because the window behind this window is quite simple.
The design of the dormer window
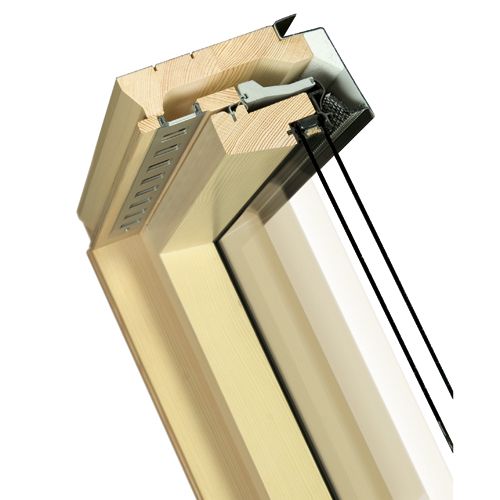
Structurally the mansard window is a box and frame, with the options for installing and sealing the joint with respect to the cut in the roof, will depend on the type of roofing. Some models of windows are designed for installation for a tiled roof, others for slate euro-covering.
Correctly installed waterproofing and drainage around the window box, multiplied by quality installation, will provide protection of the room from external atmospheric influences. To the design features of mansard windows it is necessary to include a small area of the window, not exceeding 1.4 square meters. In addition, manufacturers of such windows have taken care of a comfortable installation: the design allows you to separate the sash from the frame and also safely install it in place.
To install the window use special window salaries, which allow you to install and combine windows attic in groups:
• vertical
• horizontal
• combined.
Window salaries are designed for the following functions:
• mount the frame to the roof
• are the drainage of moisture from the frame seal.
How to install an insulating window salary, shown in the video.
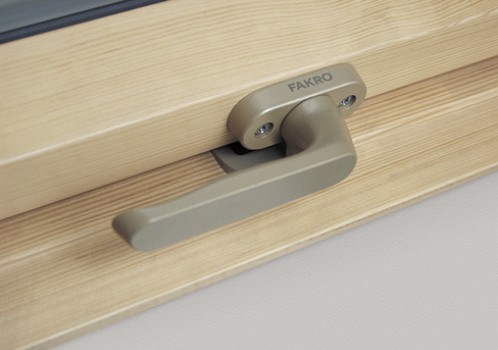
Particular attention deserves the accessories of the window. This is a well-developed locking system consisting of a handle, a locking system and loops.
The size of the window to be installed must be chosen taking into account the total area of the attic, as well as the distance between the rafters. It is preferable to install the window without changing its design.
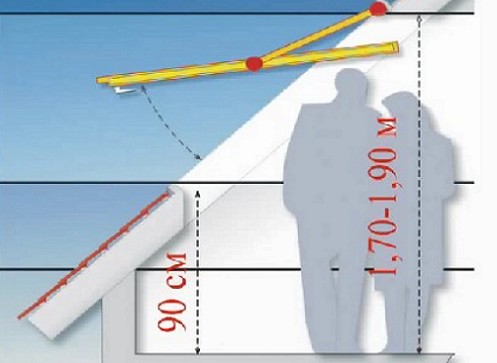
The height of the window depends on the inclination of the roof slope, as well as the position of the handle on the frame. On steep roofs with a significant angle of the window, it is preferable to place the roof at the bottom, on the gentle roofs - at the top.
The optimum height of the window arrangement is 130 cm from the floor level. The position of the handle also affects the height of the arrangement: if the handle is located at the top, then the window is set to a height of 100 cm, if the handle is located at the bottom - 130 cm.
How to install and install the dormer
Manufacturers of structures include a detailed construction instruction for the installation of attic windows of certain models with a step-by-step description.
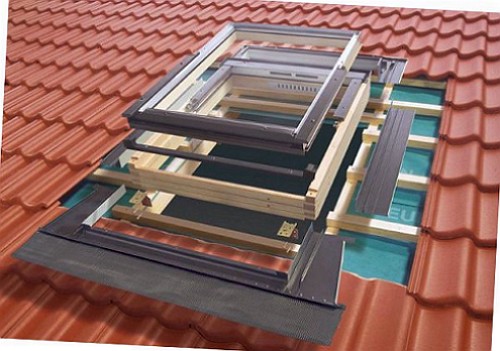
Installation, installation and subsequent adjustment of the work consists of the following stages:
• preparation of the window opening
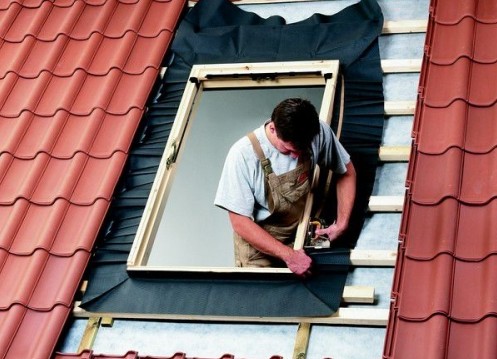
• window installation
• dismantling of the window leaf
• Installation and installation of waterproofing
• installation of salary
• installation of the window leaf in place
• activation of springs and window hinges.
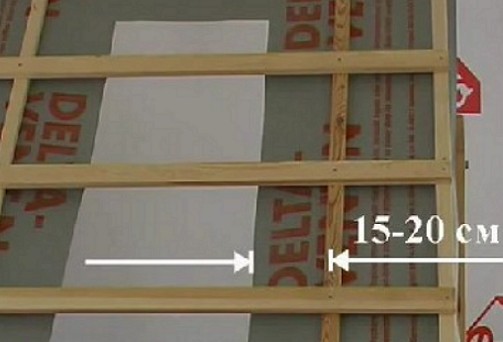
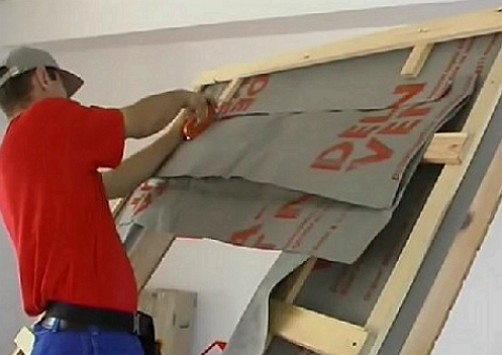
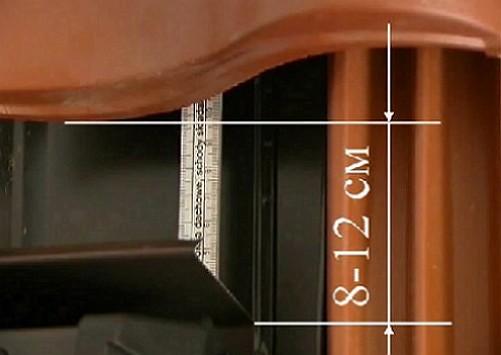
We plan on the waterproofing film the location of the window. The lower position of the window is planned, retreating 8 cm to install profile roofing materials. Note the position of the top point of the window, taking into account 10-12 cm upwards. We plan the position of the window on the sides, adding an additional 3 cm.
Then cut out the waterproofing material with a reserve of 20 cm along the entire perimeter. The remaining web of waterproofing material is wrapped inside and we remove the roof covering.
For ease of installation, the sash is removed, leaving one frame. For each window model, the dismantling of the window line will differ by the type of hinge lock.
In the delivery set together with the window there is always a waterproofing apron, which is freely stretched and straightened.
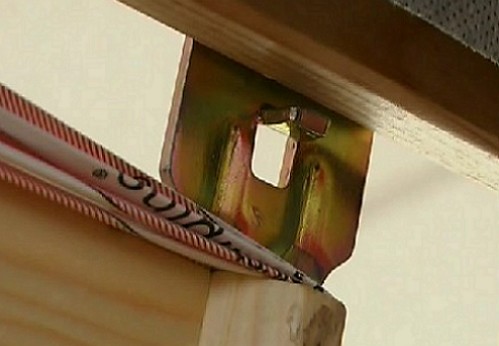
On the window frame, install the mounting brackets. Then, on the upper and lower parts of the frame, we put the insulation, which we fix with a stapler on the edging rail of the crate.
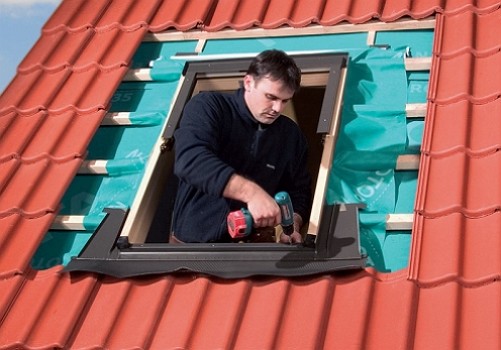
We install the frame in the opening of the window and press down the heater. Initially, install the lower apron waterproofing, then the side and top of the waterproofing.
We fix the waterproofing to the window frame and lay the heater. After the installation and installation of the waterproofing we make the installation of the salary.
Type of salary and its subsequent installation depend on the material of the roof. There are the following types of roofing:
• smooth
• Wavy.
For a smooth type of roofing material, the magnitude of the wave is zero. For wavy materials, the wave height can be 8, 16, 30 mm.
Conditional division of salaries by types is necessary for the construction, which excludes a significant protrusion above the surface of the roof and heat loss. After installing the salary, we make the installation of the window leaf in place.
The lower fixing brackets are fixed immediately, and the upper ones are not fixed to the end. This is done to adjust the frame and eliminate the skew. It is necessary to check that the window was located exactly, the flap adjoined with the same gap.
At this stage, it is necessary to carefully adjust the operability of all elements of the window, activating the operation of springs and loops. Finally, tighten all fasteners and fix the slopes of the attic windows.
Slopes of dormer windows
The most important when installing slopes of mansard windows is the angle of the arrangement. It is important to remember that the lower escarpment is located perpendicular to the floor plane, the top slope is parallel to the floor plane.
The main error can be the location of slopes perpendicular to the plane of the window. Vertical slopes are positioned at an angle of 120 degrees for free air exchange. It is recommended to install the heating battery under the window, in this case, warm air will prevent the formation of undesirable condensate.


