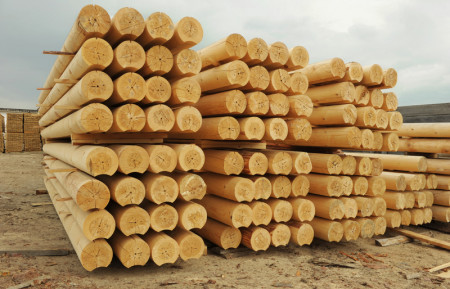
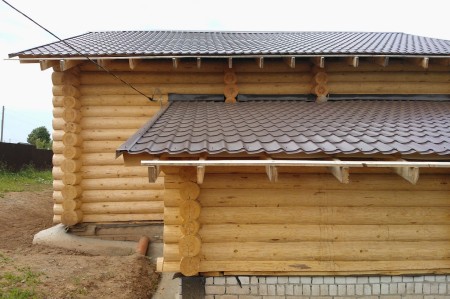
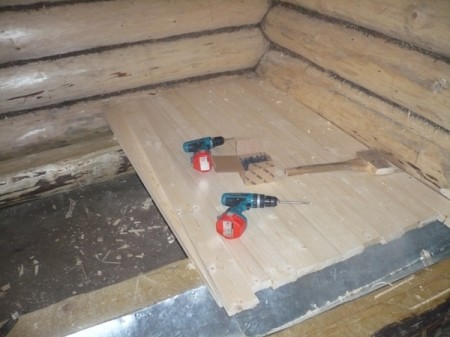
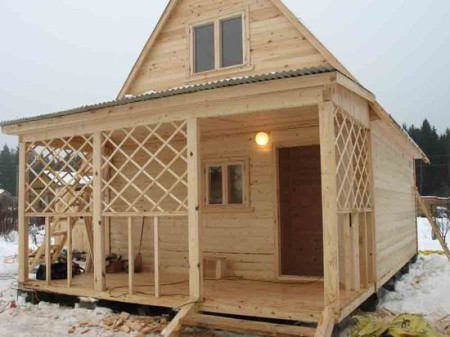
Round timber materials, which are used in the construction of various structures without further mechanical processing, are harvested from coniferous and deciduous trees - depending on the purpose.
Round timber is divided into I, II, III, and IV grade, respectively, GOST 9463-60 and 9462-60. Non-timber products must meet the requirements for grades III and IV. The humidity of the round log, which is intended for the construction of load-bearing structures or supports should not be more than 25%. Building logs are harvested from the wood of pine, fir, cedar, fir. Larch rods are also widely used in construction as the most waterproof material.
Content
Types of logs for construction, depending on the type of processing
All wooden structures and structures are built from different types of logs, which differ in the way they are processed:
Round logs.
It is a round log with a remote top layer - bark and sapwood. After the treatment, only a dense base remains. Such a material retains all its properties, while being completely smooth and smooth at the same time. With such a log it is very simple and convenient to work with.
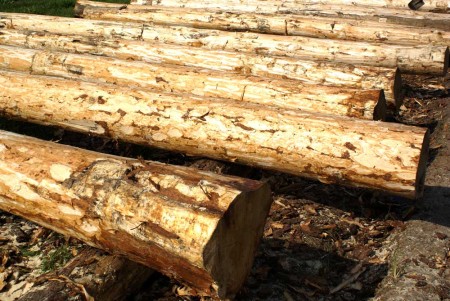
An oshkurennoe log.
Surface treated tree trunk, from which only the bark and some irregularities are removed. The protective layer - sapwood, which is directly under the bark, while remaining virtually untouched. This log has high strength and long service life. Of this material in the old days, houses were built that stood for 150-200 years. Since the rounded logs only undergo surface treatment, they almost completely retain their shape, that is, the difference in the base of the log and its upper part is very noticeable. This must be taken into account in the construction process.
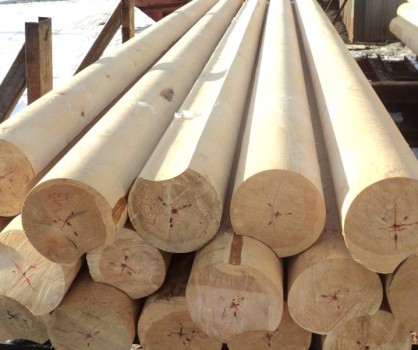
Calibrated log.
As the name implies, these are fully processed logs of the same size and diameter. They are very comfortable and easy to use - the walls of such logs are smooth and neat.
Banya from a round-rope with your own hands
Who and when has constructed the first bath from a tree - it is precisely unknown. But it can be confidently asserted - log cabins have passed the test of time and their popularity only grows. Advantages of a log from a log of round wood are enough: ecological compatibility of the material, undoubted health benefits, durability and reliability of the building, and, of course, the attractive, colorful appearance of the bath plays an important role in its popularity.
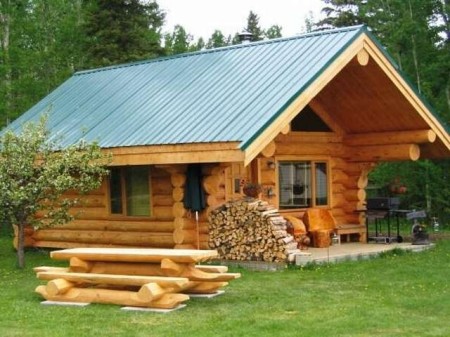
A log sauna is the pride of every owner of a suburban or suburban site, especially if it is built by oneself. It is quite possible to do this, although it is not easy. Below we briefly review the main stages of the construction of the bath - from the choice of material to the installation of the roof. We hope that these materials will help you get a general idea of the principles of building log buildings.
main stages of construction work:
• Project preparation.
• Selection and purchase of material.
• Foundation construction.
• Log processing and preparation.
• Construction of walls.
• Installation of doors, windows, roofing.
• Construction of the stove, the conclusion of the chimney.
• Interior decoration of the room.
• Thermal insulation of the building.
choice of wood for construction
It is safe to say that the right wood for a bath is half the success. This should be taken as seriously as possible. In the overwhelming majority of cases, the baths are built from coniferous species, strong and resistant to moisture.
the most popular types of wood:
Larch
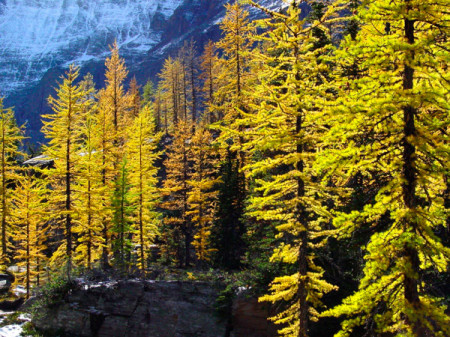
Quite expensive material, which, however, is worth the money spent on it. Larch is very durable, hard and moisture resistant material. In addition, it is not necessary to build a bath entirely from larch. Most often it is used for laying the crown of the log, as a strong and durable material, and the walls are built from cheaper coniferous species.
Pine
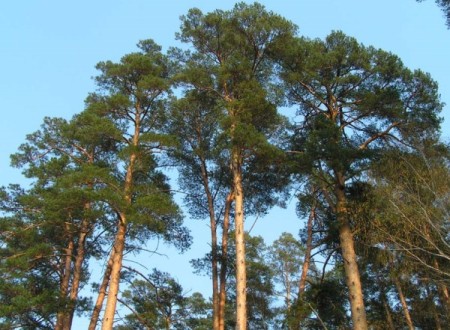
By its qualitative characteristics, it, of course, is inferior to larch, but it has a number of valuable advantages. Pine is easy to handle - this is important, especially if the construction work is done on its own. The pine wood is beautiful, it allows air to pass through well, providing natural ventilation of the room, and, in addition, the pine forest of round logs is priced at an order of magnitude lower than that of larch, is more affordable for the ordinary buyer.
Spruce
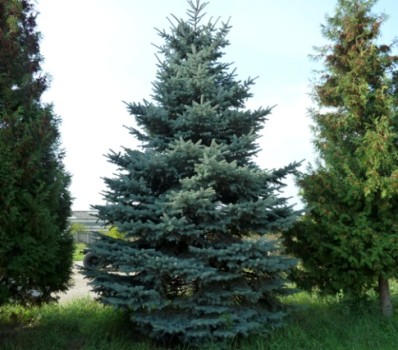
Builders appreciate fir wood for its simplicity in processing, resistance to sharp temperature changes and low resin content. The high resinity of the wood increases its service life, but if during bathing procedures a drop of hot resin gets to the skin - a bath is provided to the visitor.
Wood spruce enhances the beneficial effect of bathing procedures, and the outgoing aroma relaxes and soothes.
Oak
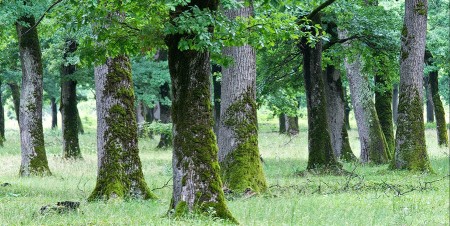
Buy logs of round oak on a pocket not everyone, but this material enjoys constant popularity, primarily because of its longevity. Oak logs are heavy, and the building of the log house requires considerable power costs, and sometimes even heavy equipment. But the result is worth it - a building of oak will stand for decades, without requiring repair. Oak wood has medicinal properties, so it can not be treated with antiseptics.
logging for log building
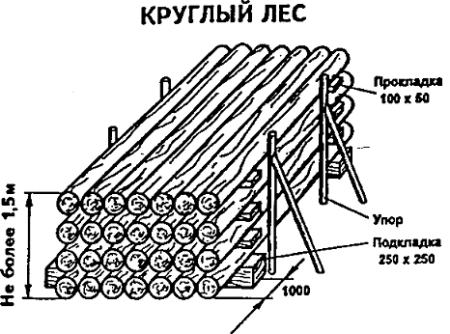
The log delivered from the felling site should be stored in the bark for no more than two weeks at most. If the logs need to be stored for a while, they are stacked. Between the rows of logs are installed transverse spacers. For greater stability, each log is nailed to the gasket. Stack must be reliably protected from exposure to atmospheric precipitation and direct sunlight in such a way that the logs are ventilated, that is, to ensure natural ventilation.
For log walls select straight logs preferably of the same thickness. However, the difference in the diameter of the ends should not be more than 3-5 cm. If the logs are long, then the difference in their upper part - the run should be no more than 1 cm per 1 mm of the barrel length.
Diameter of logs is selected according to the size of the longitudinal groove. The width of the groove relative to the diameter of the log is approximately 2/3. If the winter temperature in the region reaches -20 C, the groove makes a width of 10, at -30 C - 12, at -40 - 16 cm.
The length of the log is determined by the size of the wall of the building, plus a projection beyond the wall.
For construction, it is preferable to use recently harvested logs, since it is easier to make cuttings in them. In addition, such a log gives fewer cracks as it dries out. When the round log dries, its length does not practically decrease, and in diameter the material can lose no more than 10%.
The number of wreaths necessary for a log house is selected depending on the height of the future building and the diameter of the logs. The first crown, or, as it is also called, the salary, should be larger than the rest for the reason that lags will subsequently be driven into it. The first crown is laid on the foundation, previously laid on it a layer of waterproofing material (most often used ruberoid). After that, the logs for the next crown are selected. In this case, you need to carefully monitor the geometry of the building to prevent distortions.
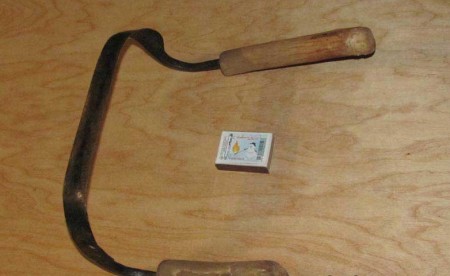
Fresh logs must first be cleaned of bark. The easiest way to do this is with a special tool - a plow. In appearance, it resembles a curved at a certain angle bracket with handles.
To remove the bark, a conventional bayonet shovel is also used. The narrow part of the shovel is straightened and sharpened. The ax is rarely used for cleaning logs from the bark, since it is difficult to work and time is running out more.
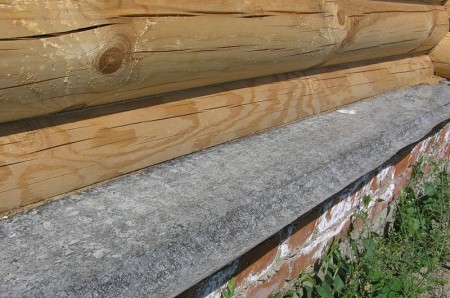
Next, you need to prepare logs for the lower crown. To ensure that they are as close as possible to the foundation, the logs are withered on one side.
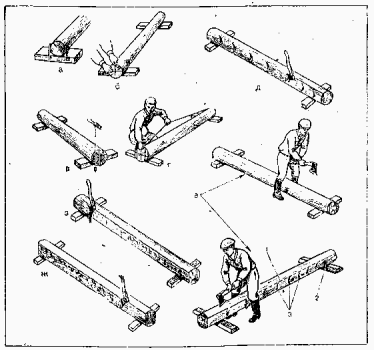
Since the log is round, so that it does not spin during the withering process, the log is placed on several short logs, in which triangular grooves are cut.
On the ends of the log being processed, vertical lines are marked - the boundaries of the future edge. Two nails are hammered from above, a padded construction cord is tied between them, which is slightly pulled and released - the colored cord leaves a line on the log surface along which the log is cut.
First of all, rough logging is carried out - the whole length of the future edge is made to a depth of about 30 cm along the entire length of the cut. After that, the layer of wood between the notches is removed by an ax. After that, the edging is cleaned cleanly with an ax or is coiled by Sherhebel, forming a clean and flat plane.
Today, the masters prefer not to weed out logs, but to cut the edge of the chain saw. However, it is not necessary to cut the log down to the line of othesis. Broken chain saws fibers soon begin to rot. In this case, it is best not to cut down the wood to the oat line by about 5 cm. The rest of the wood is cut down with an ax that "blocks" the fibers, thus preventing their premature decay.
An asphalt log, as it dries up, inevitably becomes covered with a grid of cracks. Cracks arise and spread chaotically, and in some cases can reach the core of the log. To prevent the appearance of cracks on the front of the logs, the masters remove tension from the wood, arranging artificial "cracks". In the opposite side of the longitudinal groove, the logs are cut or sawed by a narrow longitudinal groove with a depth of about 1/2 from the radius of the log. When the log will dry up or absorb moisture, the groove will shrink or expand, thus preventing the appearance of cracks.
log connection options
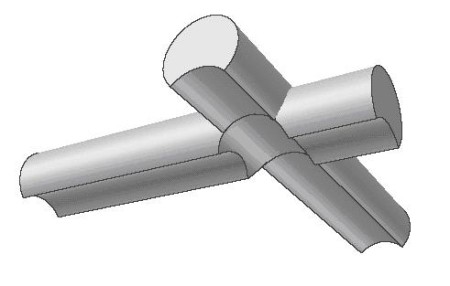
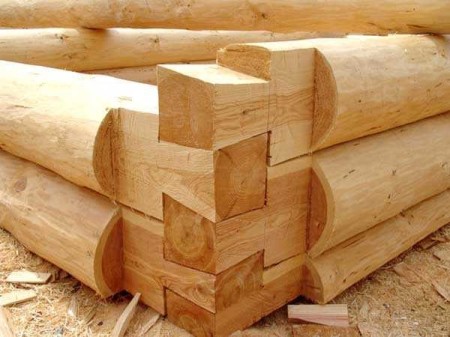
Between the logs are connected in several ways: "in the paw" and "in the cup" - the so-called connection with the remainder.
cup connection
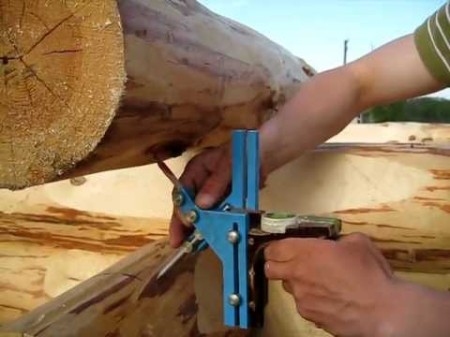
First of all, a "cup" is planned on a log. This is done using a "dash" - a tool for marking logs. The line is attached to the upper log in such a way that one leg of the tool moves along the upper beam, and the second at that time draws an arc.
After that, the upper logs are pushed back and inserted into the finished groove. Logs must fit tightly together. The important point: the second cup should be slightly raised above the first, and not be on a level with it.
After the "cups" are cut down, the first logs are laid on top, after which the risks for the groove between the first and second crown are traced. This work requires the attention of the master and full concentration - the line must be very accurately moved to the depth of the future groove, after which the resulting risks are transferred to the "cups". Further, the log is raised, turned upside down by risks, cuts are made to the depth of the groove. The ends of the log are worn out, after which they make a cut.
connection of logs "in the paw"
The technology is very similar to the above. Its main difference is the presence of a spike, which is designed to reduce the perforation angle. The spike is one third the length and width of the paw. It should be noted that this connection is only used if logs of the same diameter are used. The peeled sides of the log and its butt are divided into 8 equal parts, through the marked points they draw parallel straight lines, the edges are marked with letters. The obtained points are joined - the edges of the "paw" are obtained. Excess wood is removed with an ax.
construction of walls
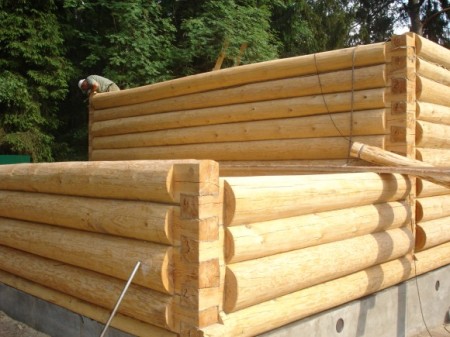
After the completion of the above-described work, the case begins to move faster - in the necessary sequence, lay the crowns and collect the walls of the bath. In the grooves stack a heater - used to use moss, today the masters are laid in the grooves of the patch. The bars of the wreaths are strengthened with dowels for a more secure fixation.
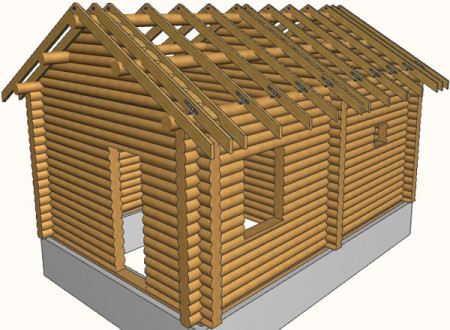
In the places of future doors 5 crowns on top of 2 crowns from below are installed. For the windows in the wall, there are 3 crowns over and 5 below.
roof arrangement
If the bath stands apart from the rest of the buildings, the best option is to arrange a gable roof. When a bath is an extension to the main building, make a roof with one slope, which is a continuation of the roof of the main building.
For gable roofs, the optimal slope angle is 25-45 degrees, for single-pitched roofs, 20-30 degrees. It should be noted that the roof of a wooden bath must be heavy. To "weight" the roof, the masters often resort to Norwegian technology, arranging the so-called "earth roof". Such a design not only has an impressive weight - on such a roof does not accumulate snow, it melts and flows down in the form of water.
Arrangement of the floor in the bath
The floor in the bath must necessarily have a slight slope toward the drain, which is connected by a pipe to a septic tank or a sink pit. The floor is installed on logs, which are installed on supporting poles with waterproofing. Floor boards are recommended to be laid not back-to-back, but with a small gap - about 5-6 mm.
Sewage in the bath should be equipped with a vent riser. Usually, it is mounted on the sink, installing an asbestos-cement pipe with a diameter of 10 cm. Attach the hood to the top of the pipe or install a deflector.
A few tips for arranging a log cabin
The stove is best placed near the door, in the corner. This location of the heat source allows you to simultaneously heat the steam room, locker room and shower. The shelves in the thermae are set in the form of steps near the wall.
At the design stage, you need to include in the plan such premises as a dressing room, a washing room, a steam room, a dressing room, a rest room. If funds permit, you can add a small pool, veranda, balcony, etc.
After the bath is ready, do not immediately begin to finish works - the bath should properly sow. Typically, a complete shrinkage of a log building requires at least a year. Only after this, you can begin the internal finishing work. If you ignore this rule, there may be distortions in the door and window openings and cracks in the finishing materials.
Throughout the time of shrinkage of the building you need to closely monitor it, and in time to seal the cracks between the crowns of the stick.
To build a bath from a log with your own hands is quite realistic. But if you do not have at least basic knowledge and experience in construction, it is better to entrust this work to professionals, or, if there is such an opportunity, to observe their work and soberly assess their capabilities.


