In a private house, from time to time, you have to apply strength to maintain it in good condition. Particular attention requires sex, and if its quality leaves much to be desired, its replacement is necessary. In this article I will tell you in detail how to do this.
Content
Replacing the wooden floor
To change the floor the task is not simple, but necessary when it wears out.
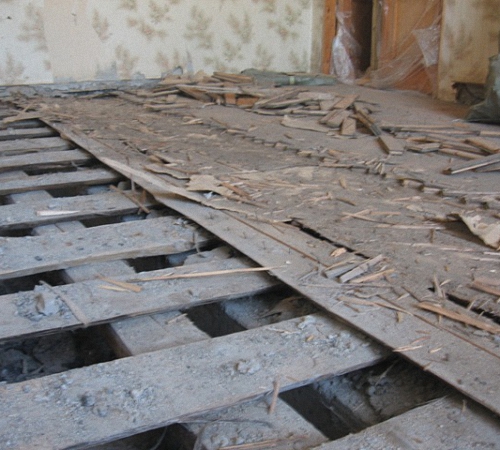
The main criteria for checking the strength of the field are:
- the floor creaks under load;
- the boards on the floor bend under the furniture;
- differences in floor level;
- gaps and cracks between the boards;
- deteriorates the quality of the material (the tree crumbles, becomes rotten).
If you observe several items from the list, then it's time to change the floor.
Works are usually conducted in several stages:
- preparation of the necessary tools and materials;
- dismantling the old floor;
- installation of a new floor;
- finish coat.
Materials, tools, consumables
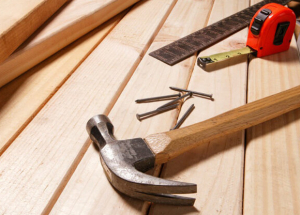
For any construction work requires a number of tools.
For laying the floor we will need:
- screwdriver;
- drill;
- saw or electric jigsaw;
- building level;
- ax.
It is also necessary to prepare materials for the installation of the coating:
- bar for logs;
- boards;
- heater;
- substrate;
- nails, self-tapping screws.
Having prepared all the materials and tools you can start working.
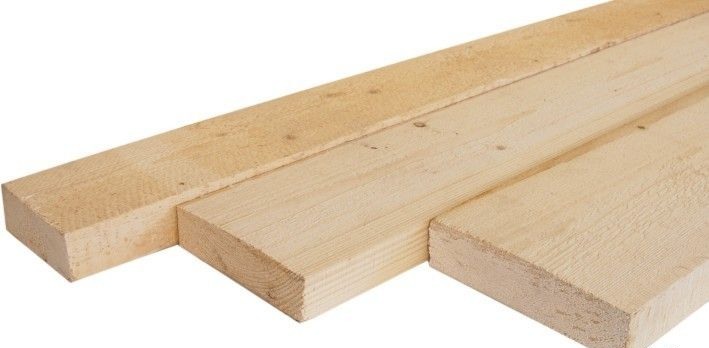
edged board
When choosing materials, the question arises whether to prefer an edging or a sex board. First, you need to give a characteristic of each species. The edging board is a product of woodworking of rectangular cross-section with the set sizes. It is obtained by processing logs from all sides.
For the production of boards use the following tree species:
- coniferous (spruce, pine, larch);
- hard deciduous (oak, beech);
- non-solid deciduous (birch, aspen).
The cost of the forest will depend on the species of the tree. For example, a board made of larch due to its durability and resistance to moisture will be more expensive than the analogue of pine. True, the edging board has one drawback, this is a large number of knots. This material is suitable for installation of rough floor or flooring in a non-residential space.
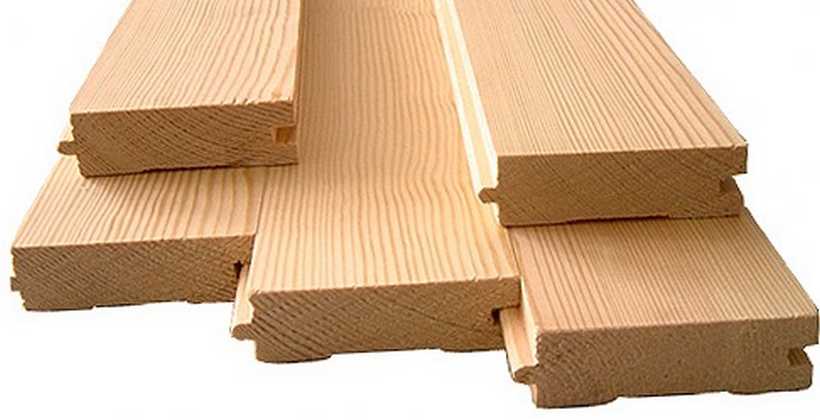
Another matter is the sexual board. It is made of wood and carefully processed from all sides. This material is ideal for flooring. And most importantly, you do not have to additionally dry and process the surface of the boards, achieving a nasty coating.
cantilever wooden 50х100
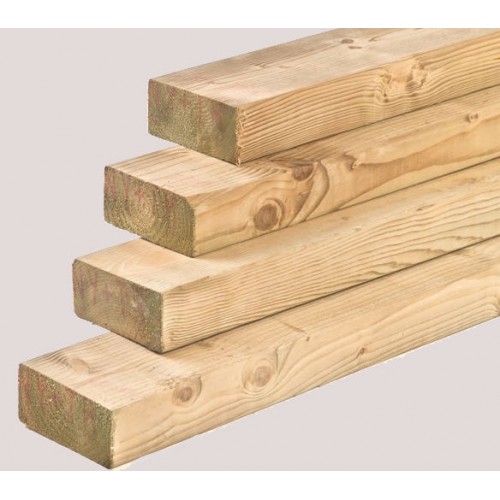
The building beam is widely used in construction and repair. It is made of their coniferous and hardwood species. The bar can have a square or rectangular section. It is obtained by processing logs on four sides. The material of size 50 * 100 mm is widely used for repair. From it you can make a crate for wall sheathing or floor lag. The cost of it can vary between 4 and 10 thousand rubles.
Dismantling of the old floor
When dismantling the floor, it is necessary to prepare tools. To do this, you need a nail, scrap, tongs and a saw.
Further it is necessary to perform a number of preparatory works:
- release the room from the furniture;
- we remove old plinths;
- we remove the flooring;
- we remove the rough floor;
- take out the garbage and clean the room as much as possible;
- do a wet cleaning of the room.
It's difficult to handle alone, so ask for help in advance. Further armed with a nailhead we try to extract the nails with which the boards are nailed. So it will be easier to remove them. If you can not get the board, you can lift it with a crowbar. If necessary, you can cut the cover, and dismantle the boards in parts. So it will be easier to bear them. After this, you need to remove the lags. This way we will get a completely cleaned space for installing a new floor.
Installation and alignment of wooden logs
First you need to align the surface to install the logs.
To do this, you need to perform the following order of actions:
- level and tamp the earth;
- in the place of installation of the supports, we make grooves measuring 20 by 20 cm and depths of up to 50 cm;
- then fill them with layers of sand, crushed stone and rubble each 6 cm thick;
- fill them with concrete solution;
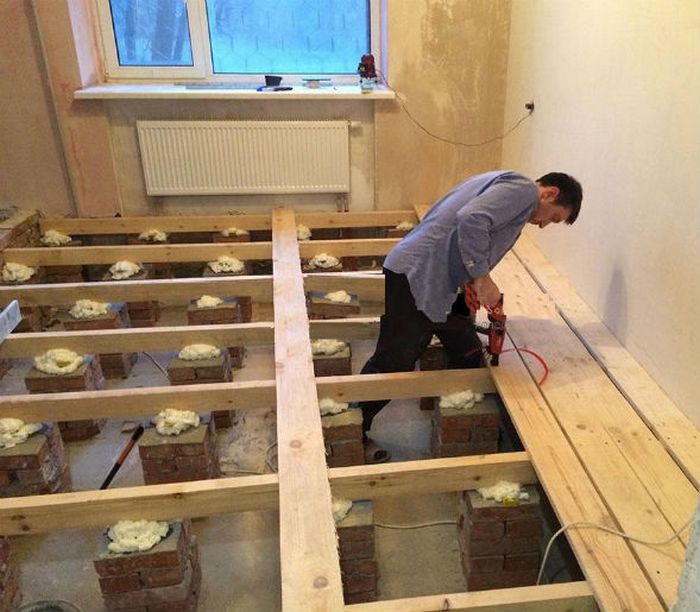
- on the concrete we erect columns of bricks for laying the beams;
- after that, the logs are stacked in steps of 50 - 80 cm;
- the space between the lags can be sewn with boards or particle boards.
This way we will get a skeleton for the flooring of the finish coat.
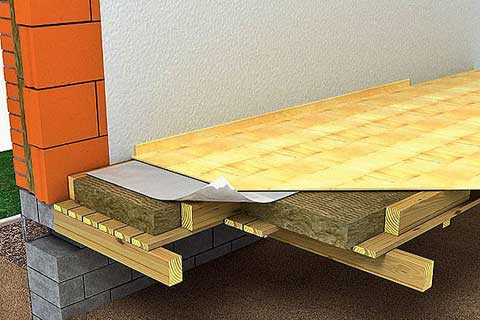
But, still it is necessary to warm the floor. For this purpose, mineral wool is suitable, it is laid in the spaces between the lags and covered with a waterproofing film. The leveling of the lag is checked level, or checked against the cord, which is stretched between the two extreme boards.
If the floor is replaced on a concrete foundation, it is enough to replace the lags, and lay the insulation. And then follows the flooring of the boards.
Flooring of the floor board
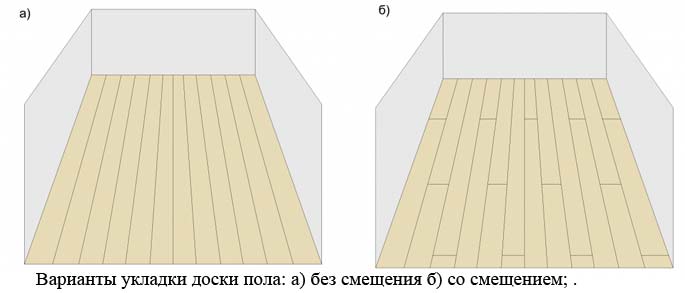
First you need to determine the direction of installation. It is best to do this from windows, so the effect of increasing space will be achieved. We start laying from the wall. Thus it is necessary to leave a backlash in 1 sm from end faces and a lateral surface of a wall. This is necessary because the tree can expand from rising moisture and shrink when it dries. We fix it with screws. Next, we consecutively install the floor, fixing them with screws into the grooves of the boards. When installing the last board, it is necessary to measure the distance taking into account the gap. If necessary, you can crop. To ensure that the cover is not deformed, you can insert pegs between the boards and the wall. Now you can cover the floor with varnish or paint.
Fiberboard laying, linoleum
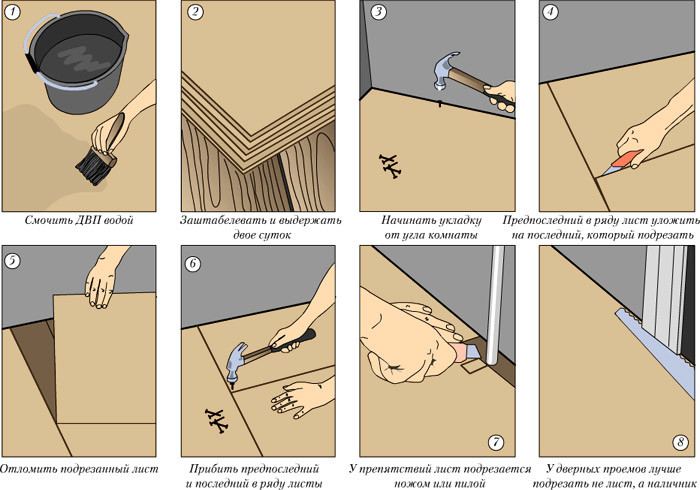
Many people will wonder why to make a fiberboard when you can lay linoleum on the boards. The fact is that the sheets of this material are a good thermal insulation material. And keeping the heat in the house is the most important task. Also, an absolutely flat surface allows to achieve an even coating. Before installing the fiberboard it is necessary to fill all the cracks between the boards with acrylic sealant, and the unevenness of the putty. Now you can fasten the plates with nails or screws. Disadvantages of such methods can be protruding above the surface of the cap fasteners. To eliminate this problem, we make holes in the fastening points so that the hats are fully submerged and flush with the floor plane. Before installing the plates, leave them in the room for a couple of days. After this, we are stole the fiberboard starting from the far corner of the room gradually moving to the door. Now the gaps between the plates are filled with putty.
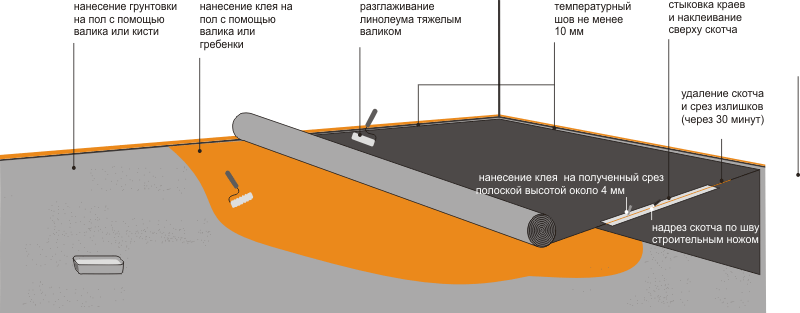
Now you can put linoleum, it is also left for two days in the room to adapt to temperature and humidity. Then we spread the material and give it time to lie down. After that, you can fix it with skirting boards. Since this coating dries out over time, it needs to be laid up against the walls. Another option is to glue it to the surface of the fiberboard. Adhesive composition is applied with a notched trowel on the floor and waiting when it thickens. Then it is applied to the back side of the linoleum and glued to the floor. In order for the coating to be even, it is straightened from the center to the corners. Thus, we get a smooth and warm floor covering.
This article describes how to replace the wooden floor in a private house. Talk about what tools and materials will be needed. Using the advice of the article, you can prepare the necessary tools and do the work yourself. Successful work.


