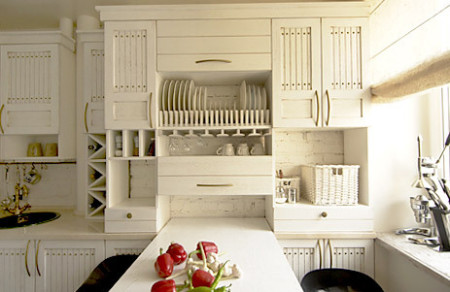
It does not matter at all what is outside the windows of the house a modern metropolis filled with vanity and noise - it's not at all difficult to create a special, unique warm color inherent in the southern regions of France inside your apartment. Of course, it's a provence, a sophisticated rustic style, which is able to give the owners of the dwelling special comfort and turn the house into a real paradise. Ideal conditions for relaxation create soft pastel shades of the walls, original drawings on textile products, elegant, light, and sometimes even white furniture.
Content
Furniture in the style of Provence, its features
Designer version of the design involves the use of old furniture made hundreds of years ago, which has served more than one generation, of course after the appropriate restoration. It can be tables and chairs with carved legs, chests of drawers or cabinets made of expensive natural wood, always painted, with traces of wear and tear.
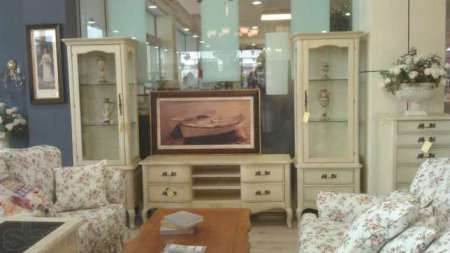
It is customary to add old furniture to the new furniture that will be used to create the interior, imitating traces of wormholes, chipped and worn paint on its facades. Choosing furniture for the decoration of the house in the style of Provence should not forget that it should not only be functional, but also play in the interior of some decorative role. A vivid example of such a combination of utility and decorativeness can serve as a cabinet-showcase.
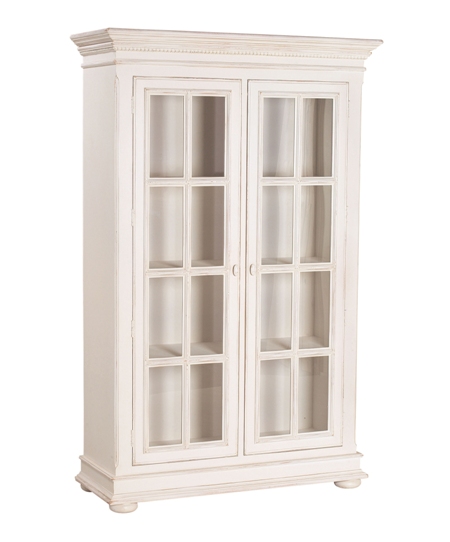
A beautiful Provence style cabinet, the shelves of which will be filled with elegant expensive dishes, unique glassware or original souvenirs can be a real highlight in the interior of the living room or dining room. But it should not be forgotten that the items exhibited in such a cupboard for public inspection should be selected carefully, tastefully, in style, combined with the main design of the room.
The dimensions of the display cabinets can be different, in particular the height can reach the ceiling or be of the order of one and a half meters, the width of such products is usually small. In the furniture salons you can find wardrobes from a wide variety of materials, but a wardrobe in the style of Provence, of course, should be made of natural wood. It should be noted that the cost of such a product in the furniture salon is considerable. Therefore, the desire to decorate your home with such a piece of furniture can lead to the idea of creating a closet with your own hands.
Wardrobe in Provence style, how to make
The modern design of display cabinets involves a maximum of glass and mirror surfaces, but for provans, a wooden item, solid, with wooden shelves giving some severity, and doors with glass will be more suitable. Such an original wardrobe will give the interior of the living room a special character and charm.
materials and tools for cabinet manufacturing
When manufacturing a cabinet you will need to use:
- tape measure, ruler, pencil,
- screwdriver, hacksaw, drill,
- milling and grinding machines,
- sandpaper, hammer,
- nails, screws and washers for connecting parts,
- joiner's glue.
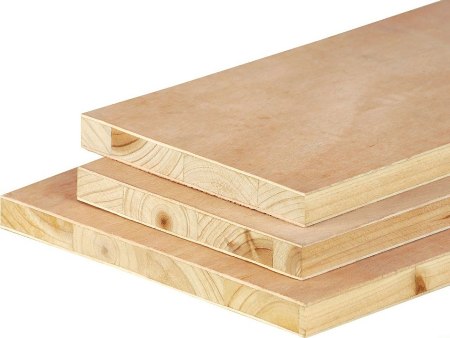
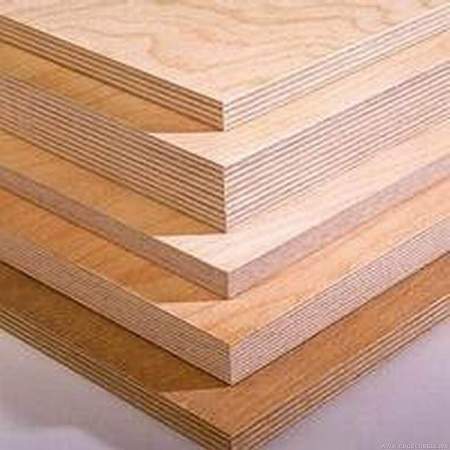
For the manufacture of the cabinet you can use natural wood, plywood, to reduce the price of the product - wood chipboard. For glazing doors use a clear glass.
Billets for shelves are cut from a furniture board, chipboard or MDF, the back wall is usually made of plywood.
From the plywood are also cut struts and support covers, and for the legs it is desirable to use high-quality, durable wood, for example oak. The material for the cabinet can be used differently, but it is desirable that it be natural.
How to make a cupboard with your own hands
Before you begin to work you need to decide on the shape and size of the piece of furniture, its location in the room.
draw up a drawing
Further, all the invented design will need to be mentally divided into components and draw each detail received.
If there is no experience of such work - you can use special computer programs, for example - Basis-furniture maker. When carrying out the drawing, it should be taken into account that the cabinet will stand near the wall, i. about 5 cm of the wall space will be occupied by the plinth. If you do not plan to remove it, then the output will be the legs, which in height will exceed the height of the skirting. If you make a cabinet without legs, you will need to mow vertical ribs on the side of the plinth.
It is very important to calculate the dimensions of the cabinet, calculate the distance between the shelves. The recommended thickness of the shelf - from 2.5 cm, with a length of 1 m. Doubt in the color of the product is not necessary - the ideal option that will naturally fit into the living room in the style of Provence will be a cabinet painted in white.
we prepare the details of the product
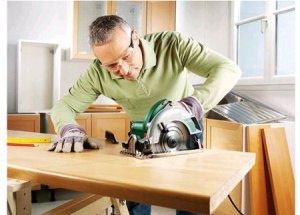
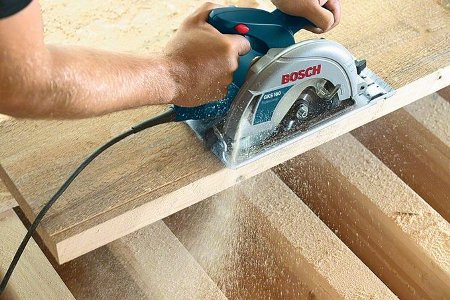
If you can use a professional machine for sawing materials, then you can do all the work yourself. To buy specifically for the manufacture of the cabinet woodworking machine is irrational, it will be easier to ask for help from specialists. Carrying out the sawing of wood or wood chipboard with a jigsaw at home is unlikely to achieve the desired result - the smallest error will eventually be noticeable, in addition, the wood materials in manual cutting are prone to chipping. More realistic work with a manual circular saw, with a parallel stop or on the guide bar.
Since the locker is a rectangular design, you will need to initially prepare the rack, which will cover the ends of the panels from which the side walls are made. Later they will need to give a rounded shape. Having received the necessary length of the rail, it is adjusted to fit the size, the sawing machine is already required. The work uses a guide and a template, along which the boards will be aligned. When cutting, the template is under the board.
After harvesting the necessary number of racks, they are processed with an electric gun or a planer. Do the work with the utmost care, because both sides of the cabinet must be parallel to each other and perfectly even. To make the rails smooth they will need to be polished - this will help remove the undulations of the surface that usually remain after the thicknesser, they can create problems when performing milling.
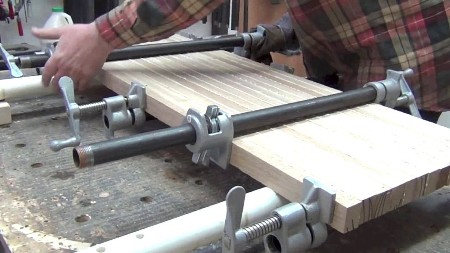
The processed slats are glued to the ends of the wall panel. The work requires a clamp. In order not to force the surface of the workpiece, pieces of plywood will be needed. If in the process of clamping the parts the glue can appear, it can be removed immediately with the help of rags. The connection of the rods at the joining points should be made at an angle of 45 degrees.
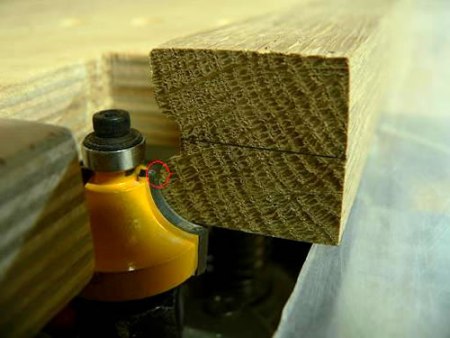
how end milling is performed
Although this process is not complex and time-consuming, but its quality can not be underestimated - inaccuracy can reduce to zero result all efforts. Mills for reliefs must be chosen correctly, and the outreach must be clearly displayed.
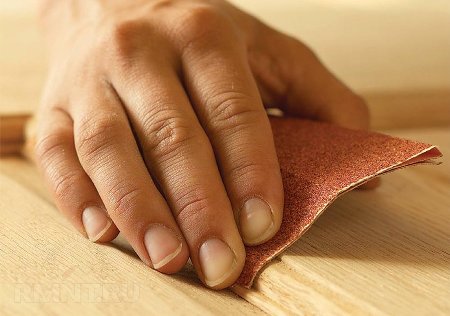
Feeding blanks in the router should be carried out smoothly, deviating them in the sides is unacceptable. Before starting work, you should practice on unnecessary pruning of the rail, and at the same time check the efficiency of the cutter. Having set the necessary parameters, you can start processing racks. If, after milling, the slightest irregularities are found on the surface, it is necessary to eliminate them with a sandpaper (granularity 150), if this is not done after painting, they will become even more noticeable.
how to install the back of the cabinet
This detail is the least noticeable, but very important - it has a significant effect on the strength of the entire structure, because the rear wall is one of the connecting elements of the entire cabinet. Pay special attention to the finish of the inner part of it - it will be visible, on its background will be placed items that you put for viewing in the cabinet-display case. Plywood is quite suitable material - it can be easily processed, it is easy to saw with your own hands using a jig saw, if there is a sawing machine - you can use it. After cutting, you need to process the edges of the workpiece with sandpaper.
For the production of the back wall, wood chipboard can also be used, but its weight is more significant, and the methods of its attachment are more complicated.
In order to obtain a perfect cabinet, you can resort to buying ready-made components, in particular, the facades for cabinets, both deaf and glazed, are exactly what we need in our case, can be ordered or bought ready-made in a specialized store. If you have the skills of carpentry - you can try to cope with the task on their own.
proceed to assembly of the cabinet
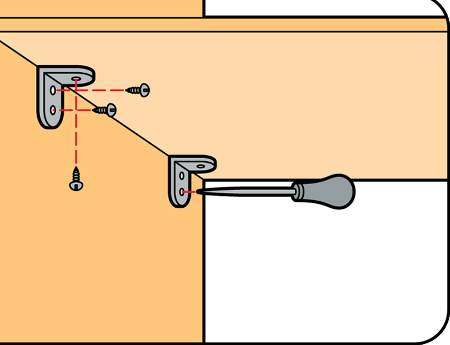
Assembly should be carried out on a level surface - otherwise there may be distortions. Begin the work from fixing the side walls to the top wall. To prevent the occurrence of unevenness at the corners of joints use a special corner.
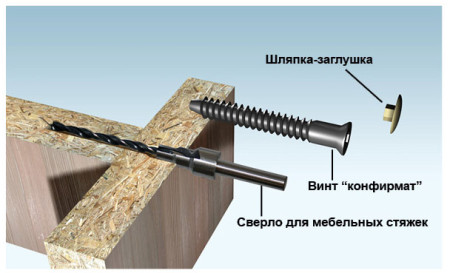
At the marked points, it is necessary to drill holes with a diameter smaller than the diameter of the fastening element. Then, with the help of these elements, the parts are pulled together. Experts argue that one of the most convenient practical fasteners is the Confirmat, in order to simplify the clamping process, you should use the enclosed key.
After assembling the top of the product, you can go to the bottom. Do not forget to use the corner - corner joints should be perfectly even. The basement part of the cabinet is assembled from three fragments cut into "whiskers", fastened together with screws, from below. Bottom fixing is carried out to the side support bars, from above.
More in detail about a principle of assemblage of a case by the hands we look at video:
shelves
By assembling the upper and lower part of the cabinet, i.e. its frame, you need to understand the installation of shelves. If the installation is carried out after the installation of the rear wall, the task becomes very complicated. Shelves can be removable, this is permissible if they are not heavily loaded. In this case, it will be enough to drill several holes at the required level and fix the shelf holders on them.
If the objects with which they are filled are of considerable weight, it is best to attach the shelves with the same confirmation, preferably at 3-4 points of the side wall on each side. The shelves assembled in this way will give strength and durability to the entire cabinet.
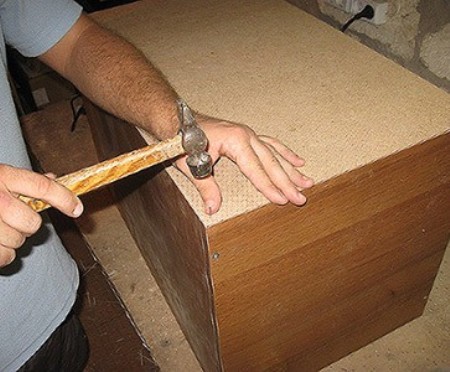
Then proceed to install the rear wall. For its production plywood, 10 mm thick, can be used as fasteners, you can use nails, screws, screws or a construction stapler. Before fixing the rear wall, insert into the fold, available on the base.
case cover
You can also use screws or screws to attach the housing cover. Bores for fasteners are drilled strictly at marked points, in the middle of the edges of the inner plates, on the side walls.
cornice
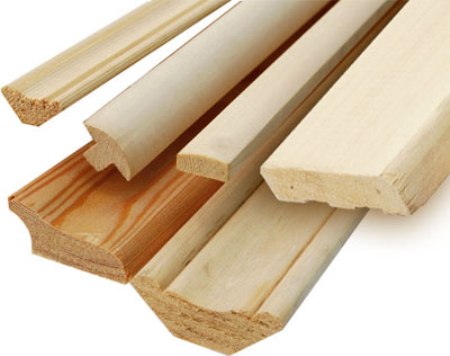
To make decorative decoration of the display cabinet, you can use cornices, for their assembly are used trimmed carpenter's plate, connected at an angle of 90 degrees and purchased in the finished form of moldings from natural wood. The fastening of the structure is carried out through the support blocks with screws and glue. Similarly, the moldings chosen for finishing the basement part of the cabinet are fastened.
doors
In the event that the facade for the cabinet is not bought ready-made, the doors are made from the same carpenter's plate that was used for the walls, the edging of the doors along the perimeter is done with cubes of natural wood, connecting them to the canvas with the help of keys. To install doors, furniture loops are used. On how to install the door can be seen on the video:
Staining of the cabinet
It is recommended to paint every detail of the future cabinet before starting the assembly of the product. First, the paint is applied with a wide brush, when the applied layer dries the surface, grinds, is treated with a primer and covered with another layer of paint. To make the painted surface more resistant to mechanical stress, a layer of colorless lacquer is applied over the paint.
The paint can be used acrylic, semigloss:
- it lies easily and high-quality coverage can be provided even by inexperienced workers,
- when the paint is applied there are no unpleasant odors,
- the drying time of paint is 8 hours.
On how to correctly apply paint look at the video:
If you want to further emphasize the identity of the locker to the style of Provence it can be decorated with pictures, using the methods of decoupage, painted in white.
The piece of furniture made and decorated with own hands will differ originality, in it the sincere and careful attitude to an embodied idea will be looked through. After all, for the style of Provence, stamping and streaming production are not acceptable and not natural.


