Cursing and collecting construction debris the second day after installing the plastic window, you start to think sadly of further steps to install and install slopes. And what if to violate all known and existing rules for installation and facilitate personal work? This will help in this powerful concealed force and the possibilities of mounting foam.
Content
We choose the way of installation of slopes
The impressive cost of plastic windows and the equally high cost of installing slopes by specialized firms makes it necessary to look for budgetary mounting options. Existing options for plastering and installing window slopes on self-tapping screws and prefabricated on the profile system are expensive and time consuming.
At the cost of installation and materials, slopes on plastic windows from prefabricated plastic sheets are more expensive than plastering, but more affordable for execution.
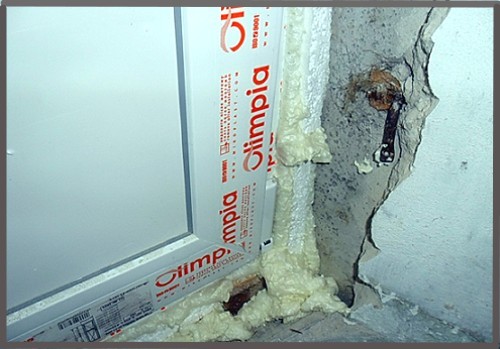
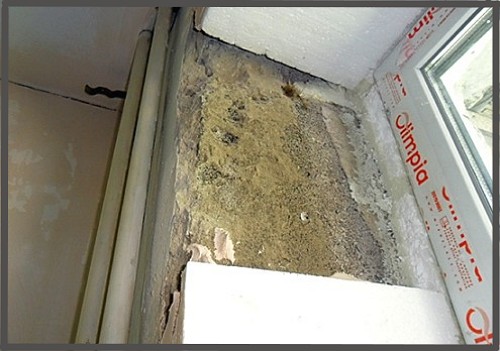
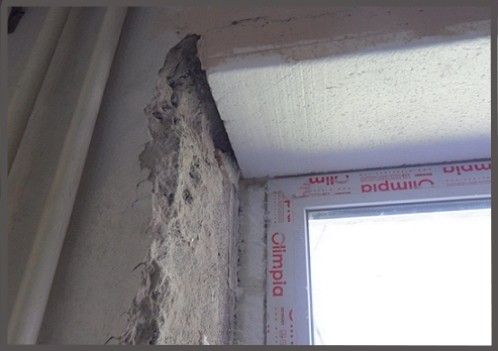
In your apartment or private house have installed a brand new plastic window and after installation you do not know how and what to close the gaping holes?
A simple way of installing slopes of windows with the use of foam, polystyrene and mortar is intended for hand-made execution.
The more attractive the installation of slopes with the use of foam
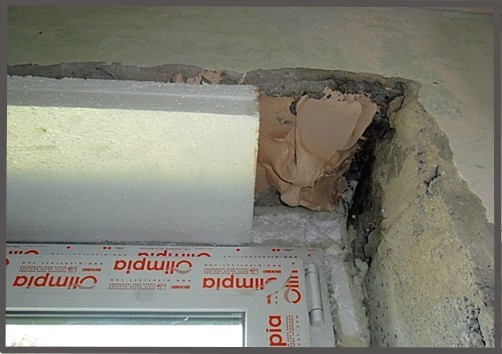
You are lucky if the distance between the installed sheet slope of PVC and the wall is insignificant, because such a sheet is simply installed in the groove. But in the case where the distance between the slope and the wall is more than 5 -20 mm, there may be a risk of not filling the foam with full volume.
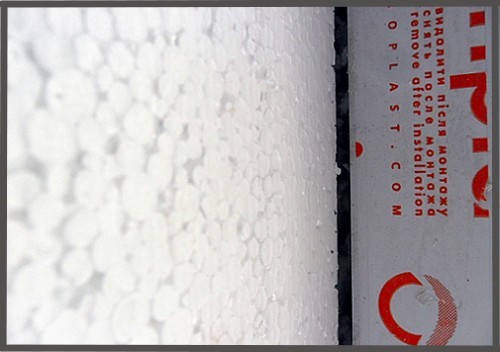
In practice, this means that there may be unheated places in the slopes. In this case, to warm the window, you can use a sheet of foam 30 mm thick, glued if necessary from two sheets to a thickness of 50-60 mm. For this, there is no need to apply and select glue.
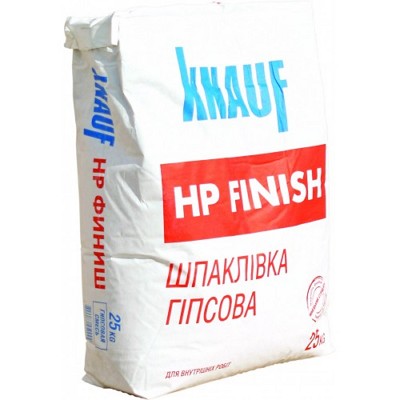
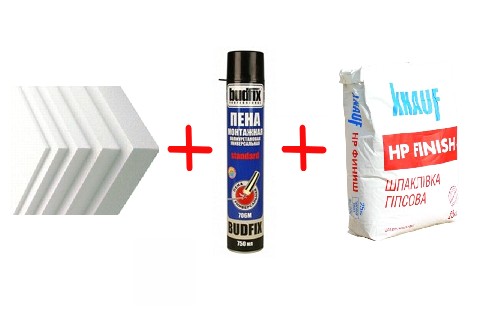
Polyurethane mounting foam, which is applied to a dust-dried and moistened base, is an excellent glue. And if we take advantage of the improved adhesion qualities of the freshly prepared solution from finishing putty Knauf, Then the fastening of the slopes will be reliable.
We build the slopes with our own hands using the mounting foam
The technology of creating and installing slopes on windows will consist of the following stages:
• preparation of adhesive mortar from putty
• cutting foam and gluing sheets with mortar from putty
• installation of foam sheets on the window
• application of mounting foam to a sheet of plastic
• installation of plastic panels.
prepare the mortar from the putty finish
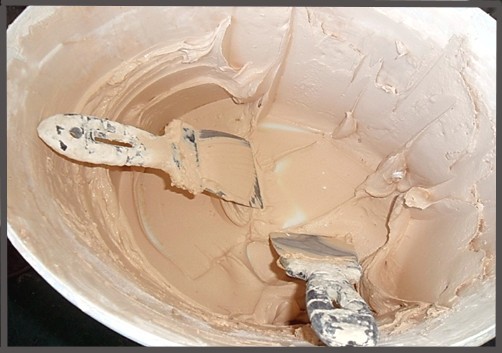
Working solution of Knauf HP filler Finish is prepared in the traditional way, by filling the dry mixture in a container with cold water at a rate of 1 kg of the mixture per 0.7 liters of water.
Stir the composition until a homogeneous consistency of medium density is formed using a low-speed mixer. Then the resulting working solution is applied to the prepared surface of the walls near the window and left for 3 minutes to soak.
foam preparation
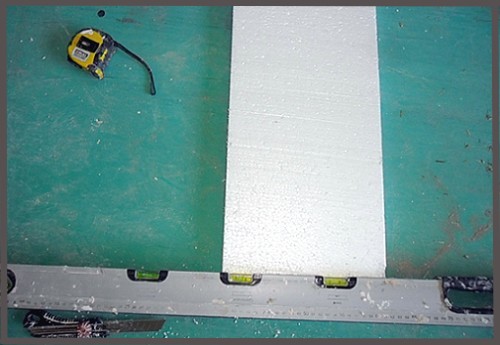
We select sheets of polystyrene with a density of 20-30 g / cm3 in thickness, taking into account the possibility of filling the distance between the upper part of the wall and the beginning of the installed window frame.
Sheets of foam plastic 30 mm thick are cut into strips according to the width of the wall. To create a denser layer of insulation, the sheets can be glued together with the puttying solution in a common element.
installation of foam on walls
Begin to install the foam on the mortar, starting from the upper slope. The solution is applied a thin layer of 1-2 mm on the surface of the walls.
The material consumption is 0.9 kg of mixture per 1 m of slopes. To create slopes of the balcony block you need 2 kg of the mixture.
Foam sheets are installed on the walls, leaving a small gap between the wall (5-8 mm).
This clearance will be necessary for the subsequent installation of the plastic sheet and is determined by the thickness of the plastic panel.
preparation of plastic panels for installation
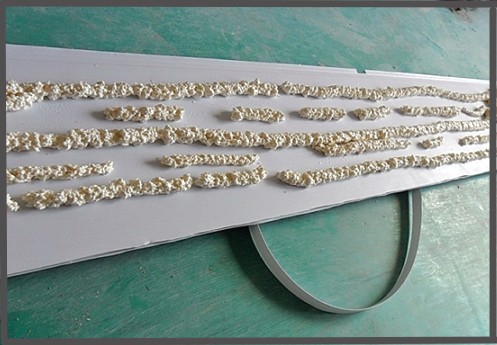
Sliced plastic panels for the slope are spread out on a dry and level ground. Slopes of plastic should be shorter than the length of the walls by 5-8 mm. Then on the inside of the plastic, we apply a mounting foam.
in what quantity to apply a mounting foam
With the self-assembly of slopes with foam it is necessary to remember that the hardening polyurethane foam increases in volume and can simply "break" the design of the slope. Therefore, the foam is applied to the center and edges of the plastic panel, not reaching the edge of the sheet on
50 mm.
choose the foam
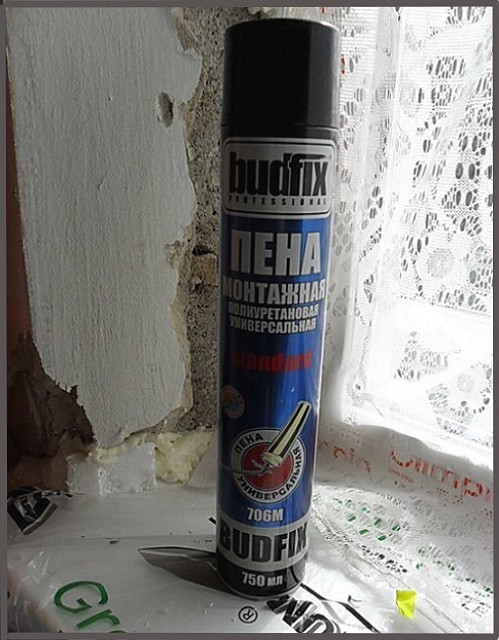
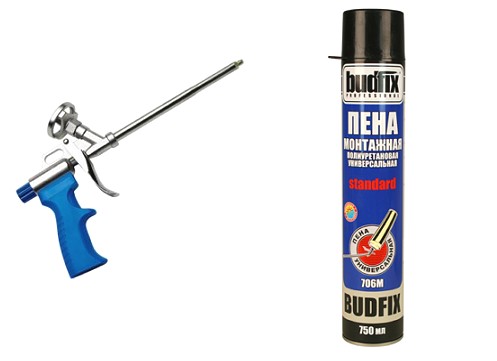
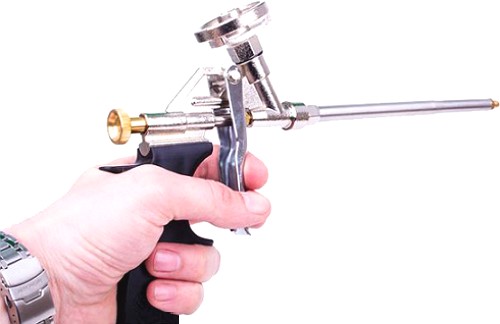
For the installation and installation of slopes it is recommended to use a one-component polyurethane foam, which quickly hardens under the influence of air humidity in the working room. For example, foam Budfix Professional (all-weather). Application of polyurethane foam is made using an adapter-applicator or a special gun.
How to work with the mounting foam is presented in the video.
After applying foam and installing a plastic slope on the wall, it is necessary to hold the slope for some time to better grasp. Then the layer of foam plastic gently shpakem the remnants of the solution to the level of the installed plastic panel.
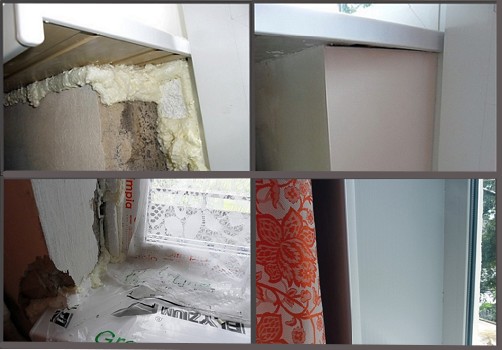
The originality of the method is obvious: the whole process of creating a slope is firsthand, and most importantly the final result is visible - a smooth and accurate slope.
A tangible difference in cost
Thus, compared to the existing ways of installing slopes, the cost of the installation method using foam is as follows:
• purchase of one cylinder of mounting foam and several sheets of foam plastic
• cost of plastic panels
• cost of 2 kg of dry mix of putty Knauf HP Finish.
No screws, bridges and profiles are used. Therefore, we can safely conclude that the self-installation of slopes using foam is the cheapest and profitable.
Now you can really argue with Mr. Zemskov himself, the consummate coryphaeus for installing slopes.


