The peak of fashion on plastic window sills has imperceptibly passed. The arrows of the barometer called "Fashion Trend" moved to the side of the Natural Wood window sills and froze. Install ready-made windowsills from the manufacturer is a pleasure: pshikn install foam, laid down the window board and now the installation is almost complete. However, it is necessary to work with the mounting foam and install the window sill skillfully.
Content
Choose a window sill from a tree
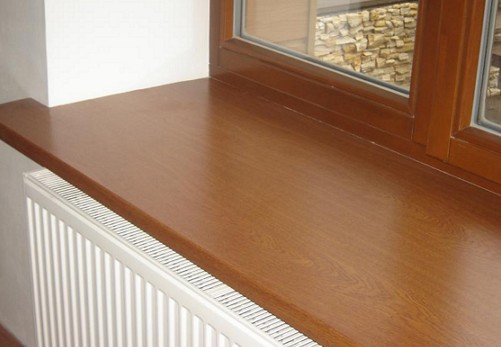
The finished view of the interior of the room and the window is given by comfortable and practical windowsills made of wood. Installing a wooden window sill is completely lamellar, you can create a cozy atmosphere of a bedroom, living room or cabinet.
In addition, the skilful installation of a window sill by all the rules will improve the functionality of the structure during glazing, for example, a loggia.
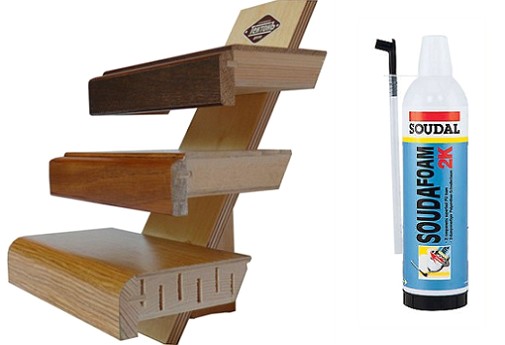
view of the windowsill
As a part of the window unit, the window sill may be:
• Wide or narrow
• with or without starting on the wall
• Rectangular or have rounded (radius) corners.
But the main criterion of choice is wood quality.
wood
When choosing a window sill from wood, it is necessary to focus on the wood species, proper installation and daily care of the surface.
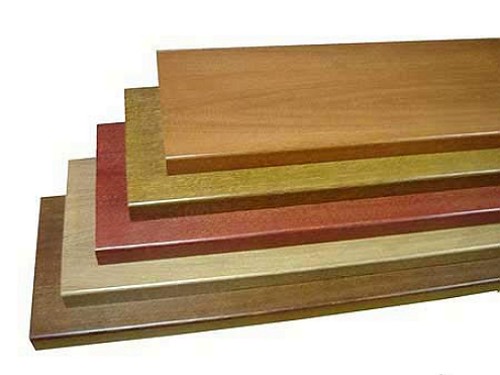
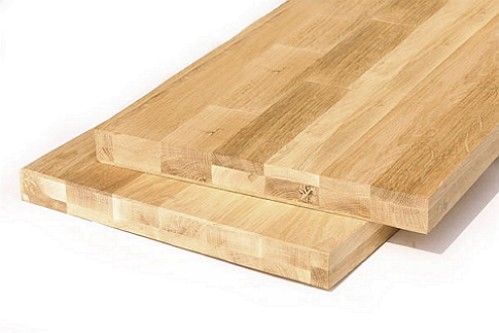
The most preferable option is the oak window sills. For the window-board also suitable for pine and beech wood. Preferably choose glued windowsills from pine, which are least susceptible to buckling at temperature differences.
dimensions
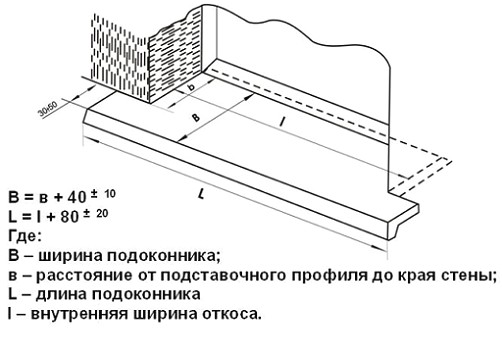
According to the technology of window sills installation, only 1/3 of the board should protrude beyond the wall. Therefore, the conventionally recommended width can be 20-25 cm. You can not prohibit installing a wide window sill. However, this requires additional tightening of the structure and, accordingly, fastening. The classical dimensions of the windowsill made of wood are: 1.50 m long and 250 mm wide, 40 mm thick.
Ways of installation and installation of a window sill from a tree
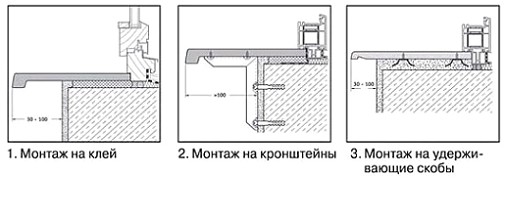
There are several ways to install wooden window sills:
• on cement screed
• using special glue
• for two-component mounting foam.
The installation method is identical. The difference lies in the use of a mounting mortar. The choice of the mounting method depends on the working base of the window and the material of the window manufacturing.
A single standard for the installation of wooden window sills is not available, but the recommended standard 30971-2002 assumes resistance to heat transfer, sound insulation and resistance to deformation of assembly and compensation joints relative to the opening of the window and walls.
Naturally, before the installation and installation of the window sill, a number of preparatory measures will be necessary.
We make a step-by-step installation
Instructions for step-by-step installation of wooden windowsills will consist of the following stages:
• Preparation of the window-board for installation
• preparation of the laying base
• laying and aligning the support bars
• marking of the board for fixing
• application of the mortar (cement screed, glue or foam)
• installation of a window sill on a mounting mortar
• creating a compensation gap between the sill board and the wall
• installation of spacers between the installed window sill and the top of the window
• application of sealant to the expansion joint
• Removal of struts.
preparing the window sill for installation
Before installing the window sill, it is necessary to treat it with a moisture protecting compound. Processing is subject to the sill board and the places of abutment to the window aperture and walls.
preparation of the base for erection
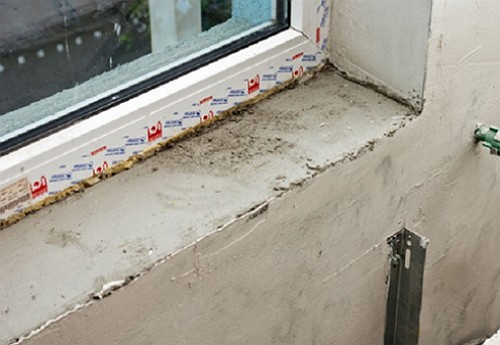
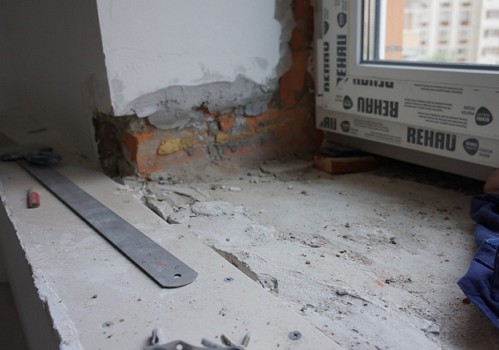
Before installation, the surfaces of the base and the window opening are dedusted and primed. Window seams streak.
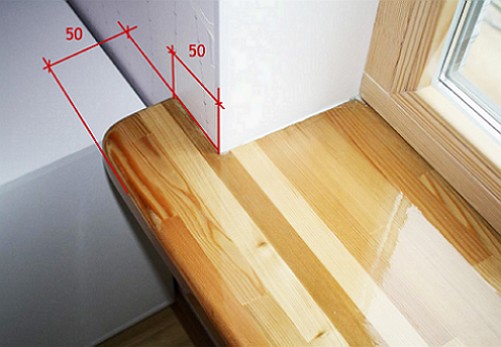
Installation of wooden window sills is performed on a dry, hard base, filled with screed or on bars with a pitch of 80 cm. A prerequisite is the insertion of a window sill into the wall for 2-3 cm on both sides. Therefore, it will be necessary to perform wall sloughing.
stacking and alignment of support bars
The recommended height of the screed or supports from the bars should ensure that the edge of the window sill enters the profile without a gap. For example: for a window sill 40 mm thick, the allowable clearance from the screed to the stand profile should be about 50 mm.
To lay the support bars on the base is recommended with a step of 800 mm, having deviated from the edge of the wall a segment of not less than 100 mm. As support bars are suitable bars up to 80 mm wide, providing the best fit for thickness.
application of the mortar
For the installation solution of the window sill, wood can be used: cement screed, glue mortar and two-component mounting foam.
A wooden window sill of a panel or brick house is recommended to be laid on foam. For concrete base use dry mixtures of cement screed and glue solution.
laying cement screed and adhesive
Preparation of cement mortar or glue mixture is carried out in the traditional way. The solution is applied to the substrate using a spatula.
The height of the applied solution should be higher than the level of the decomposed bars. After pressing down the window board, the solution is distributed under the weight of the window sill. When installing, it must be remembered that the window sill has a slight slope (3 degrees) inside the room.
application of foam
Installation on a two-component foam is a simple process, which can be mastered in a few minutes. Within 2 minutes, the balloon with foam before shake is shaken, then using special devices the bell of the balloon is sent to the application site.
The control of the distribution of the released foam is controlled with the use of nozzles. You can apply foam in zigzag movements. After the application of foam, it is necessary to quickly install the window sill in place, because the time of foam hardening is minimal.
creation of a compensation gap
Wood has the properties of volume changes under the influence of temperature-humidity changes. Therefore, when applying the mounting mortar, it is necessary to remember the necessity of creating a compensation gap.
To do this, install a damper plate 3-5 mm thick between the window sill and the wall. After the final drying of the mortar, it is removed, and the seam is protected using a sealant.
In the process of solidifying the assembly foam, glue mortar or cement screed, the position of the installed window sill can be changed. Eliminate the occurrence of deformation between the window sill and the top of the window unit, possibly with the installation of special spacers.
Counteraction of the area of the struts to the forces of swelling of the foam or screed provides an ideal way of mounting the sill.
The installation of the window sill with your own hand will help this video.


