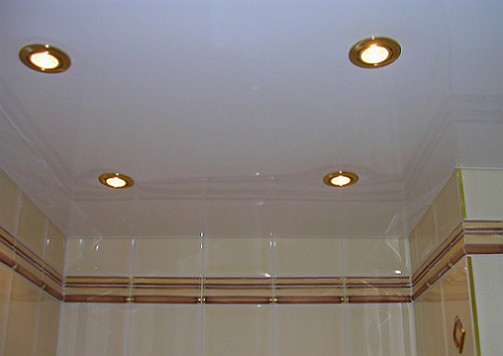
Excellent fixtures of stylish and effective stretch ceiling are considered lamps. It remains only to correctly select and install lighting devices. Which luminaires are best suited for installation in glossy or matt tension ceilings, and how to install yourself?
Content
Which types of fixtures are most suitable for installation
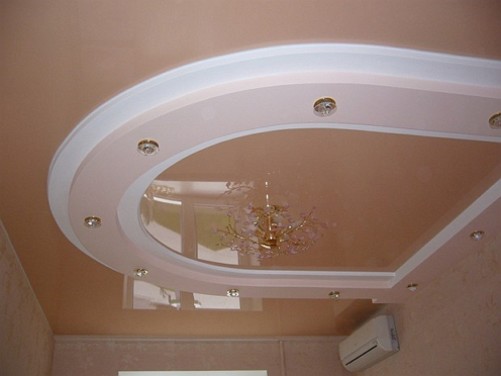
In its structure, the stretch ceiling represents a thin film, so bulky chandeliers are decisive images are not suitable for such ceilings. A winning option for lighting rooms with stretch ceilings are ceiling lights.
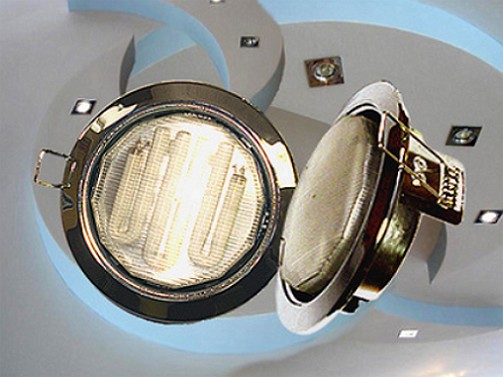
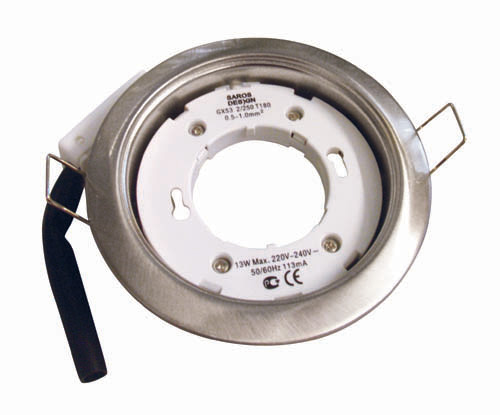
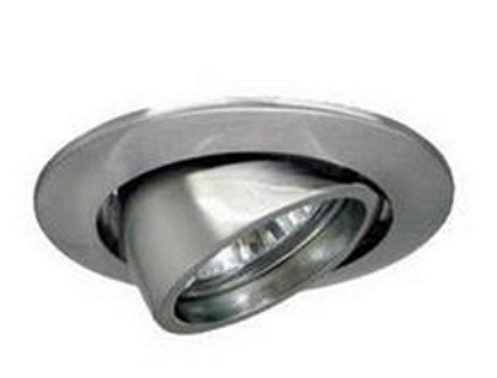
Among the variety of fixtures, the following types are considered to be the most suitable for design and installation:
• spotlights in a steel casing
• compact fluorescent lamps (CFL)
• Halogen lamps
• lamps with tungsten filament
• cardan luminaires.
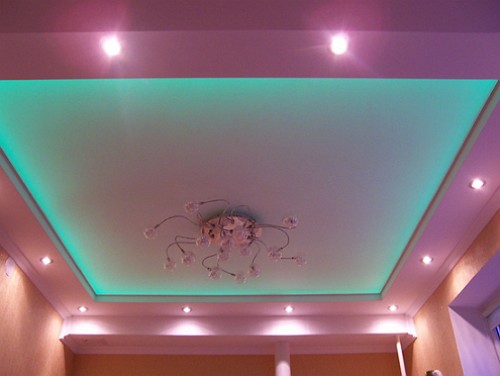
Modern lighting fixtures for stretch ceilings, of course, this is a stylish option for lighting any room in the apartment. Even an ordinary-looking hallway has an original look after installation of lamps.
Therefore, the installation and installation of luminaires in the suspended ceiling will depend on the type of lighting element chosen. The only condition is that the luminaires recommended for installation should be respected. So the recommended power limit of lamps and lamps are:
• for halogen lamps from 20 to 35 W
• Built-in luminaires in a steel casing of 40 W
• lamps and lamps in combination with a 60W PVC film.
Observance of the recommended power will keep the stretch ceiling from deformation and melting.
Therefore, especially for installation in stretch ceilings, small-sized spotlights are designed.
Calculation of the total number of fixtures for installation
Any installation of luminaires should be economically calculated. After all, made in a hurry once holes in the film is no longer patched up. Therefore, it is recommended to first draw a scheme for placing lamps with detailed arrangement of the elements. To create zone lighting, it is preferable to use rotary fixtures.
Such fixtures allow creating a region of saturated illumination and avoiding crowded lighting sources on the ceiling. Particular interest is caused by spotlights. The original shape and ease of installation allow you to radically change the appearance of the usual ceiling. When calculating the number of fixtures, it should be borne in mind that one lighting source can illuminate 1 or 2 square meters of ceiling space.
Consequently, on the ceiling of a small room with an area of up to 30 meters, it will take up to 15 spotlights.
The problem of stretch ceilings, how to arrange the lamps can be solved in different ways, so here everything will depend on your taste and material resources.
Preparing the ceiling for fixing fixtures
Before stretching suspended ceilings, points of future fixation are marked on the surface of the ceiling.
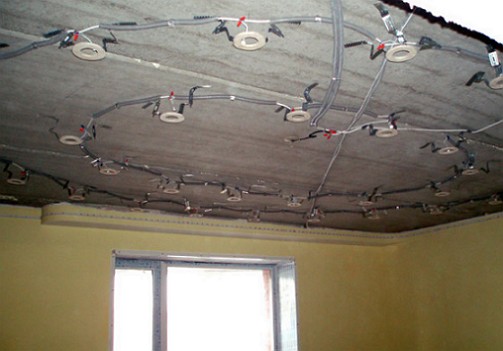
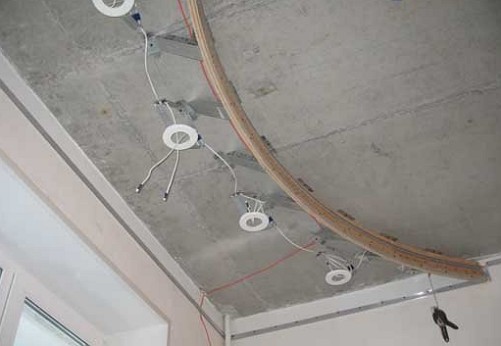
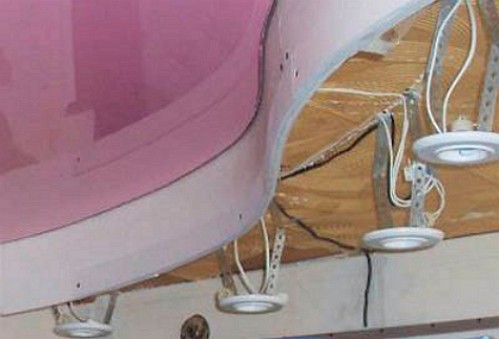
Racks for fixtures are fixed to the base ceiling. The wires are connected to the fastening points. The wiring and wiring is carefully checked for operability:
• Correct installation in the inter-ceiling space of all communications
• density and reliability of fixed frames and racks
• Ability to actually hold backlight.
After this, you can install special fasteners and brackets for mounting fixtures and tension ceilings. Mount the fixtures preferably on the fittings or special fasteners to which the power cable is connected and a protective device is connected.
Then the ceiling is stretched according to the instructions. The optimal option is to install a stretch ceiling by professional specialists. After installing the ceiling in the necessary place, the film is notched, the resulting hole is glued round the special ring. Plastic rings are necessary to limit mechanical influences on the material of the tension web when cutting the mounting hole.
The most commonly used are plastic rings for spotlights. A variant of universal rings is possible, in this case the extra part of the circle is cut to the required diameter.
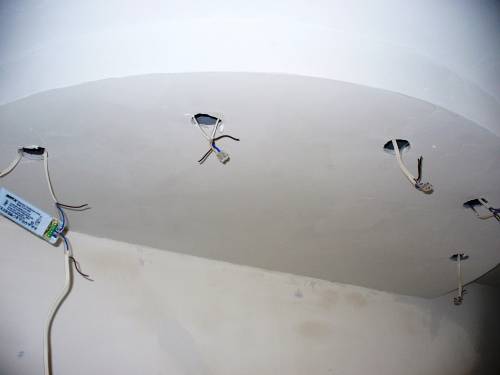
The next stage is release through the received hole of the prepared electrical wiring.
The most recent action is the installation and connection of the luminaire. Please note that the preparatory work is carried out exclusively at the preparatory stage.
How to install lamps yourself
Installation of any luminaires in the suspended ceiling is a neat and laborious process.
After the end of fixing the wiring and installing the false ceiling, the wires are taken out and the mounting holes are prepared.
Under the stretched fabric to the touch we find plastic holders. It is in this place that a circle should be glued. The diameter of the hole in the holder should be covered by the inserted part of the lamp.
Then the wires are connected to the terminals of the lighting device and securely fix the wires. The hole can be edged with a decorative profile. Now, the spring fixtures of the fixture are pressed against its housing and pushed into the finished mounting hole.
At this stage, it is possible to adjust the position of the luminaire by level. The side spring elements return the luminaire to its original position on the ceiling. This means that the fasteners are manufactured quite reliably and in place. When connecting luminaires, it is recommended to connect each individual wire, and all connections must be made in the junction box.
By this principle, we mount all the fixtures in a tension ceiling.
For reliable isolation of the luminaires, one or several insulating rings are put on the body. The final stage of installation is the adjustment of the luminaire in height and the level of the tensioned ceiling.
When installing and installing halogen lamps, it is recommended to work with gloves.
Available installation of fixtures with their own hands in the stretch ceiling is shown in the video.


