Oh, how many wonderful moments for us are preparing the repainting of the ceiling! The first surprise, which can not be called pleasant, is the ignorance of what the ceiling was painted originally. The next reason may be incorrectly selected materials for repainting the ceiling. How to properly repaint the ceiling
Content
Secrets of painting the ceiling
It often happens that one master painted ceiling looks different than a ceiling painted with the same materials from another master. You say that every master has his secrets?
The main reason for the violation of the technology is the painting of the ceiling. Let's tell, that the technology of coloring of a ceiling consists of following stages:
• preparation of the ceiling surface
• deep priming of the surface
• Cementing of the ceiling surface
• grouting of putty layer
• trial painting of a less visible area
• Painting the ceiling.
Each stage of the ceiling painting technology must be observed, it is desirable to carry out the technological steps in order.
Preparation for painting
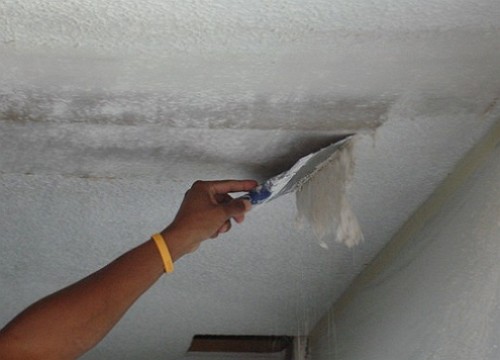
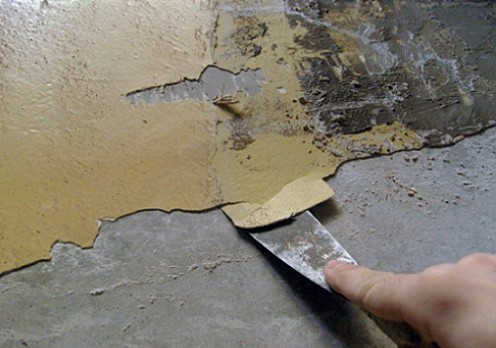
In the process of preparing the surface of the ceiling, dirt, dust and old paint are removed. The better the old paint is removed, the more reliable and even the new paint will go. Problems how to remove old paint does not exist anymore.
There are many construction devices and technologies for removing old paint from the ceiling, regardless of the surface material.
Ceiling primer
The step of priming the ceiling before painting is mandatory, regardless of what the ceiling was originally painted. Moreover, after the preparation of the surface, the original painting layer is completely removed.
The first primer layer serves as the basis for subsequent coating and painting, especially since the purpose of the primer layer is to create a sufficiently strong bond with the paint layers.
The primer of the ceiling is carried out using a primer of deep penetration. The primer coat is applied twice. After applying the first coat of primer, wait until the layer is completely dry.
The next step after priming the surface is puttying of the ceiling and subsequent grouting.
It is at the stage of putty on the ceiling before painting that you can make mistakes that can entail:
• formation of microscopic cracks
• peeling of the dried layer of putty
• shedding of putty layer
• the appearance of divorces.
Such manifestations of the incompatibility of the puttying process must be excluded.
Cementing of the ceiling surface
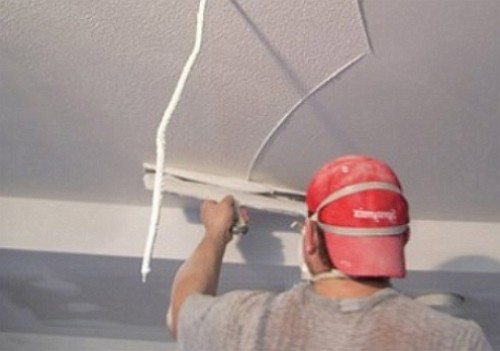
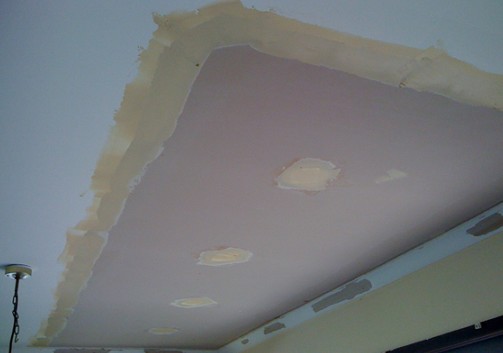
Ceiling filling is intended for leveling the surface. The putty applied by a thick layer or not enough elastic layer, can simply crack and peel. It is recommended to apply shpatlevku a thin layer, first local, and then already solid. Each layer should dry out and the number of layers should not be more than three.
Regardless of what the ceiling was originally painted, putty is preferable to ready-to-use mixtures. The starting puttying coat is applied in a thick layer, and the finishing layer - with a layer of up to 2 mm. Priming and putty mixes are recommended to be used from one manufacturer, thereby ensuring complete compatibility of the layers for painting.
Surface grinding
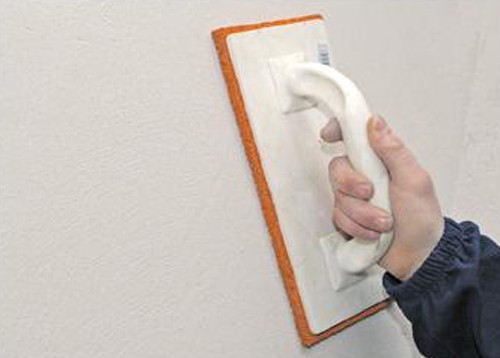
After drying, the zashpatlevanny ceiling has a rough surface. To remove minor roughness and roughness, the surface is grinded.
The grinding process mechanically processes the surface of the ceiling, influencing the abrasive grains of the tool. This process improves the adhesion of the surface layers, generates specific risks and the surface acquires a matt tone.
We draw your attention to the fact that in the process of filling and grinding, it is possible to apply materials with different chemical bases. However, this is possible after preliminary preparation and sequence of work.
If you forgot how it is necessary to produce ceiling putty yourself, then the proposed video will remind you of quality filler and grout.
Trial painting
After, when the main work on the preparation of the ceiling for painting will be completed and the ceiling will dry, it is necessary to make a trial color. What is the test painting of a less visible section of the ceiling?
Trial ceiling painting is done solely to determine the compatibility of the selected paint for the prepared surface.
On a small area of the ceiling, preferably closer to the window, a "control" paint layer is applied.
Trial staining should be time-honored in order to make sure the better the ceiling is painted with the paint of this type or you will have to look for other options. In any case, it becomes clear how to paint the ceiling correctly.
Ceiling repaint defects
No matter how we try to repaint the ceiling, in any case, minor defects are possible. To see with your own eyes, defects in painting are desirable in natural daylight. It can be:
• stripes or spots of incomprehensible origin
• visible joints between the paint strips
• marks from the roller or brush
• wrinkles or tensions.
The appearance of streaks or stains may be due to poor preparation of the ceiling or poorly mixed paint. In this case, the problem area is protected, re-primed and repainted.
How to repaint the ceiling without getting divorced
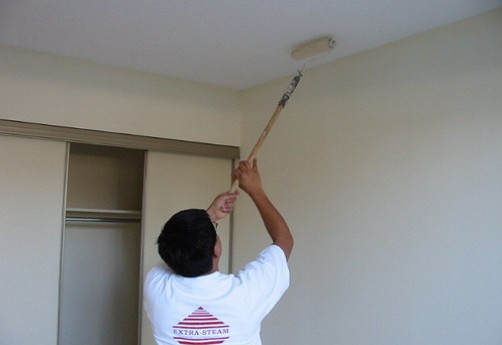
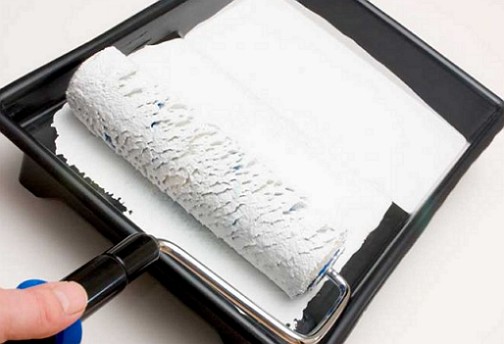
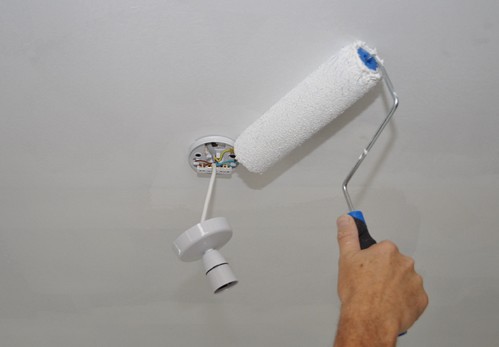
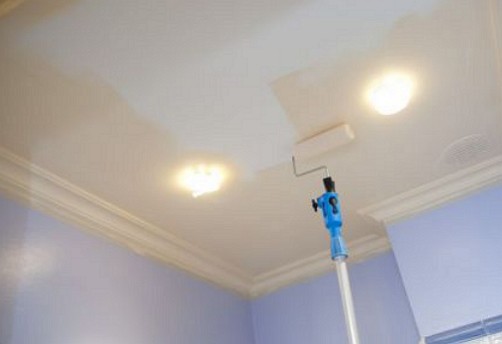
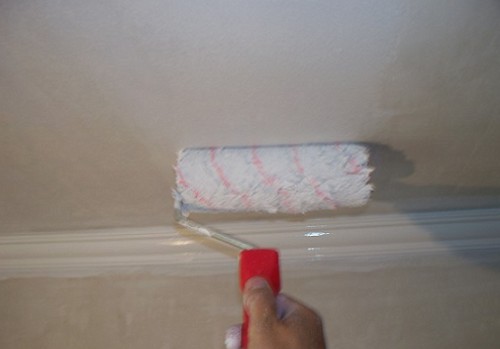
To repaint the ceiling without a divorce, it is necessary to arm with a roller on a long handle and water-dispersion paint. The ceiling is stained with a roller in one layer. It is desirable to paint from the walls to the center of the ceiling. Painting is necessary so that the stripes are repainted slightly overlapping each other.
The first, the most important strip, should be located very close to the wall. In the future, the correct direction of the layers must be observed. The penultimate layer of paint application is made perpendicular to the window, and the last layer is parallel. When painting, you need to pause when applying individual layers to dry the previous layer.


