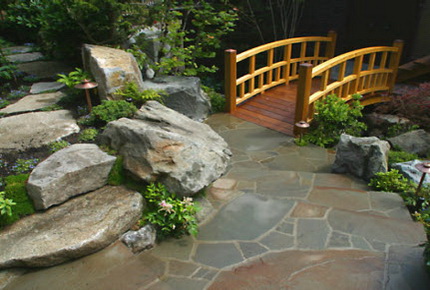
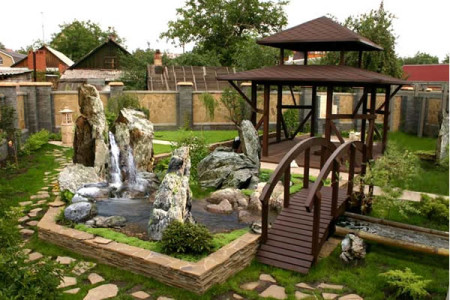
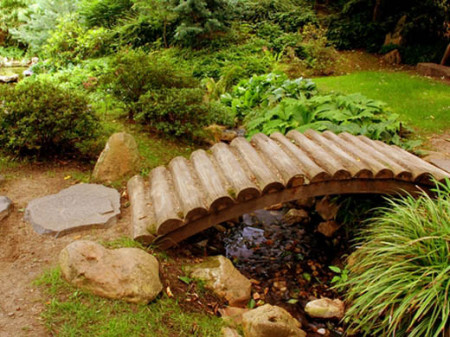
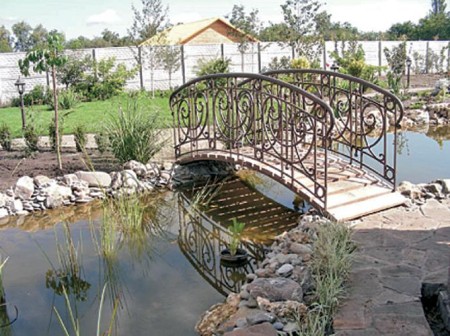
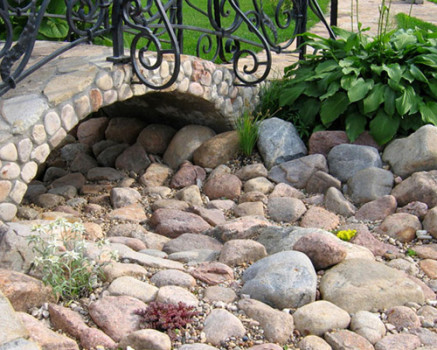
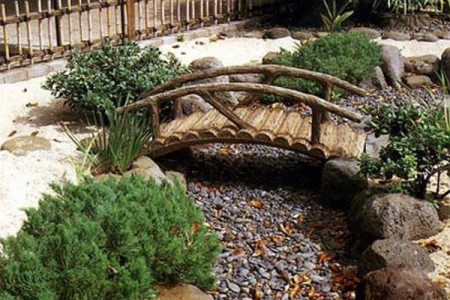
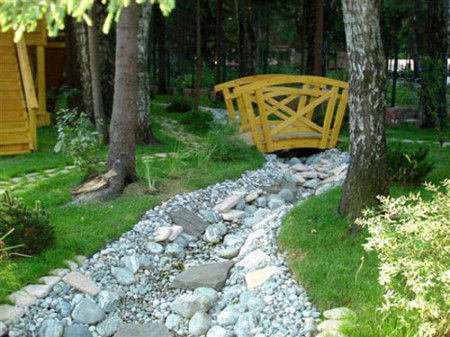
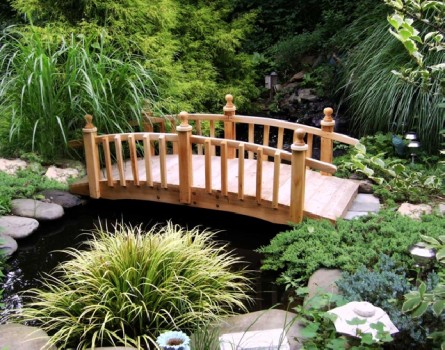
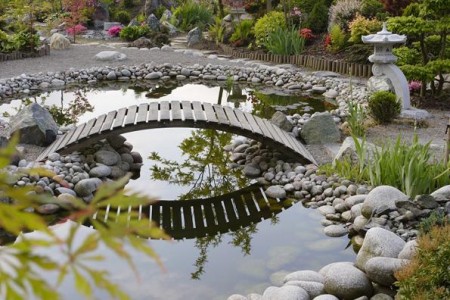
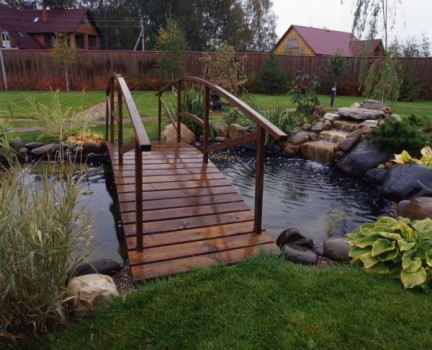
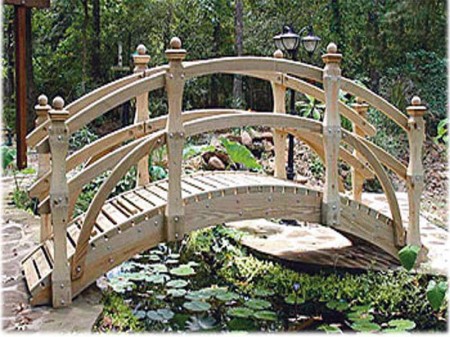
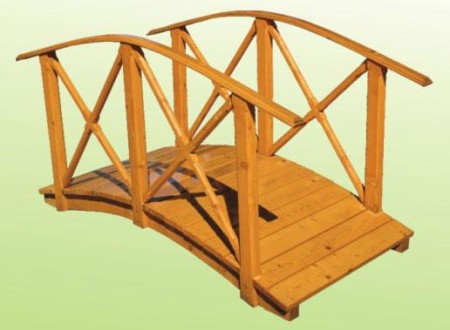
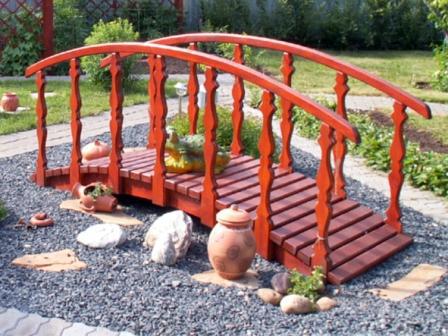
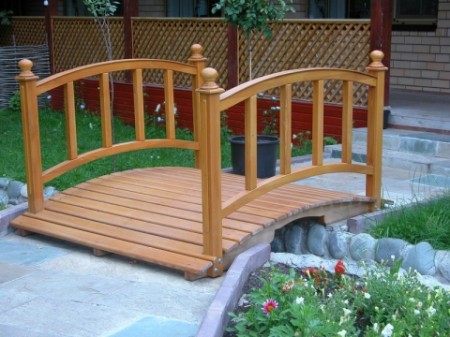
The most common and decorative small architectural forms, which are usually erected in the suburban area, include bridges. These buildings are usually distinguished by their creativity and originality, they are preferred by the owners of the sites that have a rich imagination. Especially relevant and relevant is the bridge in the event that the territory of the site is a stream, or there is a pond. It is not very difficult to build a bridge independently, but its decorativeness will necessarily become the object of attention of all neighbors and visitors visiting the site.
Content
- 1 What is the purpose of building garden bridges
- 2 What materials are used to build garden bridges
- 3 Wooden bridge in the country - how to choose a place for its construction
- 4 Wooden bridge for the dacha - we take into account the peculiarities of its construction
- 5 Create a wooden bridge with your own hands
- 6 How to make balusters
- 7 We equip the railings
What is the purpose of building garden bridges
The construction of garden bridges is not a novelty invented by modern garden landscape creators, in Eastern countries it was customary to decorate gardens from ancient times. And the bridge was used not only for its intended purpose, as a ferry, it symbolized the eternal connection of the earth and the cosmos, it was decided to consider all the problems arising in real life.
Ideal place to accommodate the bridge can be considered the shore of a pond, brook, swamp or lake, available in the suburban area. Moreover, if the reservoir is located in its central part, then the bridge will become an important communication tool for crossing from one part of the garden to another.
Today, landscape designers are actively developing new original solutions with the presence of this element, which is not quite the usual for us. Since the construction of the bridge must have good reasons, they are specially created all kinds of water obstacles - small artificial ponds. Often, bridges are built to cross through gullies or dry streams.
What materials are used to build garden bridges
The most simple in processing, affordable and aesthetic material for the construction of the bridge is wood. In addition to the advantages already mentioned, it is:
- is environmentally friendly,
- the period of its operation is quite large, subject to processing with high-quality antiseptic drugs,
- the construction and dismantling of wooden structures does not cause any special difficulties.
The wooden garden bridge has a small weight, it is universal, it will look great in any landscape style, in particular landscape and country.
Negative moments in this structure are very difficult to find - that is why when choosing the material for the construction of the bridge, wood is usually preferred.
In addition to wood, metal, natural stone and concrete can be used to build bridges. The use of these building materials makes it possible to create stronger structures, and sometimes even more attractive ones, for example - wrought iron, but their significant disadvantages are high weight and considerable cost. In addition, the construction of a stone or metal bridge on its own can be difficult, while a bridge of wood with their own hands to build is not difficult.
The heavy weight of stone and metal products will require the strengthening of the soil and the construction of a capital base - otherwise the soil will begin to creep under the heavy load provided by the structure and cause the bridge to collapse.
A rich view of the bridge made of natural stone will be an excellent addition to the antique garden. Experienced gardeners and designers recommend the construction of bridges to combine materials, using the foundation of a more solid, for example concrete, and balusters and railings to build from the lighter. The most popular combination is the metal-wood pair.
Wooden bridge in the country - how to choose a place for its construction
Since the garden bridges are not an ordinary ornament of the garden, the place for them should be sought for. The question of placing functional bridges is solved quite simply - they should be on those sections of reservoirs or gullies, where a ferry to the other side is required. Decorative bridges made of wood or metal can be placed either in the foreground or in the backyard, thrown over a dry stream or mixboard, stone garden or rutarium.
It will be a good idea to install a bridge near the recreation area or on a walking route, not far from the gazebo. Experts do not recommend connecting the banks of the round in the form of a pond - such a bridge will not help improve the overall composition of the garden plot. It will be much more interesting to look like bridges of wood, connecting the shores of a narrow pond.
It will be interesting to look at the bridges that connect the shore of the reservoir with the island located in the middle. You should not plan the construction of a large bridge on a miniature pond or near small trees. Also, a tiny bridge next to large plants will look bad.
The best option - to build a bridge of curved shape, and near it to plant undersized ornamental shrubs.
Wooden bridge for the dacha - we take into account the peculiarities of its construction
Before proceeding with the construction, it will be necessary to provide the necessary security measures. Since the bridge will rise above the level of the surrounding area, it is necessary to plan its equipment with handrails, high enough to provide support for a person of medium height, reliable and durable.
Since walks in the garden can be done at any time of the day, then for evening walks you will need high-quality lighting equipment. The original bridge will look like it is backlit, mounted in a wooden flooring or installed on its contours. To illuminate the bridge, you can use garden lanterns or decorative solar lights.
And one more very important point - the material for the manufacture of flooring should in no case be slippery, even when wet in the rain - otherwise, when going through it, there will be a threat of serious injury. To eliminate the danger, you can manually cut the material of the flooring or insert rubber inserts into it.
Create a wooden bridge with your own hands
The process is quite strong, you can master it yourself, moreover, there will not be much time for construction.
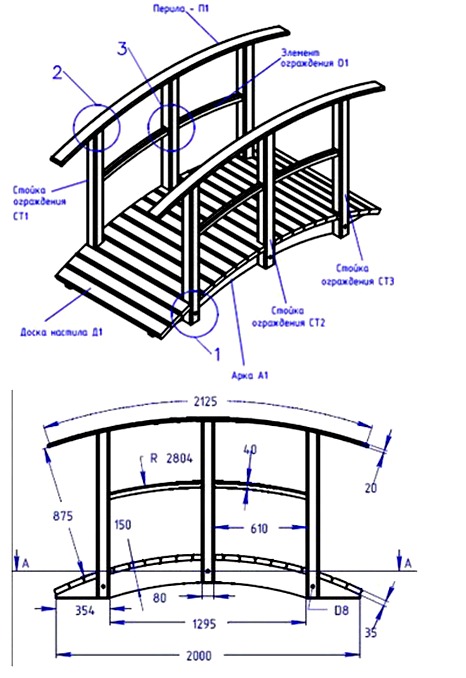
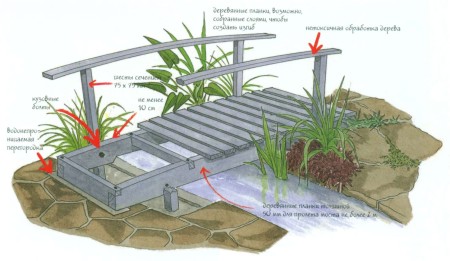
At the first stage, the foundation is prepared for the future construction, namely - reinforcing the banks by laying cobblestones or backfilling with rubble and tamping. The prepared surface of the slopes is laid parallel to two thick bars, the distance between them will determine the width of the bridge. In places where the bars touch the ground, waterproofing is arranged - at least they treat the wood with an antiseptic solution, smeared with melted bitumen or wrapped with a piece of roofing material.
After processing and laying the bars, they are fixed - metal pegs are jammed to them. Then the fly bars are fixed to the supports by the length of the bridge and fixed with metal clips. Then proceed to the flooring equipment.
To do this, the longitudinal bars are packed transversely boards of a minimum thickness of 30 mm. The stuffed boards from above are fixed by pressing blocks. It is desirable to immediately implement the recommendations for compliance with safety measures - we create conditions to prevent slippery flooring.
How to make balusters
With the hand-making of the bridge, the business will necessarily reach the handrail. To mount them you will need balusters. They can be purchased at a specialized store or replaced with wooden blocks. Having stopped their choice on the bars, they can be given aesthetic appearance using a round file. Do this in several stages:
- from the top plane of boards measure the same value (approximately from 20 to 30 cm)
- pencil marks rounded marks directed to the bottom of the boards
- strictly on the marks of a round file make indentations
- the value between the lines should not be more than 2 cm
Now you can start to bring balusters into aesthetic appearance. Initially, you need to tune in to a long and painstaking process that requires patience and perseverance. When doing this work, you will need a brush, which from time to time will have to clean the file. After all the pits are decorated, this stage of work can be considered fulfilled.
When the balusters are fully ready for mounting, you will need a pencil and protractor. With their help it is necessary to make notes in places of installation. From the bottom, with the help of a drill, you need to drill a hole for the screws and attach them to the base of the balusters. Surplus balusters installed in the central part of the bridge, it is desirable to remove in advance.
We equip the railings
For wooden handrails wooden bars of the necessary length are quite suitable. The desired shape of the bars attached to the plane. The next step is to measure the gaps between the balusters and emphasize the location of the central fragments. Make a note on the bar and drill pockets through them. Screws reliably fasten balusters with a bar. This moment is not unimportant, since the handrails carry a certain load and, with poor-quality fasteners, can loosen.
Now the work on the construction of the bridge can be considered complete. Remained only decorative dodges. For example, walk along all parts of the bridge with sandpaper No. 0 and coat the structure with varnish.
Experts advise not to carry out installation of the finished product on wet ground. The best option for installing the bridge is a concreted area with a "litter" of waterproofing material. If no one lives permanently in a dacha or a private plot, it makes sense to fasten the product with dowels or screws.
It will be nice to decorate the bridge, for example with small lanterns.


