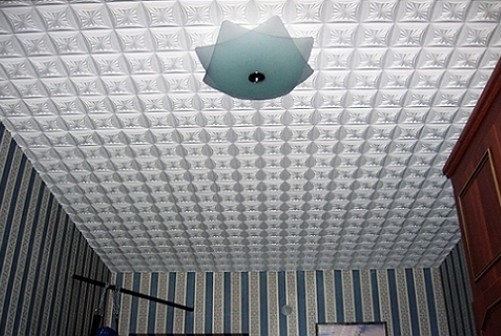
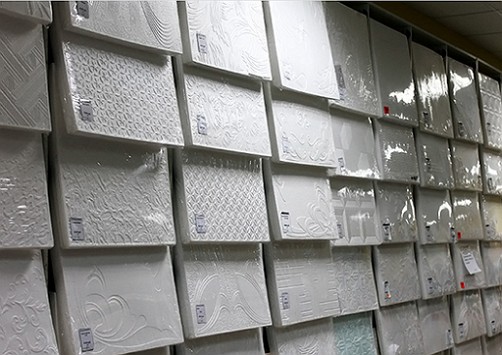
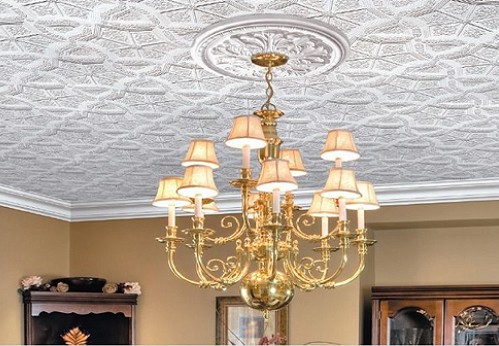
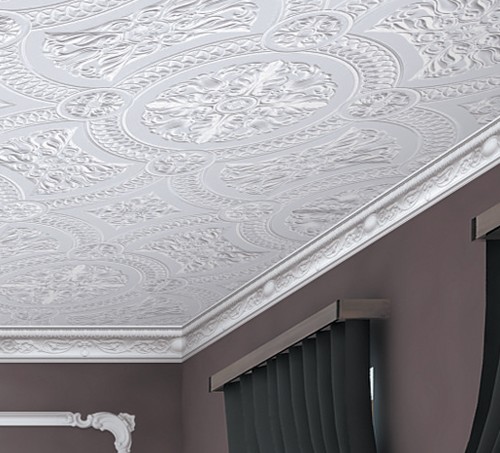
Worthy attention to the installation of ceiling structures are not deprived of those materials in which the combination of price and quality allows you to perform the finishing work yourself. Ageless with time products from foam - tiles and panels can be confidently called favorites. The ceiling of foam tiles in any everyday situation looks attractive. How skillfully to make the ceiling finish?
Foamed ceiling tiles
Contrary to the popular belief that ceilings of foam tiles are the last century of finishing works, tiles made of foam plastic are in demand. The explanation in attachment to neat and light squares lies in the simplicity of gluing the ceiling with foam plastic tiles and the absence of complex calculations of the amount of material.
Recall that the existing ceiling tiles by the production method have the following categories:
- pressed or pressed
- extruded
- injection.
foam boom: learn to distinguish types of tiles
stamping (pressing)
Stamped (pressed) ceiling foam for the price is the cheapest with the possibility of a problem-free replacement of a single element. But stamped tiles have a low density and thickness of up to 8 mm, besides, there is a large percentage of defective products. Stamping after all!
extruded
Extruded tiles, in contrast, are more expensive types of foam products, which does not detract from their basic properties: thickness and strength. Smooth and shiny surface of the ceiling of the tiles of this category with the imitation of natural materials looks wonderful provided a neat sticker.
injection
Injection tiles are a high-quality product without destroying or crumbling the foam pellets. The thickness of the injection tile is from 9 to 15 mm. By the way, the double-sided seams of the ceiling from injection tiles are almost invisible.
surface of decorative ceiling tiles
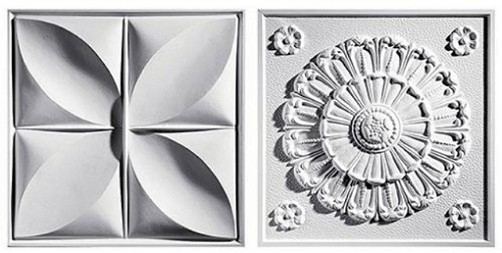
Tiles of any category can have a smooth or embossed surface. It is necessary to distinguish between a seamless tile for the ceiling and a tile with a seam. The inside of the decorative ceiling tiles can be smooth and embossed, sometimes traces and incisions from molds are visible.
The original classic series of tiles using profiles and moldings are able to transform the modest ceiling of the room into a gala apartment with expensive exquisite stucco molding. At the same time, the ceiling finish with foam tiles seamless has no beads or fillets and is perceived by a monolithic plane. The main thing is to glue the foam plastic ceiling correctly.
calculation of the number of tiles
The traditional dimensions of tiles made of foam plastic from the manufacturer are 50x50 cm, and the area of individual tiles is 0.25 square meters. To find out the number of tiles for pasting, you need to divide the area of the ceiling into the area of one tile. For example, the ceiling has a width of 2.50 and a length of 350 cm, so the ceiling will need 5 rows of 7 whole tiles.
choice of glue
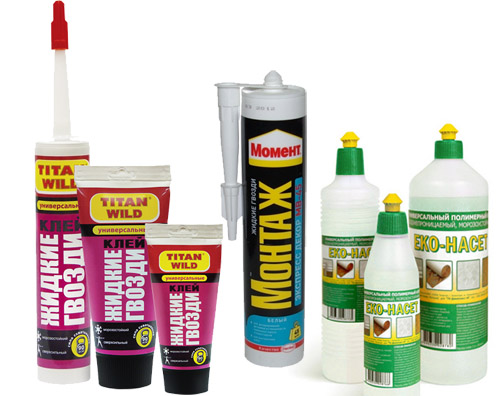
To glue the tiles, a colorless glue composition having a rubber base is used. Some specialists stick the tile on the grout of the finishing putty. At the same time, a certain benefit is achieved: the ceiling is decorated and simultaneously leveled without tools and glue of foam plastic tiles on the ceiling.
Methods for labeling and mounting tiles
For the gluing of decorative tiles from foam plastic, almost all surfaces are suitable: concrete, gypsum, brick, lime and any prepared hygroscopic surfaces. The only condition for a successful sticker is a dry and dust-free or dirt-free surface.
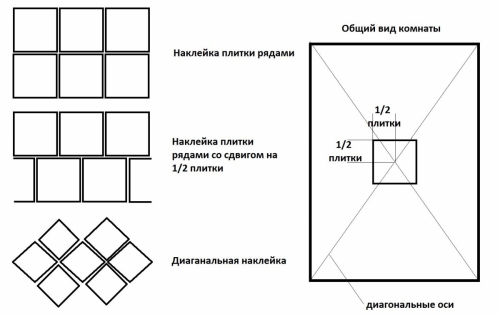
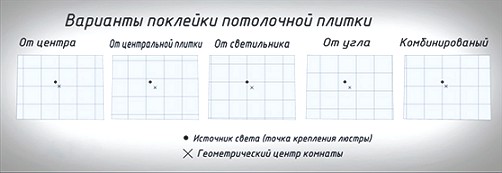
There are several ways of sticking a tiled ceiling - in rows, in rows with a tile shift and diagonally.
The sticker of decorative tiles is produced by a simple identical algorithm: the ceiling marking - the first tile label - the entire tile label-the plinth mounting. When decorating the ceiling with foam tiles, it is possible to glue to the existing whitewash treated with a primer, which greatly simplifies the process of creating a foam plastic ceiling.
tile sticker
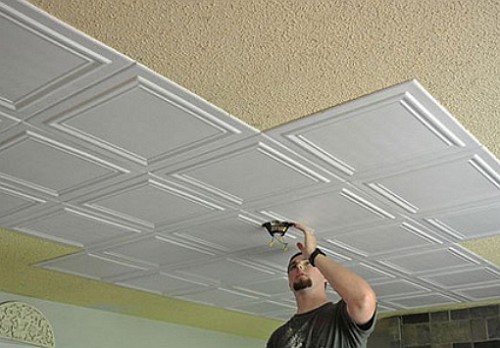
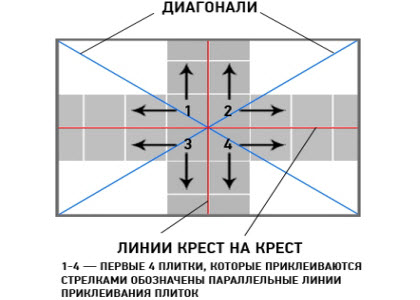
Before gluing the ceiling we make its marking. The intersection of two opposite diagonals will denote the center of the ceiling. Sticker tiles should start from the center. On the perimeter of the first starting tile, dotted or drip glue is applied. Then the tile is placed in place and pressed against the ceiling surface.
The following tiles are glued in parallel rows to the left or right of the starting tile. The remains of the glue that comes out between the tiles are removed with a damp sponge. The gap between the wall and the tile is covered with a ceiling skirting board.
diagonal sticker
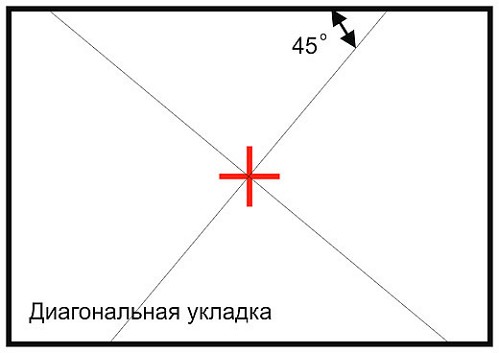
With a diagonal sticker, the first tile is placed in the center, but not directly, but in the form of a diamond. Ceiling markings for diagonal pasting are made from the base angle and from the chandelier.
For diagonal marking, two perpendicular lines are drawn from the corners of the ceiling, which will divide the area of the label into 4 equal parts. Then we build a square on the basis of the intersection center.
The subsequent formation of the diagonal row of the ceiling is made at the corners of the first diamond in the sides and in height. The application of glue on tiles with a diagonal method is analogous to the tile labeling in rows.
How to correctly and quickly paste the tiles on the ceiling shown here.
installation of a ceiling skirting board
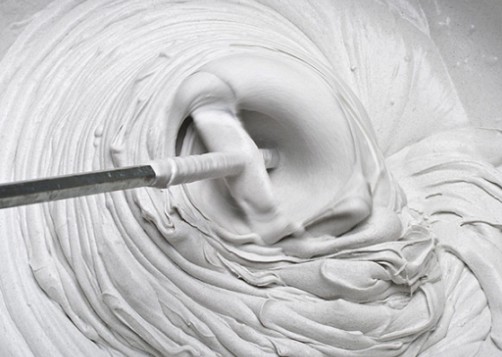
After installing the decorative tile on the ceiling, you should seal the seams between the tiles and glue the ceiling skirting. Ceiling skirting, designed for decorating the finished tile ceiling, is glued with a solution of finish putty, which allows to seal joints up to 1.5 cm wide between the tile and the wall.
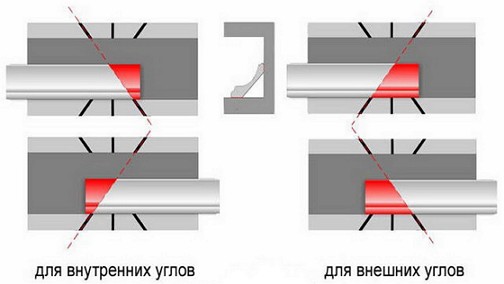
In the corners, the skirting board is glued in the traditional way, cutting the ends at an angle of 45 degrees. The final stage of creating a tiled ceiling is painting the surface of the ceiling and skirting with water-based paint, which does not leave a divorce.
What is the ceiling skirting, how to choose it and make the installation, is shown here.
http://svouimirukami.ru/articles/chto-takoe-potolochnyiy-plintus-kak-vyibrat.html


