A real Boss for a suburban site should do three things: build a house, plant a palm from plastic bottles and build a house for a well. ABOUT! how many houses have already been built by their own hands and how much more to be built. It does not matter who or what, the main thing is to do it right.
Content
What is needed for a house near the well
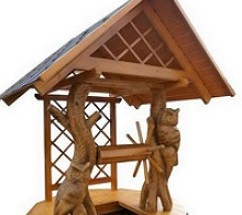
A stylish and attractive element of a country house site can be called a house for a well, designed in accordance with national traditions. The main function of such a facility is to protect the water in the well from drought, dust or debris entering the building.
The lofty roof of the house is decorated with fairy-tale characters, decorated with weather vanes or patterns of various widths. The roof of the house of the well is set on columns, which the Masters make out with love and knowledge of the matter. If a well is equipped on the site of a private house and does not have a "roof over your head", then it's time to establish a well house with your own hands. To answer the question: "How to build a house for a well", it is necessary to study the existing designs.
The design of the house
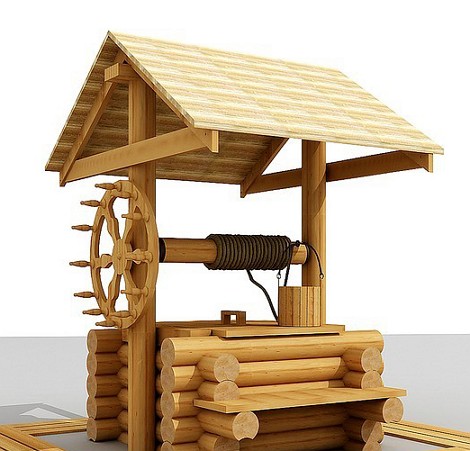
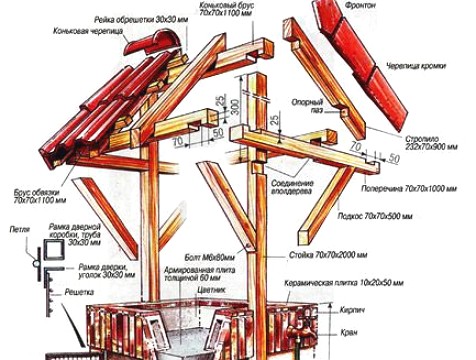
Structurally, the house for the well consists of the following elements:
• frame and head
• gable roof with a door or canopy
• gate (spindle) or a box
• side racks for the gate.
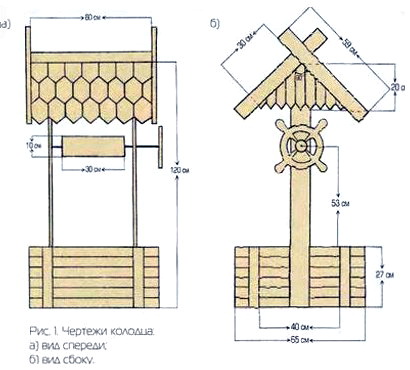
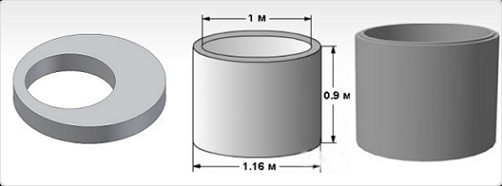
It is necessary to remember that it is necessary to install the frame taking into account the standard diameters (GOST 8020-90) of concrete rings of the well. These are the dimensions: 1.16 m for the outer diameter and 1.00 m for the inner diameter. Therefore, the headstock device should be tied to the dimensions of the well rings, including a convenient height of 1.20 m.
If you study the drawings of the house, you can conclude that the most common form of the well head is square.
The basis of the roof or canopy of the house are the truss rafters, jibs and bolt.
There are several ways to lift water from a well: by using a manual gate, a "crane" design, or using a factory-made basket.
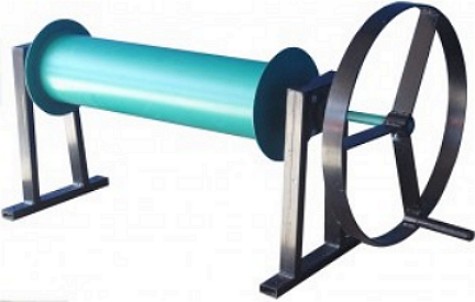
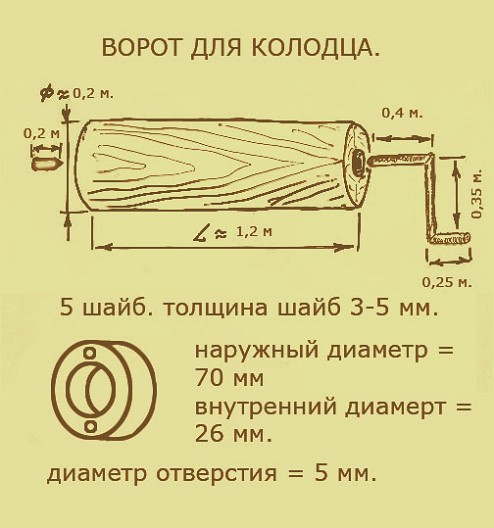
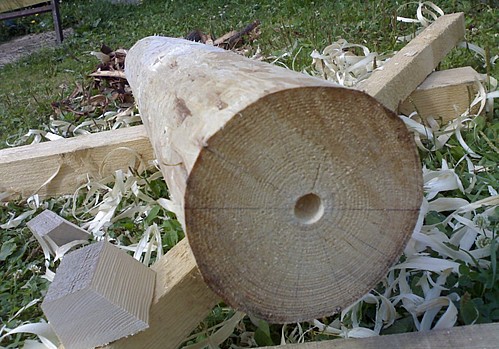
The gate or spindle is a cylinder, assembled from an oak log, equipped with a leash and a handle. Leash and hand are made of hardwood. For assembly and installation use washers, M16 nuts, M8 axle and M8 nuts.
To install the gate you need side racks.
Material for making a house
Traditionally, a house for a well and a spindle are made of wood. You can use the finished metal cube. But what can replace the wooden gate, on the "easy move" of the bearings with the original handle, stylized under the wheel? Never mind!
You can make the head of the well and the roof of the house from the following materials:
• round logs
• wooden beams 50 x 50
• Facade lining, siding, particle board, OSB for exterior design
• any roof covering (metal tile, corrugated board, bitumen shingles, plastic lining, painted galvanized steel).
To build a house, you will need to calculate its size and make a simple sketch.
We build a house for the well with our own hands
The construction of the house will consist of the following stages:
• erection of frame and head
• roofing device
• installation of gates (corbes)
• installation and installation of the door
• decorative roof finishing.
Step 1. We build the frame and the head
The frame consists of a rafter and a shield. For the erection of a skeleton, you will need:
• two support legs are long
• two short support posts
• two side racks
• fixing bar
• Ridge strap.
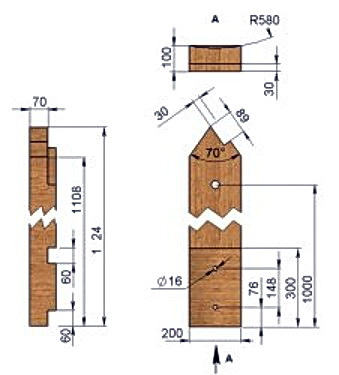
The frame of the house will be made from a wooden beam with a section of 100 x 80 and boards of edged thickness of 40 mm. This will be the square of the upper strapping, which can be adjusted to the size of the outer diameter of the concrete ring of the well. The frame is prepared on the ground. Then we prepare two frame racks.
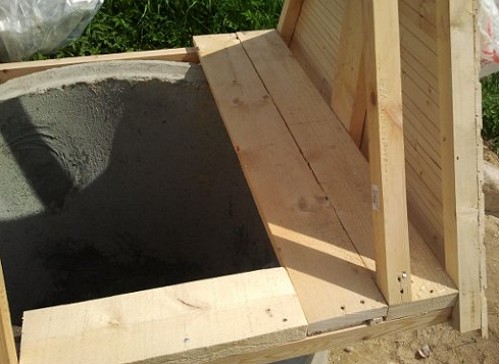
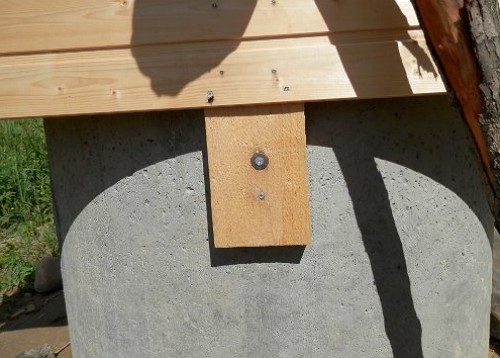
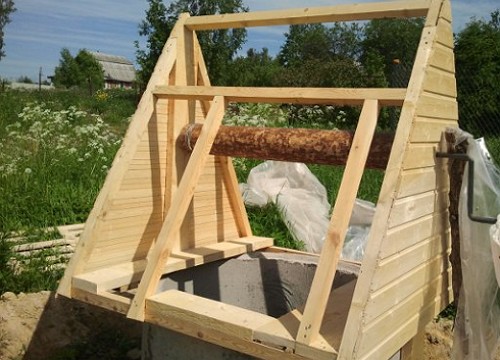
We cut the rafters at an angle and join them at the top. We connect the rafters with long racks and frame bars. We fix the rafter trusses to the harness with the help of nails L = 120 mm. To make the stiffness of the harnesses a bolt is installed. Details of the shield are attached to the carcass bars. The finished frame is raised and fixed on a concrete ring.
Step 2. Arrange the roof
The roof of the house looks like a gable roof, so the process of the device is similar to the construction of a real roof.
The roof can be installed directly on the head of the well or on high up to 1.50 m of the rack.
The basis of the roof of the house is the truss trusses, which are erected from edging boards with a thickness of 40 mm and a beam with a cross section of 25 mm for the installation of crossbars and mowing.
The upper part of the rafter is connected by boards with the function of a ridge, and in one of the stingrays an opening window is formed for the intake of water.
The roof of the house is strengthened by the slopes. To work, you need 8 rafter feet up to 180 cm, 8 mowing holes 40 cm long and 3 crossbars 30 cm for fastening. The rafters are cut at an angle and fixed in the upper part with the help of self-tapping screws. After the construction of the roof frame, the crate is erected in steps of 15 cm and produces a waterproofing. Now you can make an exterior finish.
Step 3. Install the gate
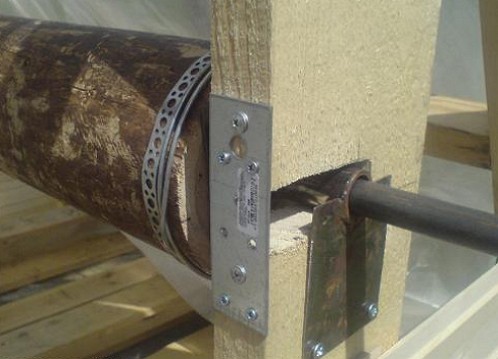
For the gate, choose a log 4-5 cm less than the distance between the posts to ensure free traffic.
The log is prepared: the surface is ground. The finished door must have a smooth and even surface without burrs and seams.
The height of the installation of the gate is chosen so that you can safely remove the bucket of water and lower it to the ground or shelf. Such a distance averages 50 cm from the plane of the head of the well. To install the handle in the collar, drill holes with a depth of 5 cm from the ends and insert two metal rods inward from both sides, one of which will become the base for the handle. In the racks must be in advance to provide two landing bushings.
Step 4. Placement and installation of the door
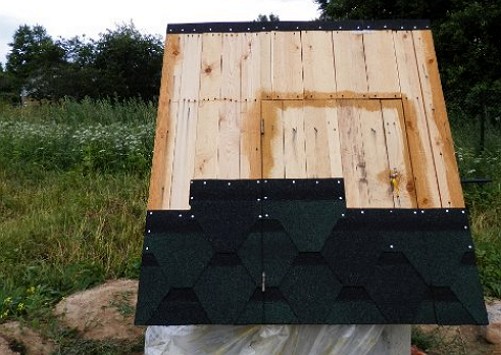
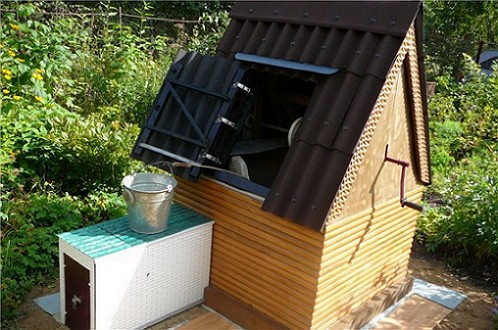
Technologically, the door is located on the side slope of the roof of the house not strictly vertically, but oblique, in the lower right corner of the roof slope.
The door is made in the traditional way and installed on the gate loops. The door is prepared with a smaller size than the prepared space.
Step 5. Decorative finish
Decorative finish can be made from any roofing material. Spectacular tenement houses, covered with lacquered wooden lining or roofs, made from the remains of prestigious shingles, will look impressive and expressive.
However, you can also quickly assemble a finished house, as shown in this video.


