Gate, it is, first of all, a door to the fenced territory of a homestead or country plot. Like any other door, the gate must be reliable and practical. But, at the same time, this element of the fence should also perform an aesthetic function: to have a pleasant appearance, to harmoniously fit into the fence of the site, to give the fence an additional touch.
How to make a correct wicket, how to decide on the material, what tools are needed for - the answers to all these questions can be found in this publication.
Content
Wicket with your hands: choosing a place for installation
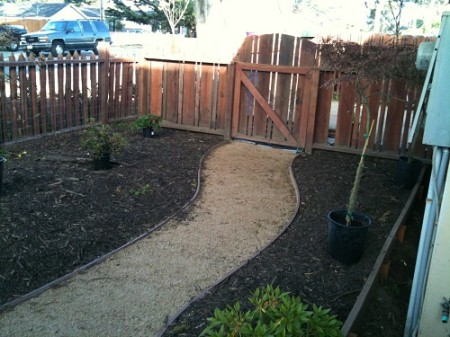
Choosing a place for future wickets, you need to adhere to a few very simple principles: that it was convenient and clean. That is, the gate should be placed in a place from which it is most convenient to approach all the buildings on the site. Before and behind the gate there should not be any holes, hollows and depressions in which water could collect - no extra dirt is needed at the site or in the house.
The gates on the site can be several - for example, one front door, and another "black", behind the buildings, for convenience or shortening the distance. There are many kinds of wickets, choosing the material and designing the future product, remember that the gate must fit into the fence, and not look like an extra detail in the fence and gate.
The most popular types of wickets
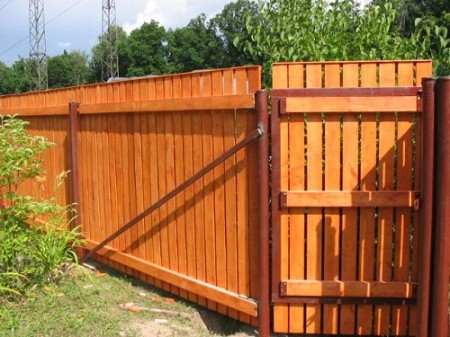
wooden gate
She rightfully belongs to the palm of the championship for several reasons. Firstly, the tree is a traditional material for Russia, a material widely used in construction. Many people know how to work with a tree. Secondly, to make a simple wicket of wood, expensive tools are not needed - a good master can make a beautiful wicket with a hacksaw, a hammer and nails. And, thirdly, the tree is quite strong and reliable material. With proper care, wood products last for decades.
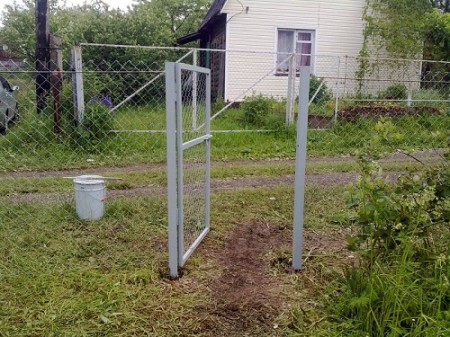
wicket net
The product is from the area "cheap and angry". This kind of wickets is popular, first of all, because of its simplicity and cheapness. A wicket from a rabitsa can be made by one's own hands with the desire and the simplest tools.
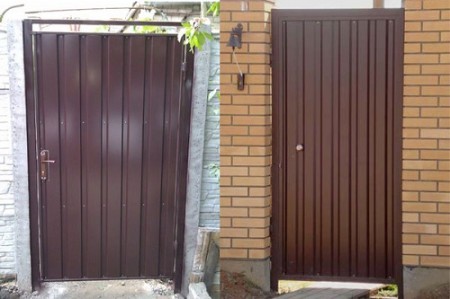
wicket
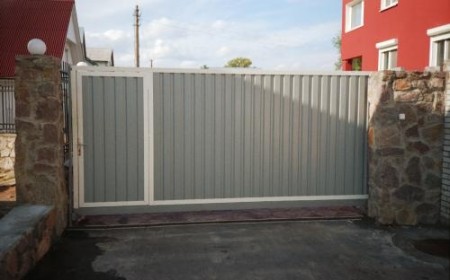
Profiled sheeting as a building material became available relatively recently, but quickly gained popularity, especially as a material for fences, gates and wickets. It is inexpensive, durable and durable material. Work with profiled sheeting does not require any special building skills, here the main thing is accuracy and accuracy.
recoiling gate
In our list this is the most expensive and complex option. Roll-off wickets appeared relatively recently, they are difficult to manufacture, in addition, almost all the main components will have to buy. This will cost the owner a tidy sum, although the result is worth it. Next, we will consider the features of manufacturing all of the above types of wickets, taking into account the necessary materials and tools.
Wooden gate with own hands
If you decide to make a wooden gate with your own hand, the first problem to be solved is the material. The following wood species are suitable for the manufacture of the wicket:
- Larch
- Fur tree, pine tree.
- Oak.
- Glued beams of hardwood.
It is strongly recommended to select dry sawn timber of the same thickness, processed on the thicknesser machine. This will make work much easier.
Required Tools
- Drill - manual or electric.
- Electric jigsaw or hand hacksaw.
- A hammer.
- Plane.
- Screwdriver, screwdriver.
- Water level.
- Pencil, gon
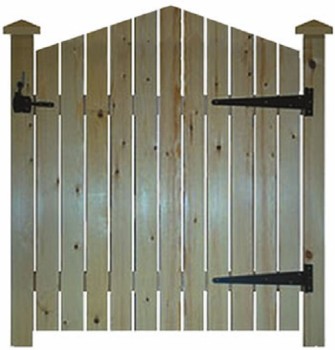
In the framework of this article, we give an example of the manufacture of a simple latticed wicket with a top strut.
To make such a wicket, you need a fence with a width of 100 mm. For strength, each part is attached to the base of the wicket with two nails or screws. The cloth of the wicket is fastened to the support posts, vertically dug into the ground below the depth of freezing of the ground.
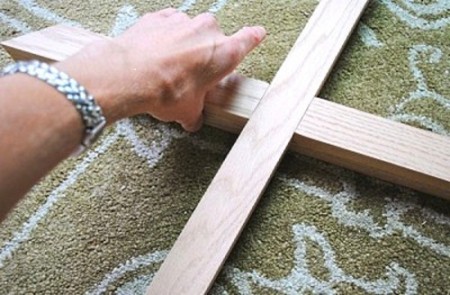
The base of the wicket consists of two horizontal crossbeams that connect to the feathering straps of the harness. A tread in the construction is necessary to add extra rigidity to the structure. The ready frame is fixed to the support post by means of metal hinges.
There are several ways to connect the frame. The most simple - with the help of nails and screws. Connection in a spike is a more complicated method, but this connection is the most robust and durable. The difficulty is that you need to accurately calculate the dimensions, so that the spike enters the groove as tightly as possible.
You can also connect the frame with metal toothed plates. This is quite simple - the plates are simply hammered into the slats. This connection is durable and the wicket frame will be durable and capable of withstanding heavy loads.
If there is a need to make the gate more durable and durable, it is possible to install metal supporting poles, frame the wicket frame weld from metal corners. To the frame is then fastened a wooden crate. The wicket made in this way will be much stronger and more durable. If necessary, the wooden grid can easily be changed to a new one.
Wicket from the corrugated board with your own hands
This is one of the most inexpensive and at the same time attractive options for creating a reliable, beautiful and durable design, which will adequately decorate the front yard area of the infield.
Profiled sheeting is reliable, well protected from corrosion, easy to install. Fence made of corrugated board can be mounted in just a few days, and this design looks solid, solid and aesthetic. Qualitatively assembled design, sheathed with profiled sheeting, can last up to 50 years.
Required Tools:
- Welding machine.
- Bulgarian.
- Electric drill or screwdriver with a nozzle in the form of a metal brush.
- Building level.
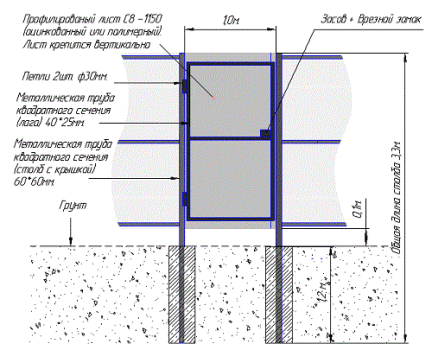
Making a wicket with your own hands from the corrugated board does not take much time, effort and money. If you plan to make a wicket of corrugated board, it is very important to observe the correct dimensions of the future design. So, the width of the gate should not exceed 1 meter, and the height of 2 meters. Breaking the recommended size can lead to premature wear of the hinges and locks.
In case there is a need to make a construction above 2 meters, it is necessary to strengthen the frame with an upper insert with a horizontal crossbar. This will avoid additional stress on the support post.
The second, one of the most important stages is the installation of pillars of the future wicket. It can be metal pipes or poles made of brick and stone. When installing racks, it is very important not to allow vertical deviation of the structure. So that the pillars do not sag, a solid foundation is needed. The depth on which to lay the foundation under the support posts should be not less than 1 meter.
In the pit, designed for the foundation, vertical support pillars are installed vertically and filled with concrete solution. After this, you need to wait at least a week, until the concrete is properly "grabbed".
The third stage is the manufacture of the frame of the gate. Most often a metal profiled pipe with a section of 60x30 mm is used for the frame.
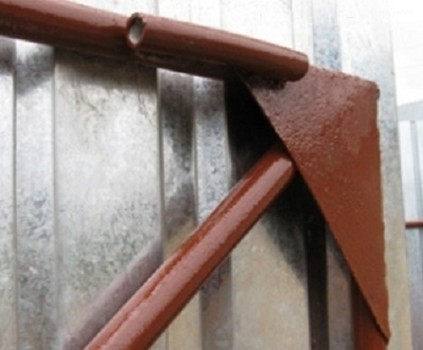
The details of the desired size are cut at an angle of 45 degrees. The chamfer with this angle makes it possible to make the weld seam unobtrusive. The inner corner along the perimeter of the entire structure must be strictly 90 degrees. For additional strength in the corners of the frame weld "kerchiefs", cut from a metal sheet.
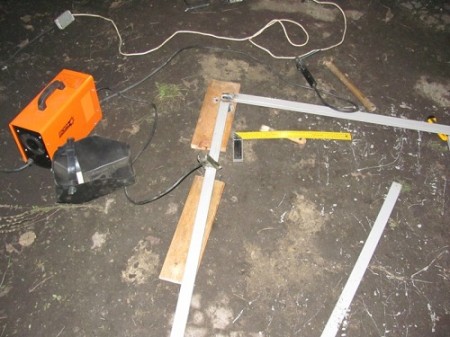
After that, you can proceed to install additional elements - awnings, door handle and plates for installing the lock. Once the welding work is completed, it is necessary to carefully clean the seams with a Bulgarian, to primetovat and paint the finished frame.
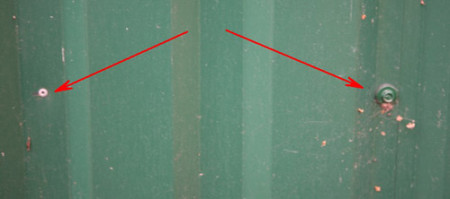
Stage four - fixing the corrugated board to the frame and installing the wicket. Profiled sheeting is attached to the frame by means of screws or aluminum rivets. You can strengthen every wave, and you can and through one.
For fastening the gate to the pillars, traditional metal hinges are most often used. If the stand is made of a metal tube, the loops are simply welded to it. To the stone or brick pillar, the loop is welded to a metal plate or profile pipe immured or fastened with anchors. After that, the ready-made wicket can be hung and locked.
In order to prevent the wicket from opening outwards, a stopper or metal feathered bar is welded onto one of the posts. An important point: the distance between the wicket and the ground must be at least 10 centimeters. This is necessary for the normal operation of the structure in case of accumulation of ice and snow in the winter. As you can see, installing the wicket with your own hands from the corrugated board - the work is quite simple. The main thing is to do everything carefully and not rush.
Rolling gate with own hands
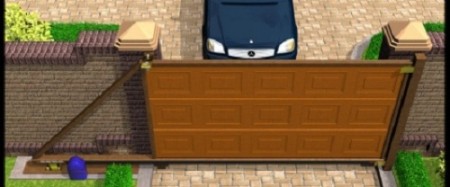
It is necessary to clarify that here it is more about a sliding gate than a gate. In the framework of this publication, we will consider an example of the creation of a sliding gate, since it is often inexpedient to make a small sliding gate. A wicket is made in the canvas of the gate itself.
Required Tools
- Bulgarian with cut and clean circles.
- Welding machine.
- Building level.
- Roulette, hammer.
- Electric drill or screwdriver.
Sliding gates come with a manual and electric remote control.
The first and main task is to correctly calculate the height and length of the entire structure. Ideally, the height of the gate should be equal to the height of the fence. The length should be slightly larger than the opening itself. After this you can proceed directly to the installation work.
foundation preparation
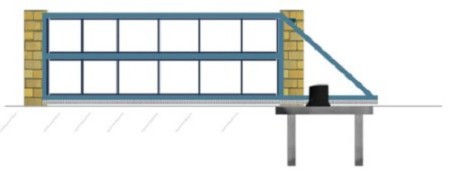
First of all, several poles of about a meter and a half each are installed in the ground. Pre-digging pits, the bottom of which is awakened with rubble and reinforced. After that, the pillars and the foundation between them are filled with concrete solution. It is in this place and will be located block, fixing the mobile section itself. You can also place the drive of the movable section on the concrete base.
Support posts of sliding gates must be installed at such a distance from each other, so that later there would be no problems with the installation of the gate itself. The pillars themselves can be driven out of brick or stone, mounted from metal pipes of suitable diameter.
fastening of the main structural elements
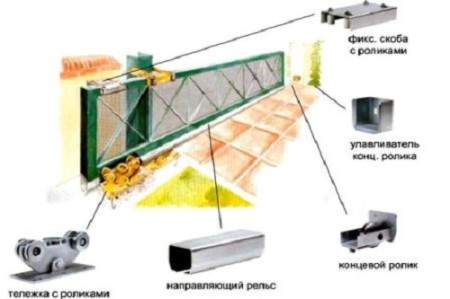
First of all, a channel is installed on the ready foundation of the base. After that, a fixing bracket and a trolley with rollers are mounted on the post, along which the entire section will travel. On the other side of the opening, an end roller and a catcher of the section are mounted.
assembly of sliding gates
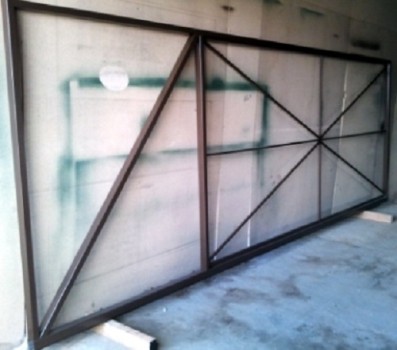
Pre-welded section is lined with facing material. For lining to use lightweight, durable and practical materials. It can be sheet aluminum, steel, sheets of polycarbonate or corrugated board. But here everything is purely individual.
The lining is fixed to the frame of the section with screws, bolts or aluminum rivets.
Once the mobile section is ready, it is installed on the guide rail or channel and fixed with fixing clips. As you can see, everything is quite simple, only accuracy and accuracy are needed.
Wicket Gate with own hands
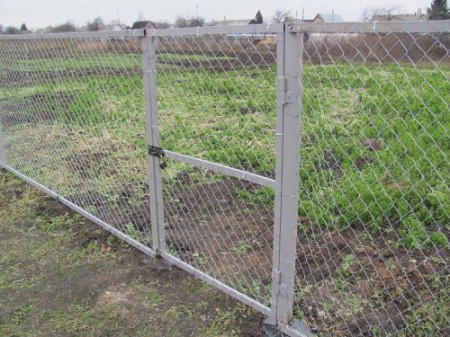
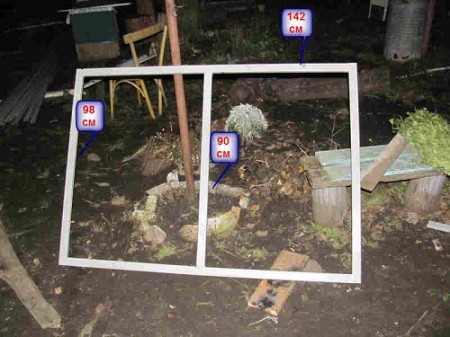
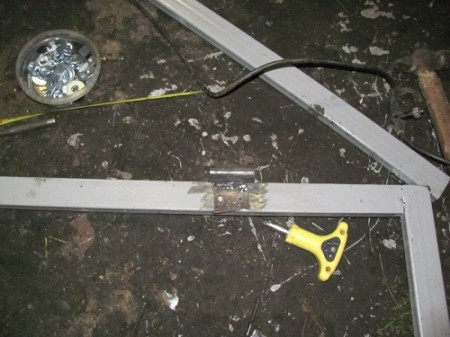
In order to make a good wicket from the mesh netting, enough of the most ordinary tools that are available on each farm. The frame of the wicket door is best made from a profile pipe. It can be welded and prefabricated. The prefabricated frame is made in cases where the fence is temporary. In this case, the wicket is made with the simplest frame, twisted with screws. It can be assembled with a screwdriver in just a few minutes.
The net can be installed in one or several layers, this depends on the purpose of the future design. The net can be attached to the frame by means of screws or spot welding. Any details, including fittings, must be placed directly on the very rigidity. Very often in the center of the frame the wickets are mounted with several additional stiffeners, on which it is very convenient to place all additional fittings. The place where the lock will be placed is preferably covered with steel plates.
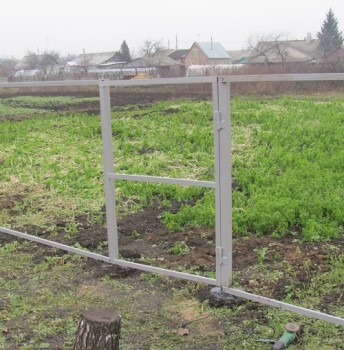
To install a ready wicket, given the simplicity of its construction, is not difficult. For this, practically any suitable base is suitable. The most commonly used pillars are from a profile or round metal pipe. The pillars are dug into the ground to a depth of about 1 meter.


