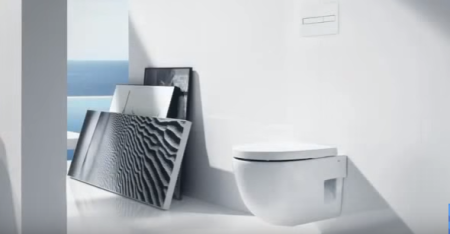
Recently, suspended plumbing is rapidly gaining popularity. Strictly speaking, pendant toilets, sinks, and bidets have always been appreciated for their attractive appearance, convenience and reliability. However, not everyone could afford such a plumbing, and there were not so many specialists in its installation. Today, the prices for these products have significantly decreased, which made the suspension plumbing products affordable for the average consumer. Of course, the question of installation remains open. It should be noted that the installation of a hanging toilet bowl by one's own hands is not as difficult as it might seem at first glance. Below, we give a detailed instruction for installing a suspended toilet bowl in several ways - on a metal installation and a concrete base.
Content
Tools for work
So, to install a hanging toilet, we need the following:
- Pencil.
- Roulette.
- Spanners of the necessary sizes.
- Screwdriver.
- Small file.
- Impact drill or perforator.
- Drill bit 10 mm.
- Building level.
Instructions for installing a suspended toilet bowl
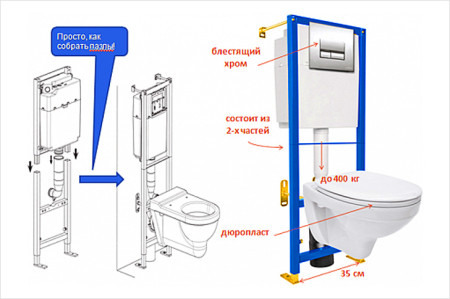
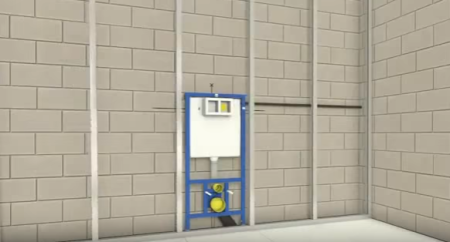
First we will consider the most popular and reliable way of installing a hanging toilet bowl - a metal installation. This construction is a steel frame, which is attached to the wall and floor. To the frame is mounted a drain tank, and, in fact, a toilet. Note that this installation instruction is given on the example of the Roca system. The dimensions indicated in the article are for reference only. The very principle of installing installations from different manufacturers is almost the same.
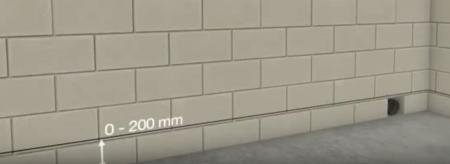
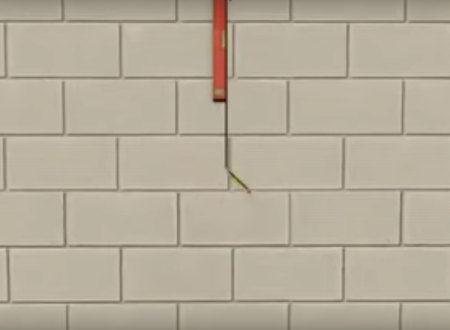
To begin with, you need to make markup using a building level and a pencil. We retreat from the floor for a distance of 200 mm and using a level we draw a parallel line on the wall:
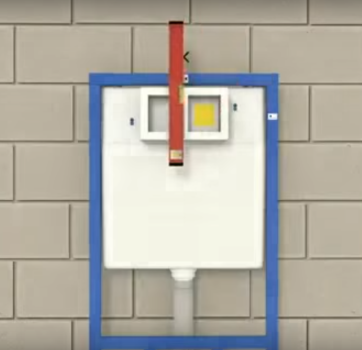
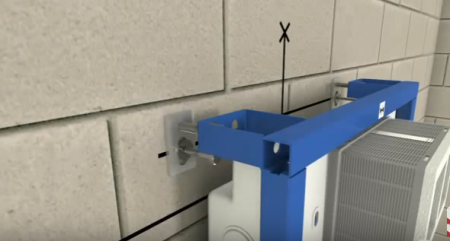
Next, we attach the installation to the wall, and exactly above the center of the frame make a mark, after which the frame is removed, and we conduct a line through the level to the floor:
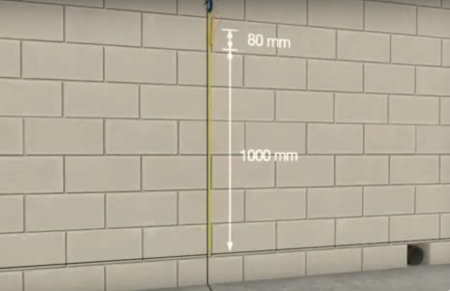
We continue to make markup: using a tape measure we measure from the bottom line one meter and put a mark. From it we measure 8 centimeters, and also mark on the wall:
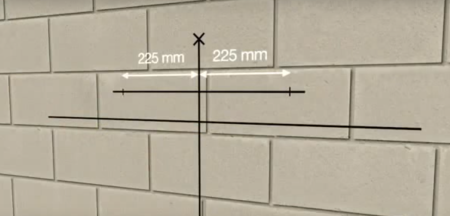
Using the building level, draw from the marks two parallel lines on the wall, after which we retreat from the center by 225 mm in both directions, and set the marks as in the picture:
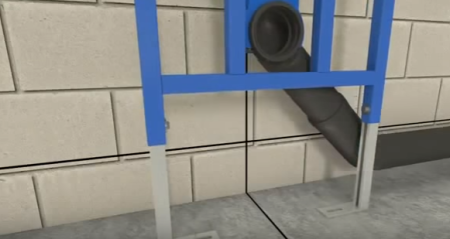
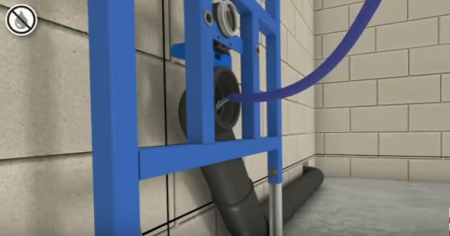
On this marking on the wall is finished, we take the installation, we put it to the wall, and we put the sewer pipe to wash the water:
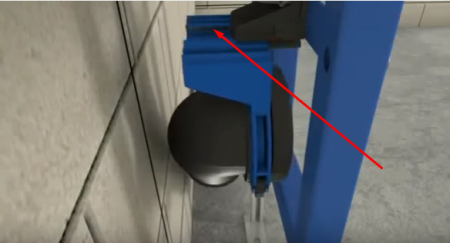
As can be seen in the figure below, the attachment of the sewer pipe to the installation moves, so that the frame can be set to the desired distance from the wall:
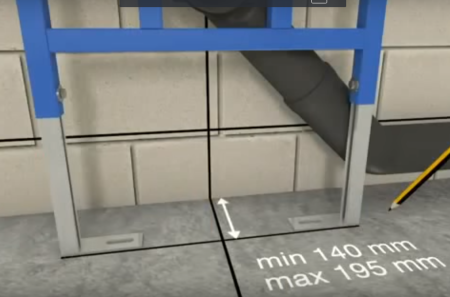
After exposing the frame to the desired distance from the wall, near the legs of the installation we make a mark. The minimum and maximum distances are shown in the figure:
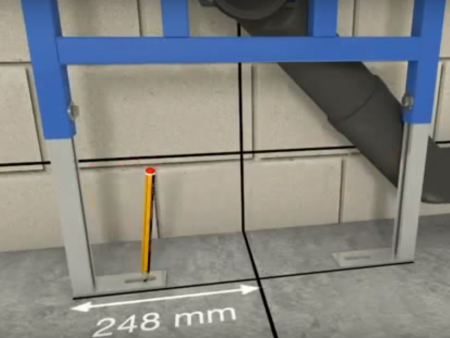
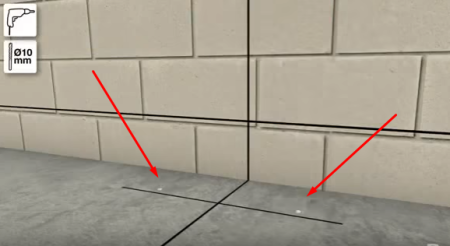
After that, with a pencil, we mark the places for fixing the installation to the floor:
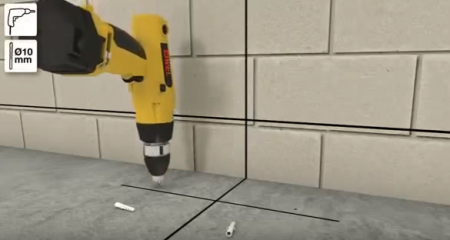
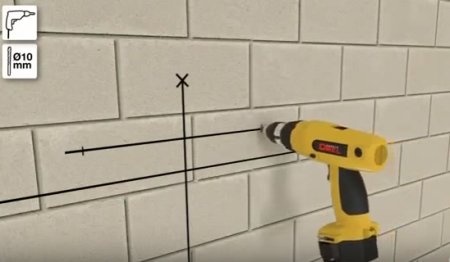
We remove the frame-installation aside, and with the help of an electric drill we drill holes in the floor for fastening:
In the finished holes we insert dowels:
After this, we drill the holes in the wall with the electric drill in accordance with the pre-made marks. In the finished holes we also insert dowels:
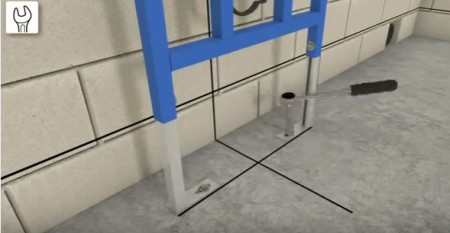
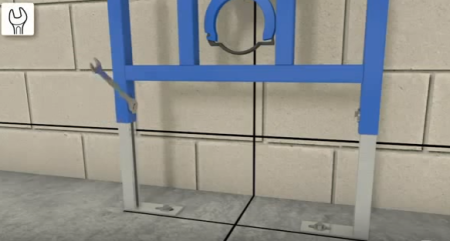
We put the installation on the wall, and tightly screw the legs to the floor with bolts:
The legs of the installation are retractable, with their help we adjust the height of the frame for the holes for fastenings previously made on the wall:
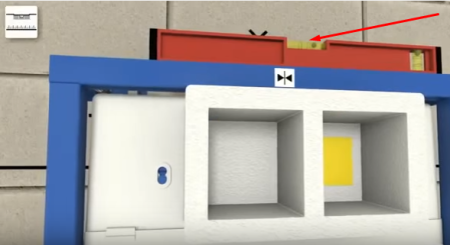
Next, you need to insert the bolts into the hole on the wall, and then adjust the entire structure horizontally:
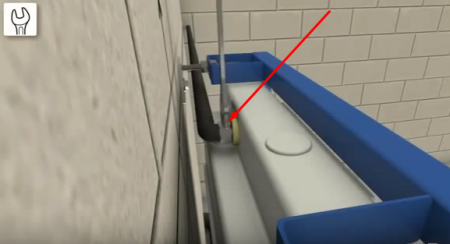
After the frame is exposed horizontally, you can clamp the legs:
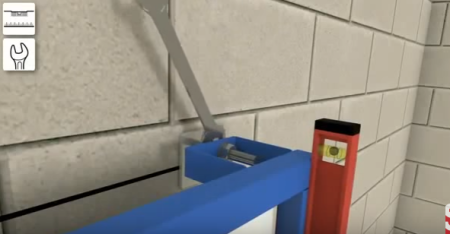
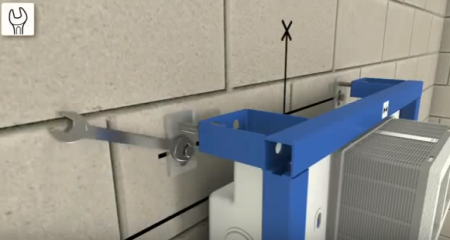
The next step is to expose the entire frame vertically, and fasten it with double nuts, as shown in the figure. Acting "by eye" in this case is unacceptable, we carry out all operations, focusing on the construction level:
Once the installation is vertical, the wall mounts can be clamped:
Now you can finally connect the sewer pipe. After the pipe is mounted, it must be checked for leaks and no leaks. For this we pour water into the pipe:
We connect the water pipe to the flush tank. It is easier and easier to do this with a flexible hose, however professional plumbers recommend using quality metal pipes for connection. The toilet bowl will in any case last longer than the flexible hose, and it is unlikely that anyone will want to break the lining to replace the hose alone.
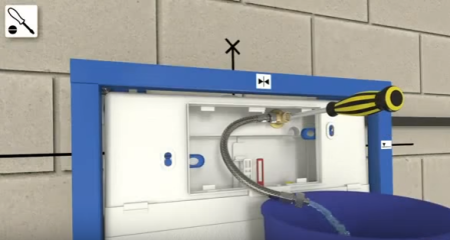
We screw a flexible hose-adapter, we substitute any capacity, we turn off the valve, we check, whether water arrives:
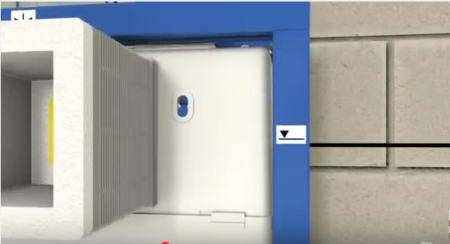
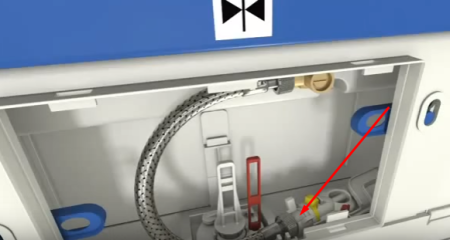
If all is well, screw the hose to the tank, as indicated in the figure, after which you can fit all the parts of the tank into place:
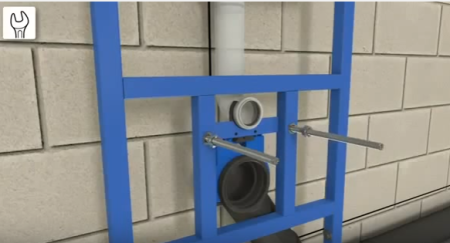
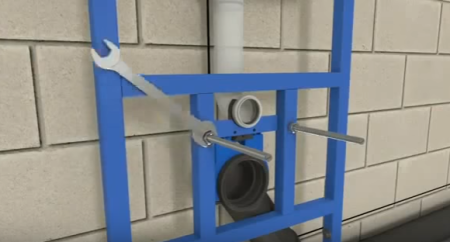
Now you can screw the studs to install the bowl of the suspended toilet bowl:
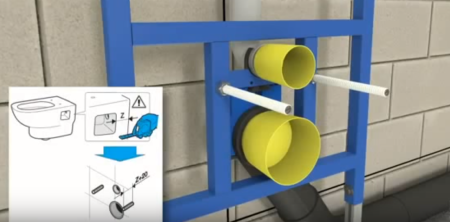
Tightly tighten the studs with a wrench we put protective plastic tubes on them, we close the holes for water and sewage with plugs:
So, the installation of the toilet is finished. Now the construction must be closed. Do this with a moisture-resistant gypsum board. First, a frame is mounted from the metal profile:
On the frame in two layers fasten sheets of waterproof plasterboard:
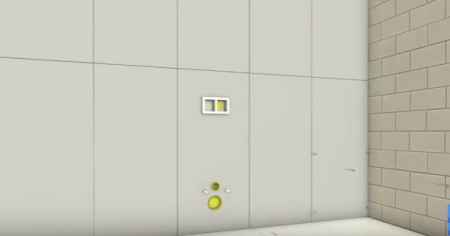
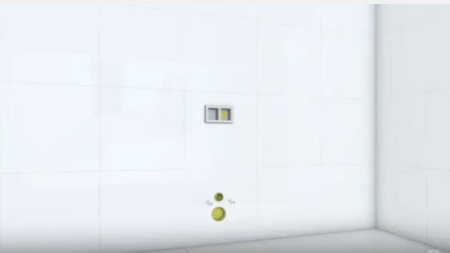
Drywall is tiled:
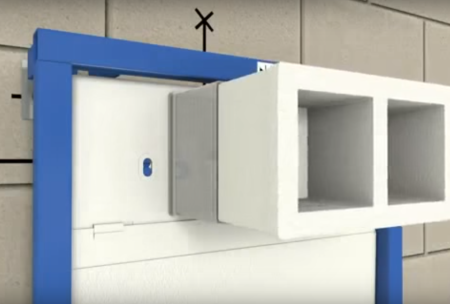
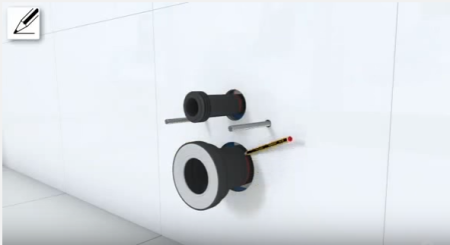
Once the veneer is ready, remove the plugs from the holes for water and sewage, remove the protective tubes from the studs, insert the nozzles into the holes, and make a mark at the level of the tile:
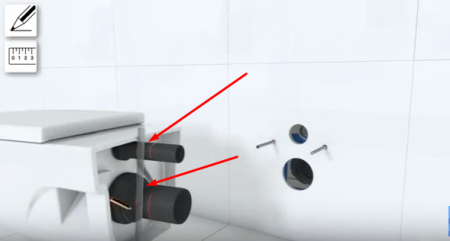
We take the bowl of the toilet bowl, pull out the nozzles from the wall, insert them into the holes in the bowl, use the ruler to make flush marks with the rear wall of the toilet:
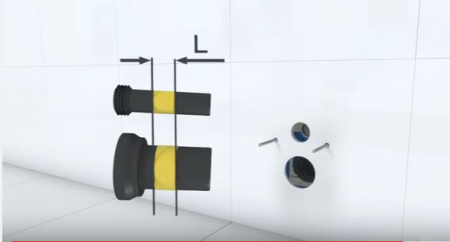
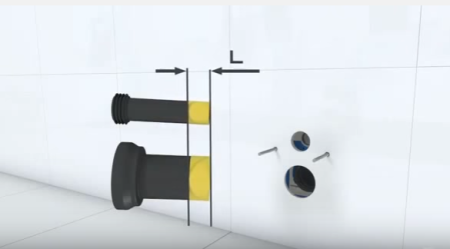
We measure the distance between two marks:
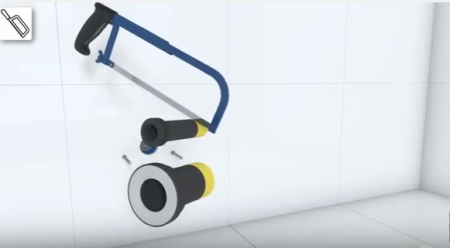
The resulting distance is measured from the back of both nozzles, we cut off the excess with a metal hacksaw:
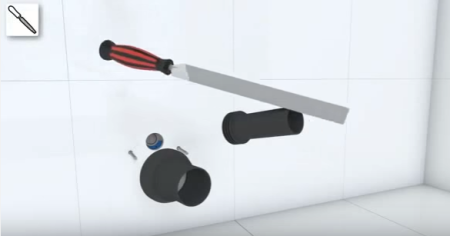
We clean the sections with a small file:
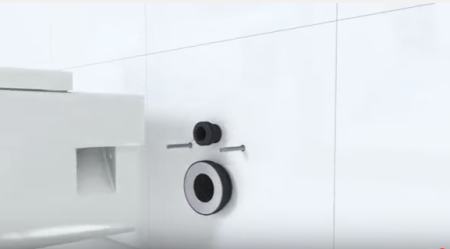
We put the nozzles back into the wall, hang the toilet bowl on the pins:
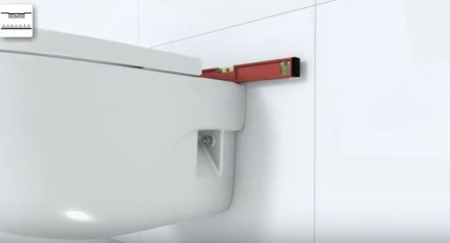
We set the cup according to the level:
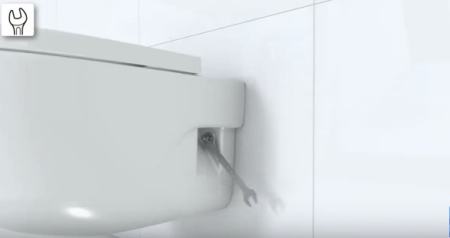
We fix the nuts of fixing the toilet bowl. The main thing is not to overdo it, so as not to damage the bowl: The height of the installation of the suspended toilet bowl can be chosen experimentally, depending on the growth of people living in the house. The recommended installation height is 40 cm from floor to cover.
At this work is finished, and the hanging toilet bowl can be used for its direct purpose:
Installation of a hanging toilet without installation
So, above we have considered how to install a suspended toilet bowl with an installation. However, with all its advantages, the above method is very expensive in terms of money. You can try to save money, and make the installation of the toilet bowl by one of the methods described below:
toilet seat fastening to the wall
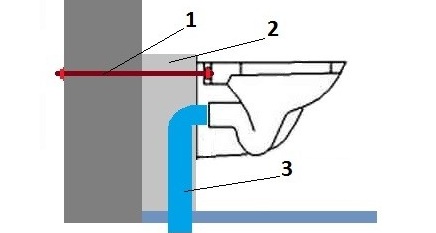
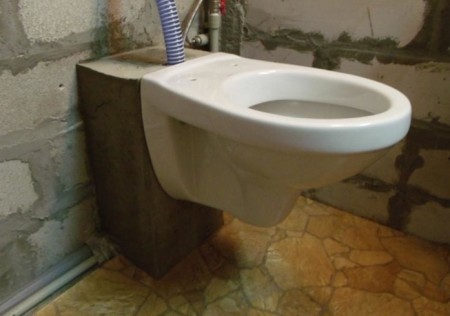
In this case, the toilet is hung directly on the threads of the threaded rods, which are fixed in the supporting wall. This method is good when installing a suspended toilet bowl truncated. A clutch for draining water is also fixed in the concrete base. The procedure is as follows:
Firstly, a coupling for draining the water is installed. After that, the height of the toilet seat is calculated. If necessary, the height of the coupling is adjusted: the branch pipe is cut off or increased. Fastening of the toilet bowl is made directly through the wall, using the washer and nut M20. The main condition is that the load-bearing wall must be strong enough. The drain tank with this method of attachment is hung on the wall, just above the toilet.
pouring of a concrete base under a suspended toilet bowl
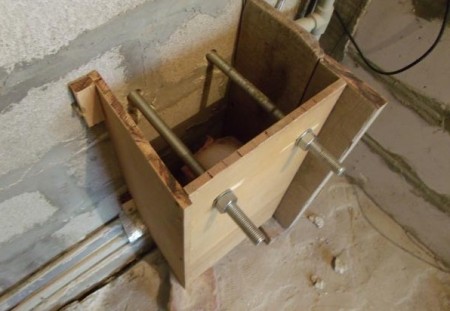
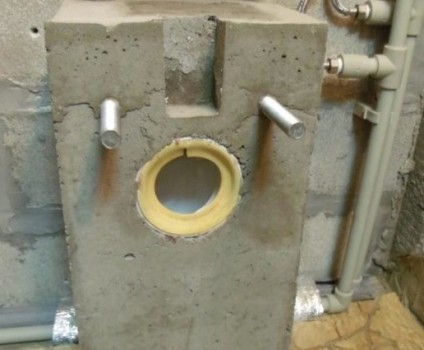
If the material from which the wall or the partition is made, does not allow fixing the hanging toilet, a separate concrete base is prepared for it. The work is carried out in the following sequence:
- Drill holes in the wall to a depth of 15 cm (if the thickness of the wall does not allow, drill to the maximum permissible depth)
- The holes are cleaned of dust and glued with glue.
- Three formwork panels are installed: first a central shield with holes for the rods, then two side panels.
- The opening for the coupling is closed with a dense polyethylene bag.
- Shields are strictly level.
- Fixing rods are inserted into the holes.
- For the stability of the formwork, tighten the nuts for fixing the toilet bowl.
Before installing the hanging toilet bowl, the dimensions are checked again - the markings should be applied as accurately as possible - the adjustment can be made until the pouring has been made. Next, you need to fix a piece of dense foam, so that in the concrete there is a void to connect the drain to the hanging toilet.
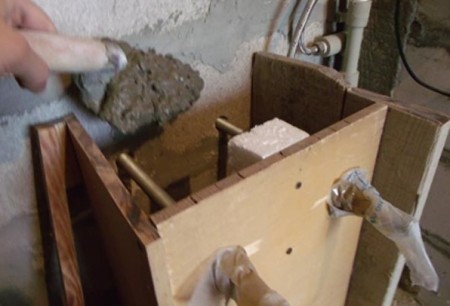
Concreting is performed as follows:
Manually or by means of a concrete mixer, a solution of cement, sand, gravel and water in a proportion of 1: 2: 3: 0.7 is prepared. To make the concrete more "flowable", a little liquid soap can be added to the solution in the proportion of 10 grams per 10 liters of water.
Threaded rods for fixing the toilet bowl are closed with a polyethylene film to avoid getting onto the thread of the solution. When casting, the concrete must be periodically rammed so that there are no voids. Do this with a regular wooden strip or a suitable piece of reinforcement. Especially tight it is necessary to compact the mortar at the corners of the formwork. When performing this operation, a bit of cement milk should come out of the cracks between the formwork panels. Formwork can be removed not earlier than a week.
Once the concrete has completely solidified, the formwork is removed and the toilet is connected.
First, attach the drain tank. PVC-corrugation 4 cm in diameter is inserted into the recess of the suspended toilet bowl, the water is drained completely, after which the free space is filled with silicone sealant. To fully fix the corrugation, you need to wait about 3 days.
Advice: before installing the suspended toilet on a concrete base, you need to buy a quality silicone sealant and apply it to the joints of the toilet bowl together with the rubber ring of the corrugation.
Next, the outlet of the threaded rods is put on the bowl of the toilet bowl with attached corrugation, set washers and tighten the nuts. The entire structure should stand for at least 24 hours, after which the drain tank is connected to the toilet with a flexible corrugation. Install the lid of the toilet, and on this work is finished, you can use the toilet.
Finally, it can be noted once again that suspended sanitary ware is being sold today at very affordable prices. So, the hanging toilet bowl cersanit kit can be purchased for about 12,000 rubles. As for the installation, then, with a small building experience, a simple set of tools, and of course, the recommendations given in our publication can be done on your own.


