


You no longer need to use the services of expensive masters for tiling the flooring and wall surfaces of your apartment! A competent approach and exact adherence to the finishing technology will enable you to obtain attractive, high-quality and functional coverage, successfully implement spectacular design ideas and minimize the costs for your own tiled work.
Content
Facing with tiles: tools and materials consumption
Regardless of the complexity and scope of the forthcoming works, no one facing the surface with tiles will not do without the following construction equipment: Trowel, trowel, rubber and toothed spatula, small and medium building levels, plumb bob, rubberized hammer, mixing bowl, electric or mechanical tile cutting machine, nippers, emery paper or overhead and, finally, Bulgarian.
To calculate the required amount of tiles, You should accurately measure the volume of the facing surface and take into account the number of tiles to be cut. Here everything depends on the complexity of the geometry of the floor and walls, the presence of obstacles in the form of pipes, protrusions and even corners.
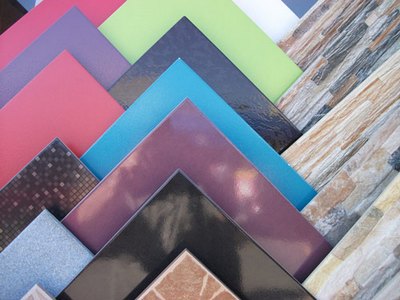
Calculate the amount of glue you need and determine its characteristics, for example, if a kitchen or bathroom cladding is planned, the adhesive should have a high level of moisture resistance.
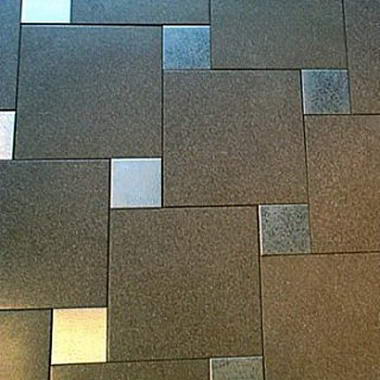
Before self-tiling the tiles in the kitchen and bathroom it is important to decide with the scheme: whether it will be a traditional method - a seam in the seam;
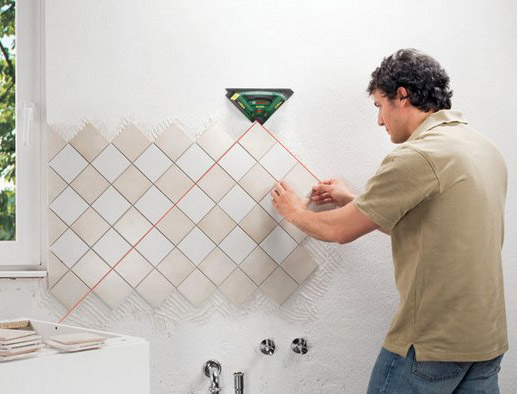
more modern - diagonally, when you can successfully combine different colors and textures;
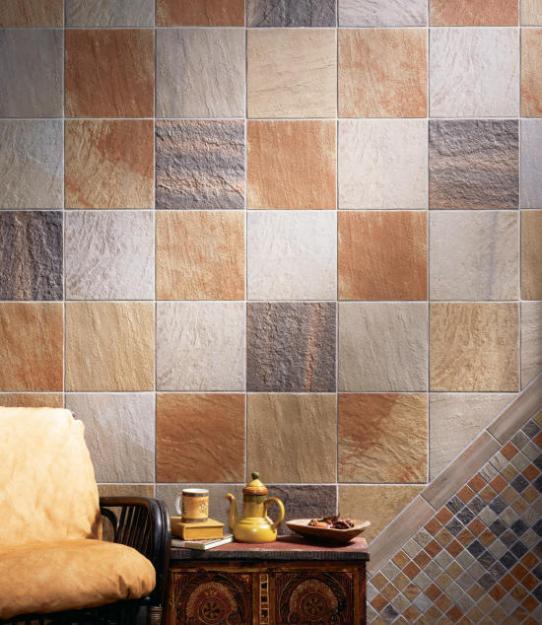
in a descent - quite interesting and spectacular, but much more complicated method of laying.
Technology of tiling on walls
The process of laying the tile on the surface of the walls provides for the consistent observance of the following stages:
1. a complex of preparatory works;
2. marking and laying the first row;
3. facing with solid tiles;
4. cutting tile pieces and filling them with free space;
5. Grouting joints.
stage 1. Complex of preparatory works
Carefully prepared surface of walls or floors is the most important stage of high-quality holding of the whole complex of facing works.
Doing the facing of the walls, do not expect that a slight unevenness on the wall you will be able to disguise a large amount of solution.
By no means! Quality tile coating can be obtained only by uniformly applying adhesive composition throughout the surface to be treated.
To form a screed, you can equally effectively use two technologies: dry and wet, which is preferred by more experienced tilers. To produce a high-quality decorative surface finish with tiles, you should first get rid of the old, worn coating, gently plaster the walls with mandatory reinforcement with a special construction net. From the use of putty it is better to abstain, because it can somewhat weaken the adhesion of the adhesive. Feel free to remove and throw away old skirting boards, door trims and sashes. In the end you have to prepare the prepared surface thoroughly from dirt and building dust, primetrovat special composition.
stage 2. Marking and laying the first row
Tile laying should be preceded by the work on careful marking and fastening of the support for the first row.
Walls
Fasten in the bottom plane a rail made of plastic or natural wood, which will serve as a reliable support for the lining of the first row. Using a plumb line, draw a line perpendicular to the floor to control the verticality of the masonry.
If the laying scheme involves combining multicolored or multi-colored tiles, then it is better to mark the sections of the tile masonry, different in color and, accordingly, texture solution.
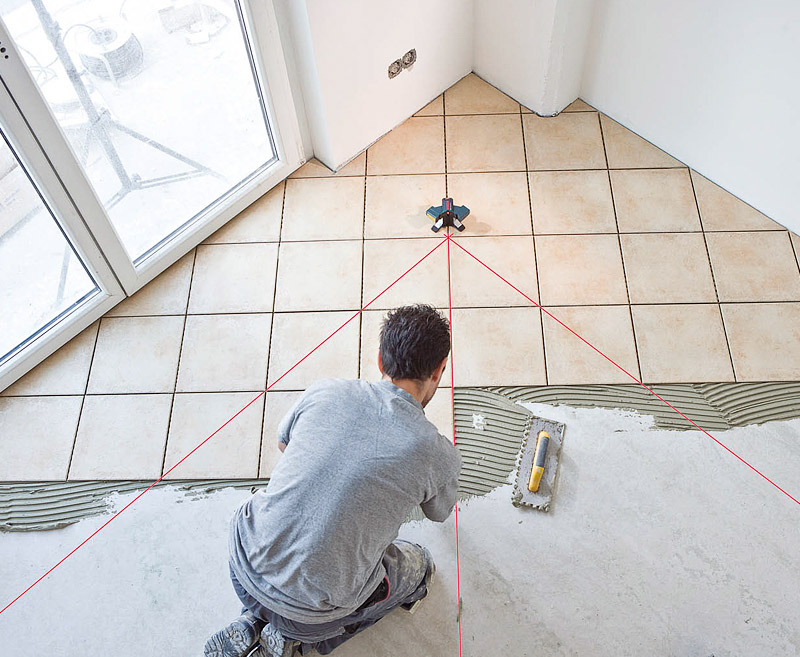
Floor
Carefully draw a line of the front row of the tile from the edge. When forming geometric patterns or patterns, draw the layout of the tile laying, which is different from the rest of the coating. It is recommended to start the laying process from the far corner, shifting the arrangement of the first tile as necessary, so that a solid fragment is placed at the entrance.
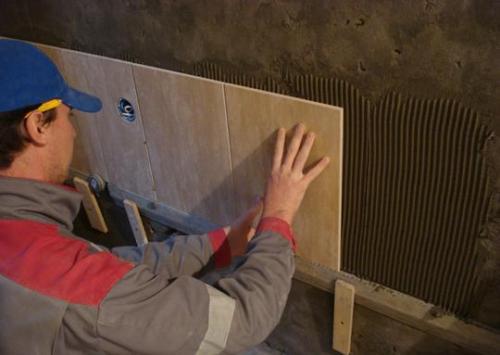
stage 3. Facing with solid tiles
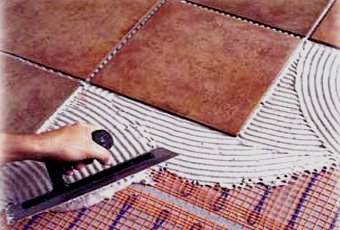
Having marked the surface and setting the necessary landmarks, you can start directly facing works. For this, using a notched trowel, gently apply a small amount of solution to the wall surface. Tile firstly lean on the support in the lower part, then with special care, without crushing, put on the wall on the solution. Lightly move to achieve maximum adhesion of the tile with the adhesive composition. Since remove the tiles from the facing surface will be quite problematic, then try to initially position it as correctly as possible.
To make sure of the horizontal and vertical stowage in relation to laid out already rows, use the building level. If you notice that the tile is slightly bulging, use a rubber mallet. At the corners of each laid tile, do not forget to place the crosses - they will help you keep the same clearance. Do not crush the tile to the wall too much, otherwise the excess adhesive will begin to show through the edges and completely fill the interlace gaps.
After finishing the work with the first row, wait until the glue dries and proceed to the next one. Remember that if you need to interrupt the work after laying the next row, then you need to thoroughly clean the entire solution around the edges of the tile, otherwise the glue will be extremely difficult to remove after hardening, and the use of an improvised tool can negatively affect the integrity of the laid tiling.
stage 4. Cutting and laying tile pieces to fill the free space
Having formed a wall surface with an integral tile, you can proceed to cutting it to cover the remaining small spaces. A qualitative and even cutting you will get without much effort with the help of a conventional glass cutter, machine or electric tile cutting machine, or a grinder.

When marking tiles, be sure to take into account the presence of gaps on all sides.
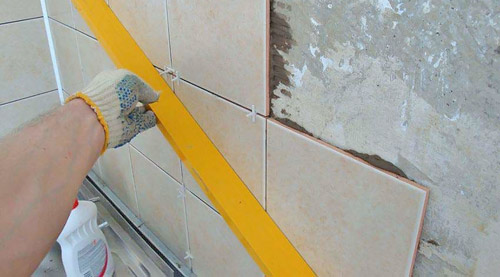
step 5. Grouting
If you have finished laying the tile, wait until the solution dries completely and remove all interlacing crosses. Now you can start to plan, or simply put the grout, the seams. As a trowelling material, a silicone, epoxy or cement based composition can be used, each of which is characterized by its performance characteristics. Before grouting, clean the seams from dust, and glue the tiles around the perimeter with paint tape and, using a rubber spatula, apply a little grout to the surface of the seam, slightly pressing inward.
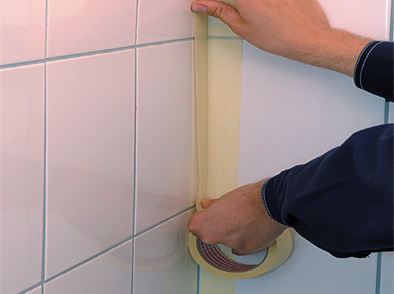
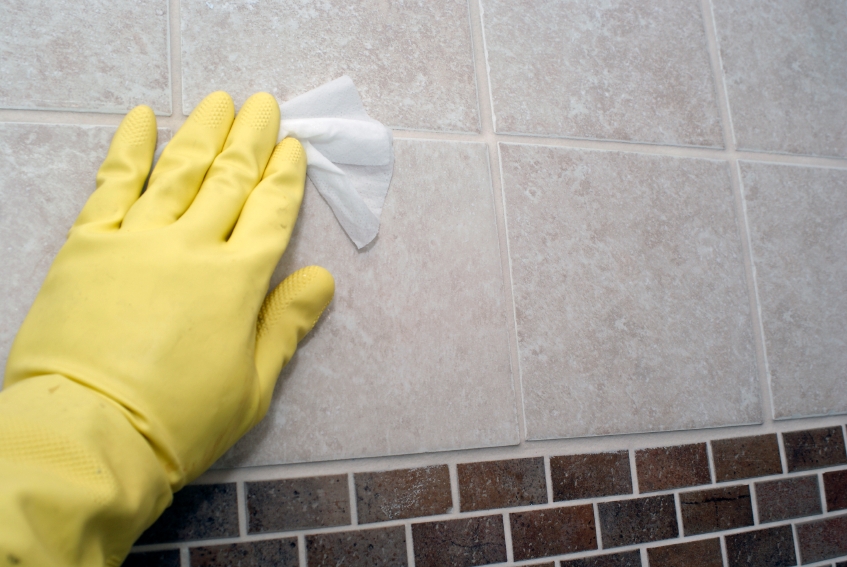
Spread the spatula across the seam and remove the excess solution. Only after drying the grout, remove the paint tape and thoroughly wash the tile.
Laying tiles on the floor
The technology of laying the tile on the floor you can see in the video on youtube.
Now you know the main points and technology of facing with tiles. Carrying out all the work exclusively qualitatively, and observing all the rules of laying, you can get a brilliant result that will relentlessly delight your view for many years.


