


Preparatory work for the subsequent plastering of the walls of the apartment is always a responsible and time-consuming exercise. Undoubtedly, only one thing is that professionally produced works on a primer and putty justify the costs.
Requirements for walls intended for plastering
The primary factor determining the further quality of the plaster is its strong adhesion to the working surface. With insufficient adhesion or incorrect working solution, alas, the plaster simply exfoliates from the surface of the walls and disappears. In order to ensure proper adhesion of the plaster solution to the surface, the working surface must be carefully prepared. Therefore, the surface is cleaned from dust, oily or dirty spots and gives it a roughness. These are the basic requirements that are imposed for the subsequent plastering of the apartment walls with their own hands.
Plastering can be done for the following surfaces:
• stone
• brick
• concrete
• cinder blocks
• Wooden.
However, each working surface requires different wall preparation.
Wall Preparation
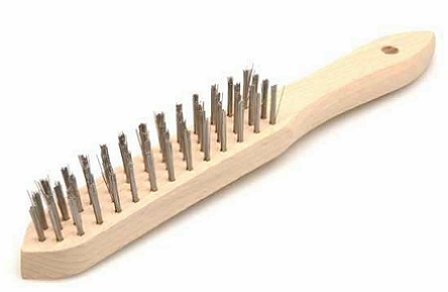
Surfaces stone walls clean with steel brushes, while it is recommended to leave joints with a depth of up to 15 mm.
Brick walls with sufficient roughness, before applying the primer, also cleaned with metal brushes and watered. The seams of the material are sampled to a depth of about 12 mm.
Concrete and slag-concretethe walls are the most laborious in preparation because they adhere to the plaster badly. To significantly improve the adhesion in the formation of concrete or slag-concrete surfaces, reinforcing wire is attached. In this case, the walls are initially cleaned with steel brushes and insect with a chisel.
Then drill holes on nested surfaces. The holes are placed on the surface with a distance of 50 mm from each other to a depth of 20 mm. After release from the formwork, the reinforcing wire is removed and shallow furrows remain on the working surface. At the subsequent plastering in these furrows the solution gets and carries out strong coupling with a plaster layer.
After the preparation of the walls, priming is carried out.
Priming the walls of the apartment
In order to obtain high-quality plaster, the priming of walls must fully meet certain requirements. For work, homogeneity of the primer and the consistency of the primer layer must be ensured. This condition is necessary for the reason, because when the coating layer is applied, the liquid phase is aspirated. The liquid phase of the primer layer is water, a pigment and an astringent penetrating into the pores of the primer layer. Different types of primers "work" differently.
Types of primers
There are the following types of primers:
• universal
• under the enamel
• for water-polymer paints
• Special.
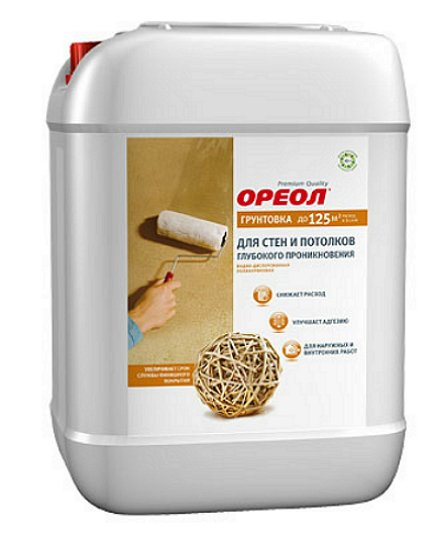
Existing universal primers can be used for any type of substrate and subsequent application of fillers, paints or any other types of finishes. This is their universality and practicality. With the use of universal primers for the walls of the apartment under the plaster with their own hands, you can significantly improve the strength of the final finish. For this it is sufficient to make a primer in 2-3 layers. Primers for enamels are a mixture of latex and synthetic dispersions, as well as fillers and resins. This type of primer is ideal for applying decorative paint.
To significantly strengthen the old and loose surfaces of walls in the apartment, preference is given to emulsion primers having a silicone-modified vinyl acrylic copolymer base.
A primer of any type is applied to the walls of the room with a roller with a long handle or a brush.
For priming the surface of the walls under the plaster, a primer is used that has the property of deep penetration into the wall surface.
How to apply the primer on the walls will help you the proposed video.
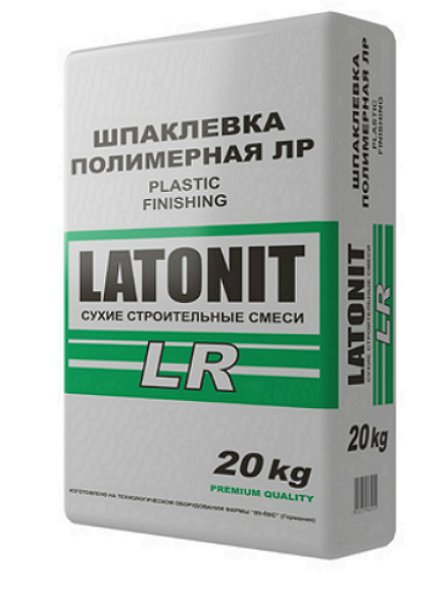
Putty on the walls of the apartment
After the primer has dried completely, the walls of the apartment are puttyped. Existing now types of puttying make it possible to produce the puttying process quickly and efficiently. Separate the basic technologies of puttying:
• starting
• Lighthouse
• finish
• Restoration.
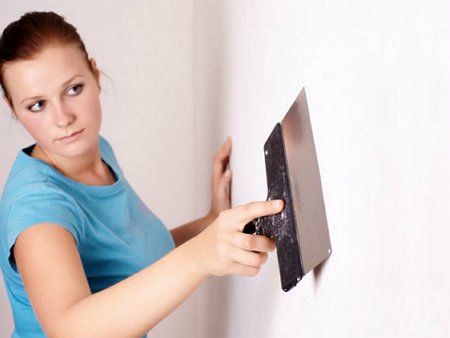
Puttying is carried out using two spatulas: smaller in size and larger in size. The first spatula, the finished solution is applied to a large spatula. With the second large spatula, the putty is stretched over the work surface.
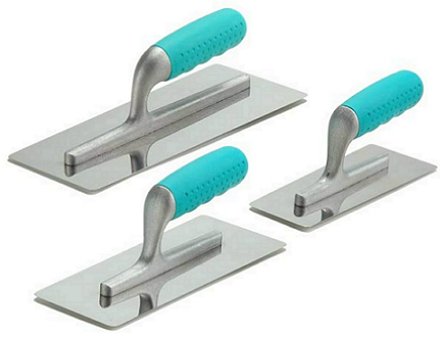
When working, the tilt angle of the spatula should be 45 °. After a uniform distribution of the material over the surface, the spatula is cleaned of the remnants of the solution.
Then make the final smoothing of the walls.
Dry the layer of putty after a time with a fine sandpaper, fixed on a grater. Shpaklevku on the walls of the apartment is applied in two layers. Wall plastering must be carried out in strict compliance with the manufacturer's instructions.
Do you want to know how to make the puttying of walls yourself? The proposed video will reveal all the secrets of the "correct" repair yourself.


