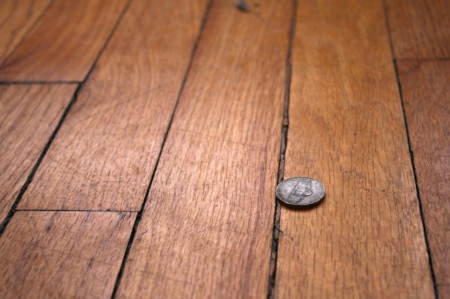
Wooden floor has always been and remains "in trend", as it has a lot of advantages over other materials: it is warm, environmentally friendly, it fits perfectly into almost any design, but sometimes there are cracks. Slots by themselves spoil the appearance of the floor, through them the room gets cold. In addition, in the cracks over time, garbage, dust, dirt is stuffed. It all looks very ugly, besides the accumulated mud between the planks can lead to decay of the wood. The problem is unpleasant, but it is quite possible: to your services various kinds of fillers, glue compounds, staple seal, the better to eliminate the problem - this will be discussed in this publication.
Content
Why crevices are formed in the wooden floor
To effectively deal with the consequences, first you need to establish the cause.
So,
reason number 1 - natural shrinkage
Wood has the property of drying out with time - this is one of the main reasons that there are crevices between the boards in the floor. To prevent this, it is better to buy floor boards, which have passed at the company the so-called "vacuum drying". This method of drying the wood allows you to completely remove moisture from the boards, after which they will not dry out. By the way, the floor from the wood processed by usual methods can dry up to six years. This is especially true of pine - in a few years the floor will be "corrugated" several times, it will have to be shifted. And only after the expiration of a certain time will a normal floor, suitable for cycleing. And even if the pine board of the drying floor looks quite decent, the floor still has to be sorted out - with a high probability after a dense shrinkage of the boards in place there will be a free space into which several more planks will freely enter.
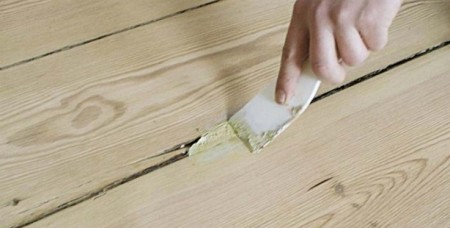
A similar situation with the so-called "Eurodosks". Even if the boards have been preliminarily acclimated, and there should not be any problems, but when pressing the surface, crevices from 0.5 to 1 mm are still formed. In this case, a good result is puttying with a mixture of PVA glue, sawdust and paint. The mixture is rubbed into the slit with a rubber spatula, after which excess is removed and polished crevices.
reason number 2 - too dry air in the room
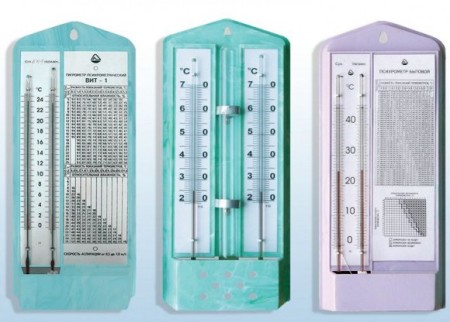
Check it is very simple and without the use of measuring instruments - you just need to put a bucket of water near the radiator, then watch the slots in the floor - if they are reduced in size, then the air in the room is really dry. And if the floor is shifted and tightly pulled, then in the summer the board will start to twist, and they will go "waves." In this case, it does not hurt to buy a hygrometer, with which you can monitor the level of humidity in the room.
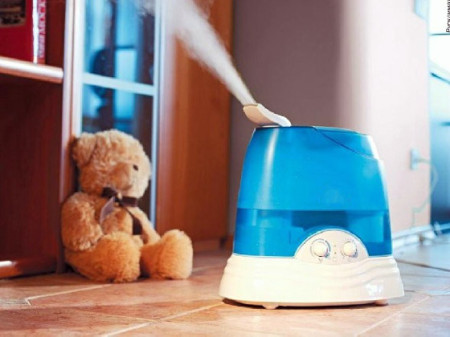
By the way, overdried air is harmful to health. Solve this problem by using various kinds of devices and sprayers that moisturize the air.
reason number 3 - rodent pests
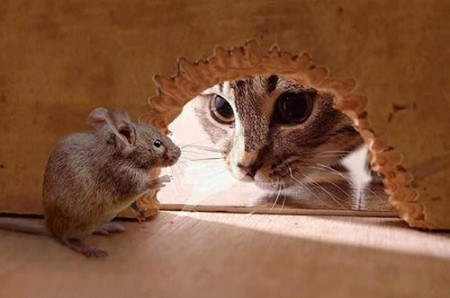
If the culprits of the problem are the mouse, then a simple filling of the slots here is indispensable - the rodents will make new ones. So first of all we get rid of mice. This is not as difficult as it seems at first glance. There are a lot of options:
Cat. It's the cat, not the cat. Cats are by nature more lazy, and mice are rarely caught. Even if mice simply smell the cat, they can leave the room. Mass migration of rodents to homes occurs in the autumn - with the onset of the first cold weather. You need to know this and prepare for it in advance. Interestingly, in the winter, mice are rarely sneaked into homes - by this time they are usually identified with an "apartment".
All sorts of traps - self-made, factory, ultrasonic scarers, etc.
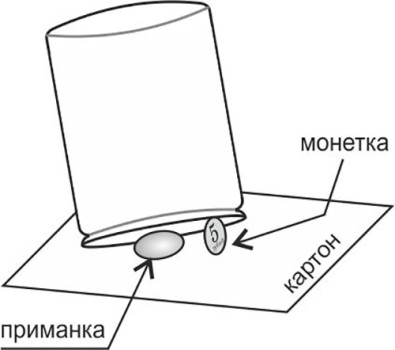
A good method of humane catching of mice using an ordinary half-liter jar. The trap is done in a few minutes. Inside the jar, a bait is attached to the bottom with a scotch - a piece of bread, cheese, etc. The bank turns over, a coin is put under it for the end.
Thus, the entire trap is in a very unstable equilibrium state. The mouse that has got inside begins to gnaw the bait, the coin falls, and the animal is trapped. After that, it remains only to slip a piece of cardboard under the jar and get rid of the mouse.
Use of poisons for baiting rodents in living quarters is not recommended - the rodent can die somewhere under the floor, in a bedside table, a closet, etc. After that, the room will stand a cadaveric odor for several weeks.
reason number 4 - incorrect installation of the floor
Because of this, the boards can begin to "walk", because of what, actually, and there are cracks. The sealant in this case will not help - he will simply come off. The only way out is to maximally "immobilize" the boards. To do this, they are nailed to the lags - but not perpendicular, but under a slight slope.
reason number 5 - improper ventilation
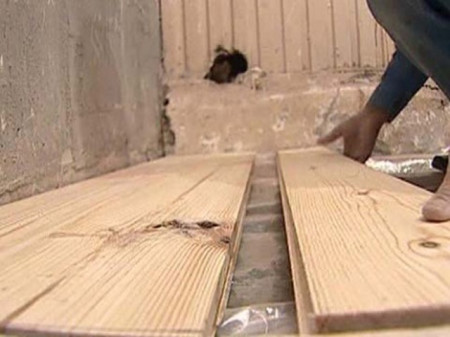
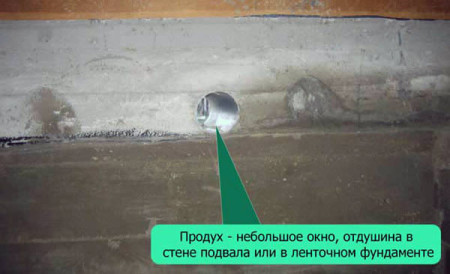
In this case, the cracks arise due to the fact that the board simply collapses and turns into rot. If there is a suspicion of damage, the floor must be inspected carefully, and if the front part is complete and the rear starts to rot, only overhaul will help, with complete replacement of the damaged parts. If the damage is not critical, you can do the following: If the cold air enters the room from under the floor, and even the small cracks are noticeably "pierced", it is necessary to close the air intakes densely, to make ventilation in the room itself. Slots in the floor can be left alone - in spring they should be pulled together by themselves.
The important point: if the foundation of your house has no blows, and the only ventilation of the floor is through the cracks in the floor, you can not completely cover them - this will lead to decay of the planks. It often happens that people buy a house or a summer cottage in the spring, and the former owner closed down the winter weather (which is correct), and did not open them in the spring. The plank floor, in the absence of fresh air, begins to "choke" and rot.
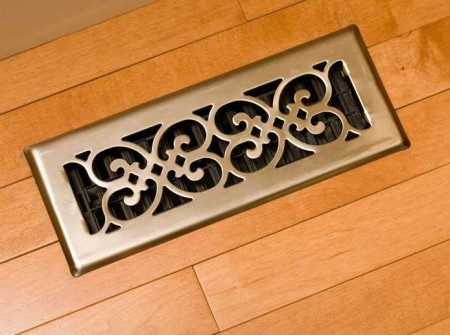
Among other things, raw undergrounds are very fond of earthen fleas, which in cold weather will gladly become your roommates. Thus, if the under-floor is not ventilated, it is necessary to arrange ventilation holes in the room, at the corners.
Otherwise, if you completely cut off the cracks in the floor, the floor will begin to rot very quickly because of dampness. It may happen that the floor is too cold, and the room will be strongly cooled through the ventilation holes. Then it is necessary to do ventilation in the very foundation. In very deplorable situations, when the board is thoroughly spoiled, it is necessary to restructure the damaged floor area.
How to get rid of cracks in the wooden floor
putty, glue compounds
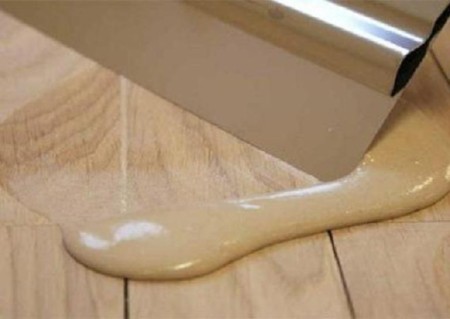
Quite frankly, it is not the best option to remove cracks. Firstly, the seams are cracking, and secondly, the rather scanty choice of colors. As a result - the seams stand out and spoil the appearance of the floor. However, a lot of owners refer to the use of putty positively - it turns out a rather plausible imitation of the deck.
sealant
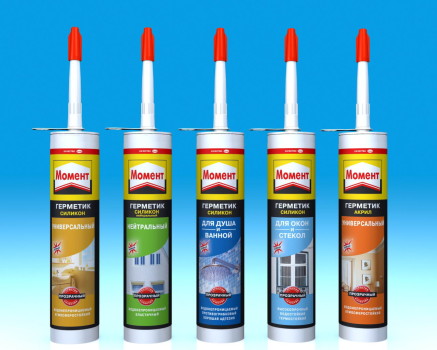
Silicone sealants - a good means of eliminating cracks. Wood - not a static material, it under the influence of external factors changes shape, density, size, therefore the insulation material must have elasticity.
In addition to silicone on sale, you can also find acrylic sealants for sealing cracks. Work with these materials as follows:
• Careful dry and damp cleaning of the floor surface.
• The floor is dried.
• The slots are filled with sealant.
Working with sealant tubes is most convenient with the use of a mounting syringe - with its help, the sealant itself is economically saved, and it is much easier to get to hard-to-reach places - for example, to fill up the cracks between the wall and the floor.
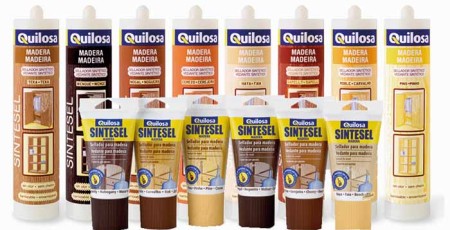
As we already mentioned above, special acrylic sealant for wood can be used to remove cracks.
It is sold in all stores of building materials and has some advantages over silicone: it perfectly resists moisture and temperature changes, it is easy to sand and varnish. Popular brands: Kimtec Laminat, Sikaflex-11FC. Acrylic sealant does not crack, even if the gap widens to 200% of its original width. It does not smell of vinegar, it is completely transparent (water base), it is perfectly washed from hands.
mounting foam
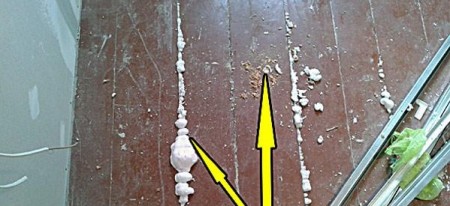
On the nozzle of the gun for mounting foam, you can wear an ordinary tube for cocktails, flatten it and shove it inside the slot. At the same time, the gun is adjusted for the weakest delivery. Work should be done as quickly as possible, since the foam freezes very quickly. For work you need to stock up a few tubes. When the slits are very narrow, and the tube does not penetrate, then it is simply placed on the surface. Expanding foam is pressed flat with a wet object, for example, with a spatula.
Dry foam is an eco-friendly material, it does not release any toxic substances into the air. Do not try to remove the remains of another raw foam - it will stick and stain everything around, it is better to wait until the foam is completely dry. The dried foam should be dyed, as it is strongly destroyed by exposure to sunlight, and collects dirt.
scotch
If the appearance of the floor does not make any difference, or if the carpet is lying on the floor, then the easiest way is to use reinforced adhesive tape with a width of 5 cm. Cover the slots with adhesive tape, fix the edges with a stapler, and you can assume that the slots are finished.
Classical, "grandfather's methods"
Sometimes the best way is not to reinvent the wheel, but to resort to old, well-proven methods. Moreover, such solutions are often much more successful than advanced modern methods.
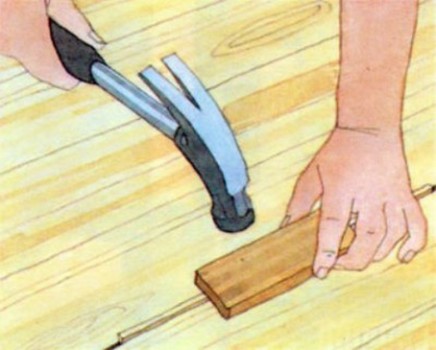
close large slots in the floor with a wooden strip
The order of work is as follows: Frazmashinka align the edges of the slit. Next, prepare the slats under the width of the slots. As material, pine is good for this purpose.
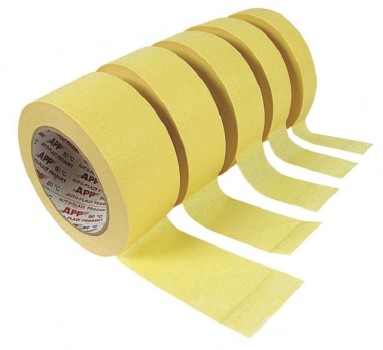
Next, apply glue to the rail and the edge of the slot, and then set the rail in place. If there are voids, they need to be filled with a mixture of glue and sawdust. Place where the gap was, carefully grind the grinder, apply a paint tape on the treated surface, after which it remains only to pick up the paint or varnish of the desired color, and paint the floor.
elimination of cracks by means of self-made putty or plait
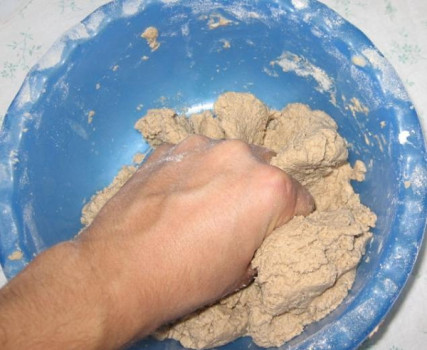
Shpaklevku not necessarily buy in the store - it can be made independently. It will take a glue composition based on waterproof binder resin, and wood sawdust. Just mix the two components to the consistency of thick sour cream, and fill the gap with the resulting composition.
Next, the surface must be sanded, sealed with paint tape, then painted or varnished.
Slots, the width of which does not exceed one centimeter, can simply and quickly be plastered with a regular bundle. Then the floor is left to paint or varnish.
corking
We are talking about a common linen pak for connecting plumbing elements, which are impregnated with PVA glue, caulk the slits, after which it remains only to cover them with a layer of paint. Sometimes use a mixture of glue PVA and wood chips. The disadvantage of this method is that the PVA is afraid of moisture, and even such "putty" quickly darkens and looks very ugly if it is not dyed.
flaxseed oil with wax
The method is well suited for sealing small cracks. The mixture should be used only in a hot form, so that it fills all the voids well. The floor must be cleaned thoroughly from dirt before the work is done, otherwise it will clog in the crevice together with the wax.
plywood, OSB, chipboard
If the cracks in the floor reach catastrophic dimensions, but the floor boards are still "live", it's easier to tighten the slots with wooden plugs, and put the slab of the above materials on top. By the way, this way you can even out the curve of the floor - you get a good base for laying the laminate. The material is attached to the rough floor by screws.
To ensure that the material does not bend at the fixing points, a larger diameter drill is made into grooves a few millimeters. Thus, self-tapping screws are fixed in the "sweat". Between the sheets of plywood, OSB or chipboard you need to leave small slots, otherwise the floor will eventually creak. Self-tapping screws need to be screwed on a small speed so as not to break the hat, and so that the material does not damage the samore itself - it can "tear out" small pieces of plywood.
rope cord
One of the simplest and at the same time reliable methods.
The essence is as follows:
• The glue is added to the cement slurry.
• The resulting mixture fills the gap.
• Place a rope cord in the slot.
• Once the mixture has solidified, it is dyed or varnished.
That's the whole set of methods for eliminating cracks in the floor - choose how and what to cover the cracks in the wooden floor. And sometimes it happens that the wooden floor is in such a deplorable state that it is much easier to dismantle it and replace it with a good concrete screed, which no cracks are terrible for.
https://www.youtube.com/watch?v=lECrZmWvOH8


